Setting up
Associated movies
- BCM439 - Heroic; Setting up with no advance prep (6:17)
Basics
The idea for setting up the battle is to initially get covies chasing you up out of the rising tunnel just before the tower zone, then trigger enemies within the tower zone itself, although there may be some you prefer to eliminate. The resulting troops form the horde you'll be fighting. In a bit more detail, here's the basic method for setting things up for solo battling. It's all you need to go and start having some fun if you want. You can leave my refined set-up routine and other advice for later.
Basic method
Progress through the level as usual until past the underground bridge, but let the Marines die, or just leave them far behind. Steal a Banshee along the way and keep it healthy. Be armed with the weapons you'll want to start the battle with (a plasma rifle and rocket launcher make a nice robust combination) and be fully stocked with grenades.
Fly up the rising tunnel. Enemies there will give chase, and at the tunnel exit a dropship will deposit further troops along with two Ghosts. Fly in the vicinity of each of the tower doors to trigger more enemies. Feel free to overturn any Ghosts you don't want to be manned (note: if a Ghost has already got manned, you can quite easily eject the pilot with a Banshee blast landed near a wing tip). You could also eliminate the Wraith, or kill any troops you don't want.
There's a fresh Banshee on top of the tower if you want it for battle.
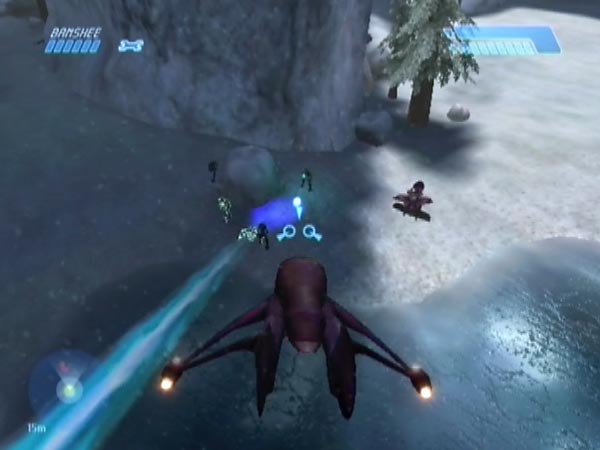
Fly low in the vicinity of the narrow pass that leads into the next area, to trigger some guards. In doing so you also trigger a checkpoint, but keep it delayed for now (this will mostly occur naturally by enemy threat, but if you're ever in doubt, Banshee fire will keep the delay going). The trigger also frees up some earlier covies from a territorial limitation; so now they can be drawn your way.
With suitable Banshee work, get your covies collected however you like - e.g. mostly in a big mob somewhere. Finally, climb to get the delayed checkpoint - or just get somewhere out of enemy threat. You're now all set for battle!
Note: you could potentially do things using a Ghost or Warthog instead, but it would be more hazardous and you'd have much less control (especially in getting a final checkpoint). A Ghost would be better than a Warthog though, because you can use plasma firing to continue a checkpoint delay when desired.
Difficulty levels
In general I'd recommend using Normal or Heroic for this solo set-up, and certainly Normal to begin with. It's far more manageable for close-up fighting, yet still seriously challenging in most situations. Heroic can be fine if using a lot of distant sniping or certain other stand-off tactics, but if you're trying to fight the covies at close quarters (other than perhaps in a nice bottleneck situation) it can be a case of having to repeatedly back off under enemy pressure - especially from the Elites of course. Normal is also a lot more forgiving when attacking with a Banshee. You'll be able to enjoy more attack runs before starting to smoke up.
Refined routine
Here's a more refined and detailed version of the basic method, starting from just before the rising tunnel. In the description I'll assume you've been playing through the level normally except for stealing the platform Banshee, and for that case you can see the routine demonstrated in BCM439. But there could be differences (easing the work) if you've done some early rearranging.
As you may recognise, the routine has a lot in common with the initial parts of my refined routine for setting up a spiral path megabattle. And indeed, that was my starting point. There are some differences though, due to working towards different ends.
NB: It's best to've killed all previously spawned enemies, else some of the possible megabattle enemies may fail to spawn, leaving you short. Specifically (or so it seems), tower troops.
Flip the tunnel Ghost if desired, and exit
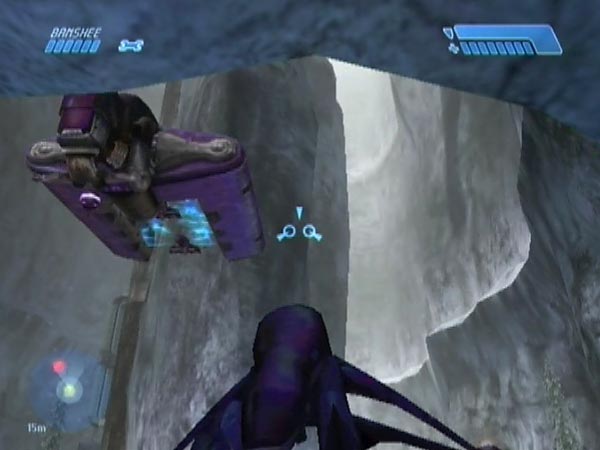
As you head into the rising tunnel, be on a suitable flight path for blasting over the nearest Ghost to stop it getting manned, if that's what you want. You don't need to bother with the other one as covies can't use it. Fly evasively up the tunnel.
Note: if you let the Ghost get manned, it's not uncommon for the pilot to subsequently get stuck near the bottom of the tunnel, so you might want to check for that.
Flip the dropship Ghosts if desired
If you want to stop the dropship Ghosts getting manned, fly past the ship and turn to hover, then land a shot between the Ghosts just as the ship is starting to rise (not sooner else the far Ghost tends to hit the ship and fail to flip).
Wait for the tunnel troops to emerge (e.g. above the tunnel exit); you can keep count to make sure you've got them all. Some may stop part way up, but they'll usually get moving after a while. If there's any serious hold-up you can briefly fly in to get their attention.
If you'd like a checkpoint hereabouts or a bit further on (before triggering the front door), just get more distant from the enemy to get a delayed checkpoint from when you triggered the dropship (checkpoints are delayed while the game considers you under threat).
Maybe change things around the tower
There are some changes you may like to make around the tower. In this case, fly off along the front of the tower, staying high when going past the door to avoid triggering enemies yet (you're skipping the tower trigger). Be above tree height to be safe.
The front Shade can be flipped if you want to prevent it being manned later. Or you could blast it to a novel new position, and the gunner will run to it when he spawns.
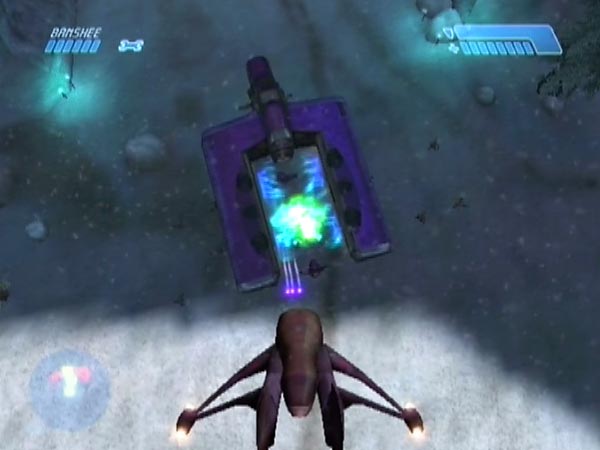
You can flip the two enemy designated Ghosts near the far corner of the tower, to stop the pilots manning them later. It's okay to be low down by now as you're not near a tower door. With more extended blasting, or by actually landing to briefly drive, you could move either Ghost to a novel position if you want, with later use in mind. But flip it at the end so the pilot won't run to man it when he spawns.
If you want to disable the Wraith, you can just destroy it, or flip it by ramming the rear. Flipping it gives more flexibility and fun in battle (e.g. you can "press X to flip" when on foot, which has some entertaining uses).
Trigger the front door
Head back to trigger the front door. This also triggers the 'tower checkpoint' but it's useful to keep it delayed for now. Enemy threat can take care of that most of the time, but Banshee fire can be used if you ever think you're getting too distant from covies.
You might want to kill the Shade gunner who spawns on the slope, as he won't be free-roaming in battle. The trigger also spawns a Wraith pilot who runs out from the pass that leads into the spiral path area, and also the Elites intended for the tower Ghosts just mentioned. None of these Elites will be free-roaming in battle, so you might like to kill them. Be aware that if you leave them alive they tend to act as a magnet for minor covies, which can impede them from coming after you in battle.
The front door trigger also freed up all the dropship troops to give chase. If they're not yet heading your way, briefly fly near near them and fire, to get their attention.
Do some herding
Staying high (above tree height) to avoid triggering the pass guards yet, draw earlier covies along towards the pass (except, troops from the tower will stay near their door for now; they're not yet free-roaming). Part of the reason for doing this is to minimize the chance of any of these free-roamers getting drawn into the tower when you fly around the back of it shortly. Enemies that go inside may get somewhat stuck there.
Get the rear Shade gunner down if desired
Climb high to finally get the delayed tower checkpoint, for useful consolidation.
If you want the rear Shade gunner ejected onto the ground, fly over to the Shade, curving in to try to avoid taking fire, and push it off the plateau with a firm shove at the base. Hopefully he'll fall out and survive, but if he doesn't you can just revert for another go. Bear in mind though, he's a rather hesitant mover and won't be properly free-roaming in battle. So maybe you'll prefer to just eliminate him.
Another option: shunt him down so he remains seated, to get the Shade in a novel position. You could even do some pushing with the Banshee to shift it further, though you'll probably want to draw the other covies away first to give you time (and to avoid him being killed by friendly fire).
Trigger the back door and maybe get the balcony Elite down
Next, trigger enemies behind the back door, plus the balcony Elite (or two on Legendary). Those all trigger as a single group. If you've just pushed the Shade off, it suffices to skirt around the top of the Shade plateau for example.
If you want to get the balcony Elite (or Elites) to join the mob, here's how. As you head past the balcony, fire to get his attention. He spawns on the ramp but you want him to take a running leap and land on the snow. Back off and pause to watch for that. He'll usually jump quite soon and it helps if he can see you. If it doesn't work out you can revert for another try if desired. Head back towards the pass when he jumps. You want to trigger the pass guards before he returns to the ramp and balcony, else he may get stranded there.
Trigger the pass guards
Fly below tree height in the vicinity of the pass entrance to trigger the pass guards, namely two Hunters and two Elites (although, the Elites may not spawn if there's a manned Ghost around; see here in my spiral path megabattle article). You'll also trigger the 'pass approach checkpoint', but keep it delayed for now because it's going to be your final checkpoint.
Kill the guards if you want. The Elites won't be free-roaming. Nor will the Hunters unless you care to weaken them to rage mode (see next section for details); but that's quite easy to do so I recommend it.
Triggering the pass guards also freed the tower troops from both sides to come after you. You can draw them into the mob now. If you see any free-roamers remaining distant, get their attention to get them moving.
Caution: once you've triggered the guards, take care not to fly low in the pass else you'll trigger the next area, causing your covies to irreversibly change behaviour and flock that way.
Maybe get a fresh Banshee
You're about to do some final herding to finish things off, but first you might want to switch to a fresh Banshee for battle. If so, go get the one on top of the tower (remember to keep the checkpoint delayed), killing the nearby pilot who spawned when you triggered the pass guards. Killing him will also give the game one less covie to deal with.
There's a potential hitch though. Once you're over the tower roof, covies tend to head for the interior of the tower. You don't want them to get inside or it could be troublesome to draw them back out. To minimize how much time they get, and pretty much eliminate the danger, here's what I suggest. First have your mob drawn to the two trees by the ice patch, so they're far from the tower. Now climb vertically until almost at the height of the upper ledge, then fly across to the Banshee. Be brief about killing the pilot and switching, then promptly head back. Down below, you may see some Elites who got a fair way towards the back door; but because of your new position, they'll be triggered to head back.
Note: you could instead have shunted the tower Banshee down to the ground earlier for easier switching. If so, I'd suggest doing the shunting soon after exiting the tunnel.
Do any final herding, and checkpoint to finish
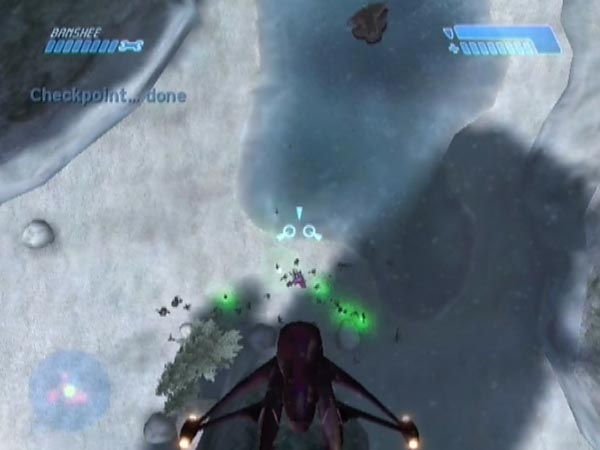
Finalise your mob, drawing it to wherever you like, or spreading it out or whatever, to shape how your set-up will play. Then get the delayed checkpoint at last, by getting clear enough from the covies (e.g. just climb fairly high). That completes the set-up.
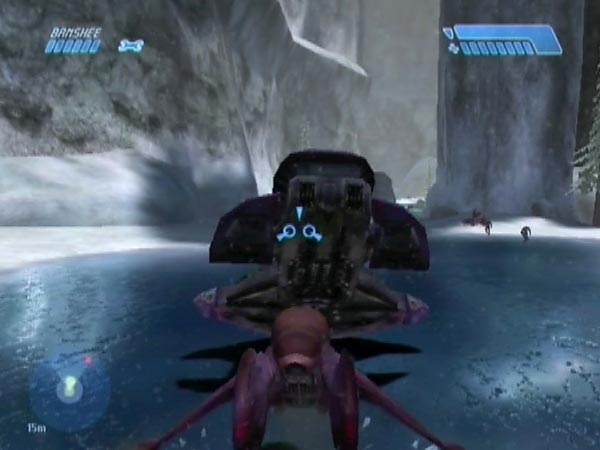
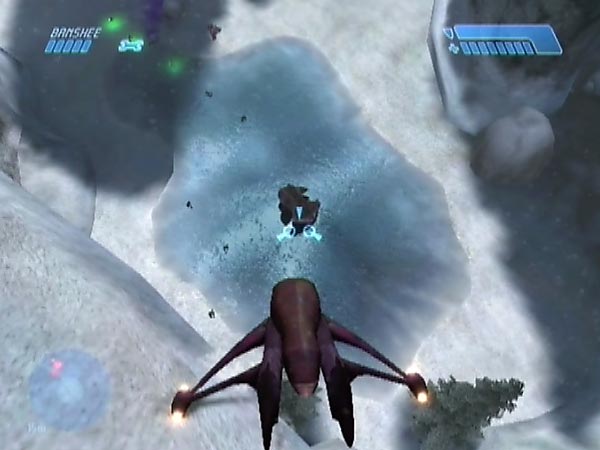
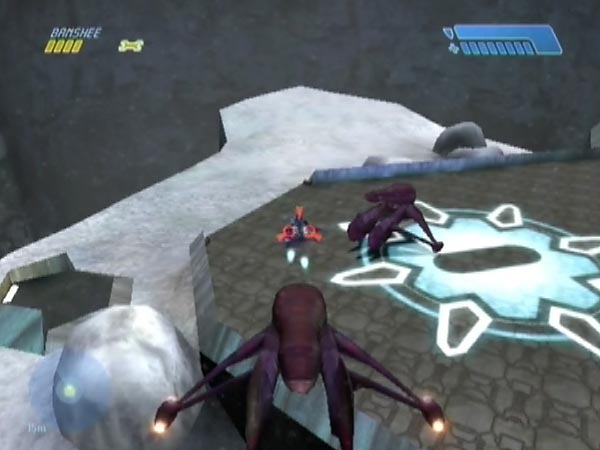
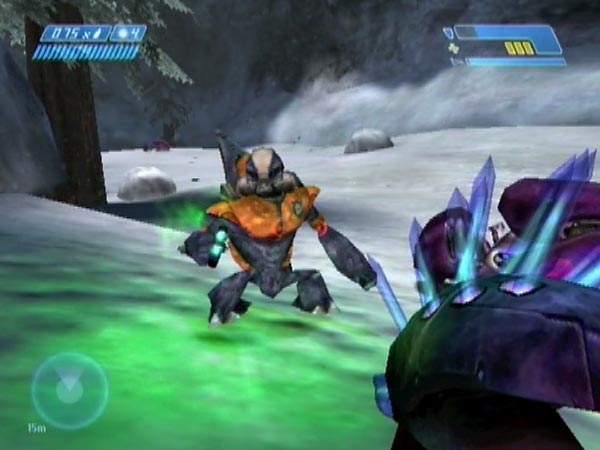
As to the choice of mob location, for your first set-up I can highly recommend using the spot I chose in my set-up movie BCM439, namely the far corner of the tower (see pic). That gives excellent potential for convenient battling in multiple areas - as seen in the five subsequent movies!
Note: if you got the checkpoint prematurely, having failed to keep it delayed, you could always fly off and bring back a delayed tunnel checkpoint. But you'd need to do some fresh herding to form up your mob again.
Freeing up the Hunters
The two Hunters from the pass are initially territorial, and in this state they wouldn't form part of the mob chasing after you in battle. In addition they can attract minor covies, which can stall or stop those covies from chasing you. For these reasons you might prefer to eliminate them. However, with a bit of quite easy work they can be converted into being effectively free-roaming, which is certainly what I'd recommend. You just need to weaken them into rage mode - though bear in mind that their raging will only operate when you're sufficiently low down; somewhat below ledge height.
You can do the weakening with Banshee fire, though you should be careful not to damage other covies of course (you can keep them separate; for example like I did in BCM439, although things got a bit messy at the end).
On Normal my method for each Hunter is to first give him two blasts, then use plasma fire until he rages. Ideally it should be non-intensive fire, so he's only minimally taken to the rage point, and more importantly so there's no danger of going too far and killing him. If he happens to be a weak Hunter, the most common type on Normal, it should only take a few plasma pips. Rather more if he happens to be strong.
On Heroic you'll likely have one strong Hunter and one weak one. A strong one will rage after five blasts, while a weak one will rage after only three. So what you can do for each Hunter is, first give him three blasts, then if he still doesn't rage (be low enough to check), give him another two.
Of course, in battle such weakened Hunters will be relatively easy to kill. But it can still be fun to have them as part of the mob, adding variety and nasty fuel rod fire! They can stop chasing if they lose track of you though; so keep that in mind or they could get left behind.
Incidentally, this weakening business is just the same as in the mob battle in the first snowfield. I'm just re-using what I realised there, to make the Hunters join the chase in battle.
Other territorials
Most of the covies that can potentially take part in the battle on foot will be free-roaming, meaning that they're free to come after you, all around the tower zone. That can also include the two Hunters from the pass, if weakened into rage mode as just described. But some covies are territorial and can't be freed up to roam, except in the case of an Elite boarding a Ghost. You may or may not want to have such troops in your set-up. Here's some talk about them, and the attendant issues.
Five outer Elites
Five outer Elites are territorial: the two tower Ghost pilots, the Wraith pilot, and the Elite pass guards. On foot they'll lurk near the corner of the tower where the enemy designated Ghosts were. A key drawback of having such Elites there is that they tend to attract minor covies, which can stall or stop those covies from chasing after you. That can cause your battles to be less intense, and can even impede you from forming a full mob in your set-up work. A further drawback is the significant hazard they pose to you, which could be a hindrance in battle. In view of all this, you might want to have no such Elites.
However, they are able to pilot certain Ghosts which you can make available to them at the start of battle by righting overturned ones thoughtfully left in their vicinity (see Having enemy Ghosts for details), and thus they do have the potential to join in with a pursuit. So that's a possible reason to retain one or more of them on foot in your set-up.
Cloaked tower guard (or two)
Inside the tower there's a cloaked Elite guard - or two on Legendary. He's likewise territorial. He can certainly chase after you if you get close enough, but if you get too distant he tends to return to the tower - his usual territory. So it's not easy to make him part of a pursuing covie horde. Actually you could let him board a Ghost, in which case he can hover after you like any other Elite. But be aware that if he's ejected he'll become weaponless and stationary. Glitched!
If you want to eliminate him from your set-up (e.g. one fashioned for defending from within the tower without having to worry about getting sliced up from behind), just pop into the tower and quickly kill him, then get away before pursuing covies get close. Or another option: let him chase you outside, then board your Banshee and do the killing with that. It can be worth getting a checkpoint before attempting elimination however, because of the dangers involved.
Front Shade gunner
The front Shade gunner is likewise territorial, namely limited to an area which includes his slope and stretches out to the nearby tower corner. So you might like to eliminate him. Unlike the Elites though, at least he won't be much of a threat in battle, so the case for eliminating him is not as strong. And in fact, having him around can provide incidental fun in battle.
You could have him on foot or aboard his Shade. In the latter case you have the option of moving it before he spawns, and he'll run to man it (if it's upright). This can give you an enemy Shade in an unusual position. You can see me doing that in BCM439 (though I didn't move it far); and at the start of BCM440 you can see me having subsequent fun blasting and ramming the Shade, something which would be awkward to do in its normal position.
Rear Shade gunner
Ejected onto the ground, the rear Shade gunner seems to have rather hesitant movement. He doesn't seem territorial like the front gunner, yet nor does he seem properly free-roaming, so I'm not inclined to count him as such. He seems very prone to stopping and standing around. So even if he seems part of the mob at the start of a set-up, he can easily end up getting left behind if the mob moves. In fact this may even be the norm.
It was certainly very common in the set-up I created in BCM439. Typically he was left behind at the corner of the tower (see pic). Yet there were also times when he went a considerable way to join the mob or at least get close to it.
Maybe I'll get a better understanding of things as I continue to play, but my guess is, this Grunt's movements mostly or entirely arise from gravitating towards Elites or Hunters. He doesn't actually chase you. As with the front Shade gunner however, it can be fun having him around in battle, whether aboard his Shade or not.
Incidentally, with both Shades, the designated Grunt has only one chance to board, namely when he spawns. If he can't do it then, he permanently loses interest. The same goes for the Wraith pilot and the two Ghost pilots in regard to manning their hardware.
Enemy numbers
Here's a breakdown of the enemy numbers you can get in the battle. This includes the Banshee pilot who spawns on the tower, and who can bring his Banshee into play if you do some special work to get him aboard.
- Normal/Easy: 14 Elites + 8 Jackals + 14 Grunts + 2 Hunters = 38
- Heroic: 14 Elites + 10 Jackals + 13 Grunts + 2 Hunters = 39
- Legendary: 16 Elites + 14 Jackals + 12 Grunts + 2 Hunters = 44
As for where all these enemies come from, we've got:
- 2 Elites at the bottom of the tunnel, with 4 Grunts on Legendary, 3 on Heroic, 2 otherwise.
- 4 Jackals up the tunnel, or 6 on Legendary.
- 2 Elites in the dropship, with 4 Jackals and 2 Grunts on Legendary, 2 Jackals and 4 Grunts on Heroic, 6 Grunts otherwise.
- 2 Shade Grunts outside the tower.
- 1 Elite, 2 Jackals and 2 Grunts behind the tower's front door.
- 1 Elite, 2 Jackals and 2 Grunts behind the tower's back door.
- 1 tower balcony Elite, or 2 on Legendary.
- 1 cloaked Elite in the tower, or 2 on Legendary.
- 2 Ghost pilots at the far tower corner.
- 1 Wraith pilot spawning in the pass.
- 2 Hunters and 2 Elites guarding the pass.
- 1 Banshee pilot on top of the tower.
Now the breakdown for just the free-roamers on foot (the key ingredients of the megabattle), including Hunters freed up into rage mode.
- Normal/Easy: 7 Elites + 8 Jackals + 12 Grunts + 2 Hunters = 29
- Heroic: 7 Elites + 10 Jackals + 11 Grunts + 2 Hunters = 30
- Legendary: 8 Elites + 14 Jackals + 10 Grunts + 2 Hunters = 34
For reasons of survivability, you may not want so many free-roaming Elites though, or at least not so many nasty red ones. Playing on Normal with the set-up seen in BCM439, in which two of the seven outdoor Elites were red, I soon found that survival was a tough challenge in many situations. In those cases I could've done with having one or two fewer Elites for better balance, so I didn't do quite so much dying. But on the other hand there were also plenty of situations where it was more easy to cope with the initial rush of Elites. It depends a lot on where and how you're fighting.