Pass blockade rumble
Associated movies
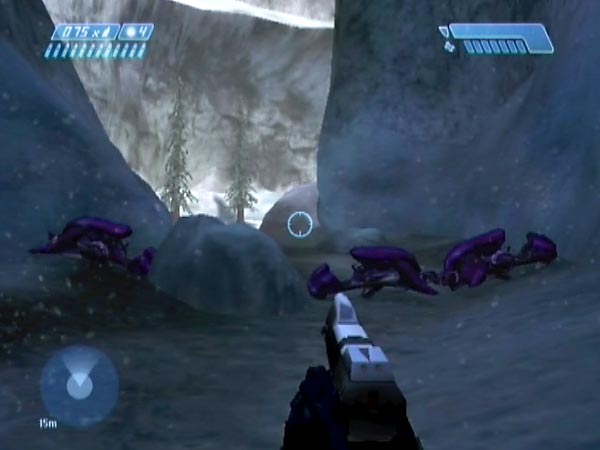
For this plan you need to've set up a 'pass blockade', blocking the exit of the narrow pass that leads through from the previous area. Three Ghosts are enough. Put one Ghost to the left of the large rock, and the others to the right. You don't necessarily need to overturn them to stop Elites boarding them; see my advice on Ghost safety. When building this, a minor issue is that the Ghost on the far right has a tendency to slide down the gentle slope at the side. However, it will stay in place if you persevere with the positioning, so it's not a problem.
Release the enemy by blasting the blockade with a rocket or grenade or Banshee bolt, then try to hold your ground from a well advanced position up near the top of the spiral path or beyond. You can expect a heck of a fight, with combat so intense that you probably won't know whether to laugh or cry. I urge you to give it a try on Heroic. You could also try it on Legendary of course, but rather you than me! I'll describe two specific variants of the general idea. These are the two ways I usually play it, and are respectively shown in BCM68 and BCM69. I'll also mention some bonus mischief.
Variant 1: Early release
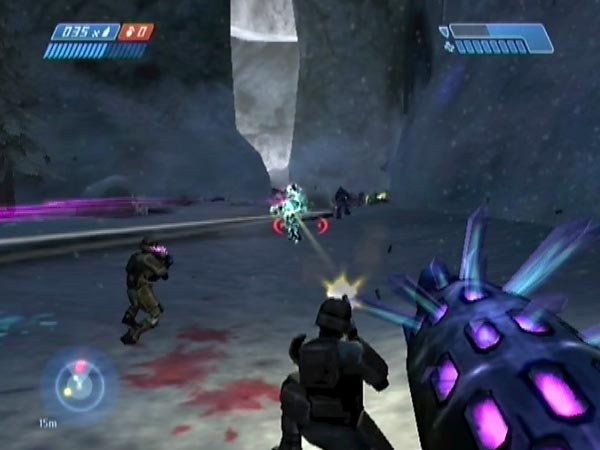
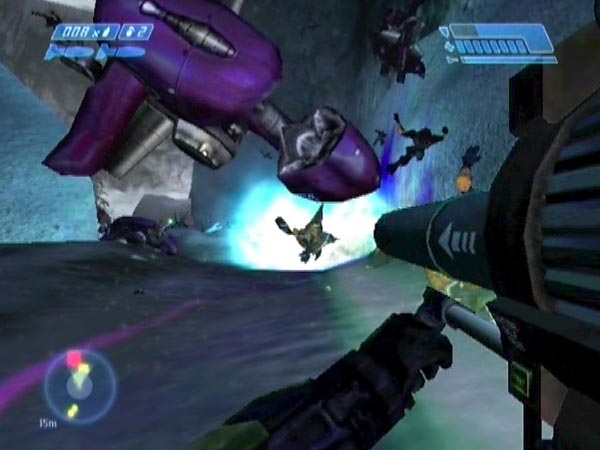
Fly up and blast the blockade with a Banshee bolt to release the trapped horde, then dismount and try to hold off the tide of enemies from near the top of the spiral path (basically a path top defence) - and maybe even advance when possible.
It's amazingly good. You'll have multiple Elites bounding your way in seconds, with Jackals and Grunts swarming close behind. The Marines will be heading up the path to help you out, and this time you might even be grateful. As usual the sniper is by far the biggest help. Quite often he's also the only Marine still standing after the battle! See BCM68 and BCM221 for some example action.
I've had a lot of fun with this plan using a pistol and plasma rifle (both available at the ammo area), but that's only one combo. Another favourite is a needler and rocket launcher. The needler is really effective and I hardly need point out the delights of sending rockets straight into the charging mob. I'm also keen on the AR for close-range drilling when things get really close and personal.
As for a sniper rifle, that would make things a lot easier but you'll still have to work fast against that released tide of enemy, and reloading can feel painfully slow when those Elites are getting closer and closer.
It's good if you've placed some spare weapons near the top of the path beforehand so you can always pick and choose. In BCM68 you'll notice that I put two needlers there, along with my other weapons. With so many enemies, you'll be glad of the additional needles, believe me! Actually I also placed a third needler part way towards the tree and there's a fourth beyond the rock afterwards, all helping to keep me well stocked when I advance (though there'll often be dropped needlers by then anyway).
If your save allows it, a rocket can be used to blast the blockade instead of using a Banshee bolt. Just fly directly to your defence position and shoot a rocket across to the blockade before the dropship comes down and gets in the way. As long as you got your battle start checkpoint promptly, you should have time for this.
Variant 2: Late release
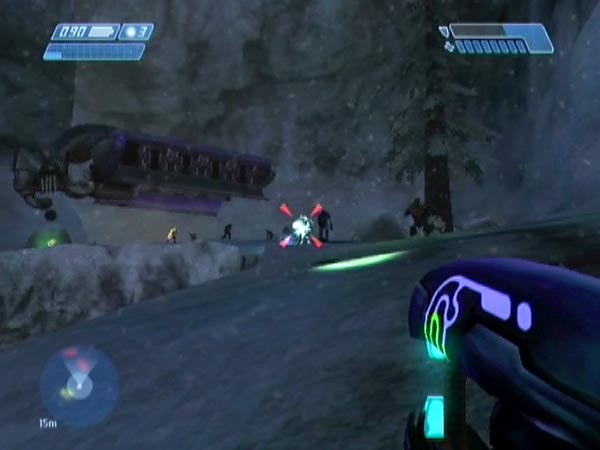
Fly up to near the top of the spiral path and kill the covies lurking near the tree, plus the dropship troops and maybe the Jackals by the rock. You can do it on foot or with Banshee fire according to taste. I quite like to blitz the tree group, then ambush the dropship troops as they start to head past towards my advancing Marines. Once you're ready, release the blockaded enemy and try to hold your ground against the onslaught. See BCM69 for two plays of this plan.
There'll probably be needlers available on the ground, and they can be a lot of fun as charging Elites will often run straight into streams of needles. You can use the tree and rocks for cover if desired, but after a while it'll probably be safer to move off nearer the top of the spiral path in case the situation goes from bad to worse (which can happen fast). From there you can use a needler to dispatch yet more Elites if you like. They tend to get preoccupied with the closer Marines, and fail to notice the glorious streams of stingy pink death heading their way. Love it!
Note: Sometimes you don't even need to release the covies, because they do it themselves when a Hunter takes a long-range shot at you and clumsily blasts his own troops, disrupting the blockade.
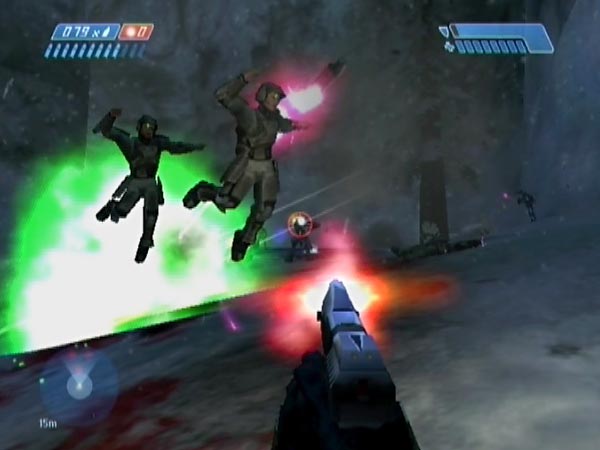
Explosive mischief
Let me also point out that instead of blasting the blockade to release the tide, you could advance on it, lobbing grenades into the enemy's midst and perhaps adding rockets for good measure. Those poor covies have got nowhere to go - except up. The term 'utter devastation' comes readily to mind here, and I've seen the most spectacular chain reactions this way. Get nice and close for the fullest earth-shaking experience. I'd class this as mischief rather than a proper battle plan, but that sure doesn't stop it being a load of fun. It's a great bonus.
Note: For both this and the early release plan, you could potentially delay a battle start checkpoint until ready to tackle the blocked mob. That way you can just focus on the core part of the fun without needing to take care of preliminaries each time (not that those aren't fun too). Better make sure not to provoke any Hunter shots beforehand though, else the mob might escape.