Path base defence
Associated movies
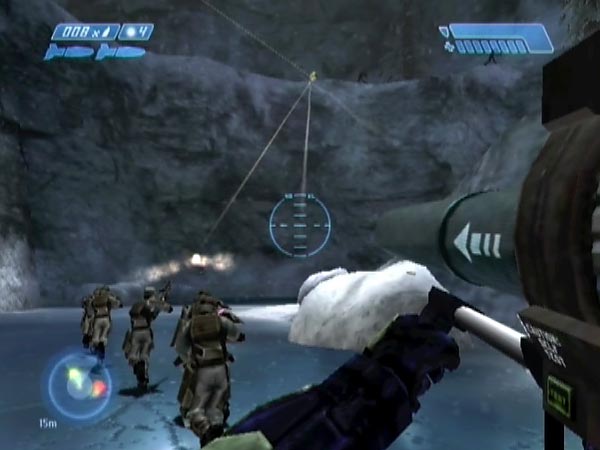
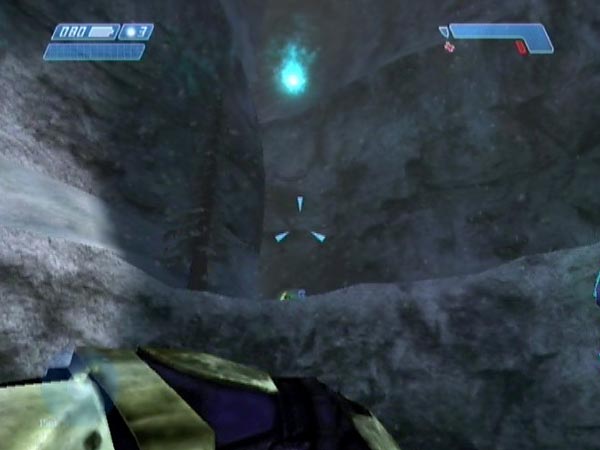
Defend near the base of the spiral path, trying to hold your ground as the enemy stream down. You can get there quick in your Banshee, possibly after doing a quick weapon swap at the supply area. Once the flow of enemies has stopped, head up the path and wipe out the remaining troops.
You'll be in for a relatively tough and hectic fight, partly because your proximity brings enemies down faster. On Heroic a typical battle might last around two and a half minutes, compared to more like twice that if you were to defend back along the ice path. It's especially great for rocket fun.
Setting up and heading into battle
With the path base defence it's best if you can get into position before enemies are coming down the path, otherwise it can be a lot harder not to get overrun - and bear in mind that this is a relatively difficult defence at the best of times! If you want to create a dedicated save, make sure you're carrying your desired weapon combo so you won't have to spend time swapping any weapons at the start. Also, when you kill the Hunters at the underpass, remain in your Banshee so you can fly off as soon as you get the checkpoint. Actually you could even start flying off before you get the checkpoint, hoping you'll get it on the way. You should do if you killed the Hunters promptly.
With a good set-up you can reach the base of the spiral path just ahead of the Marines, skimming over their heads on the way. That's quite good fun actually; I like to get real low to give 'em a wake-up call! You can let the Banshee slide clear as you dismount, so it'll be reasonably well out of the way in the battle. An alternative arrival plan is to ditch the Banshee a little earlier and tag along with the Marines. That's quite nice and has the advantage of keeping the discarded Banshee well away from the defence area (so you won't inadvertently board it when trying to reload).
There's also the possibility of using the Marines checkpoint instead of the usual underpass checkpoint, enabling you to start shooting even earlier. That's good too.
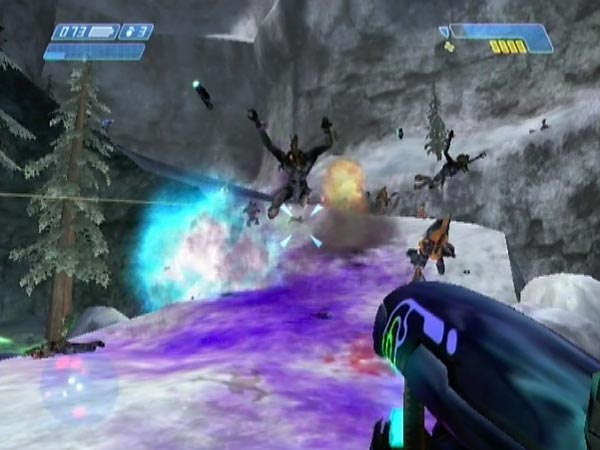
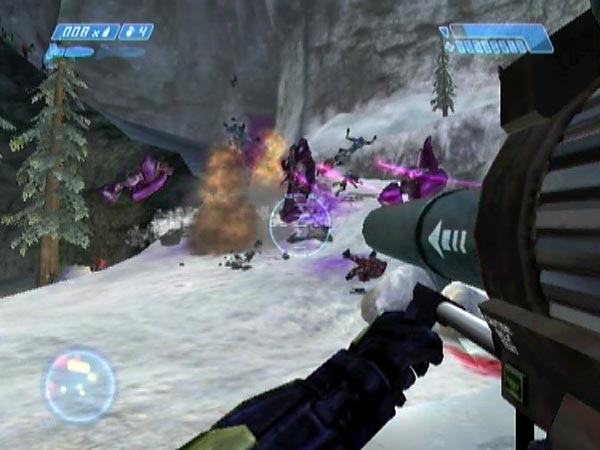
Rocketing delight
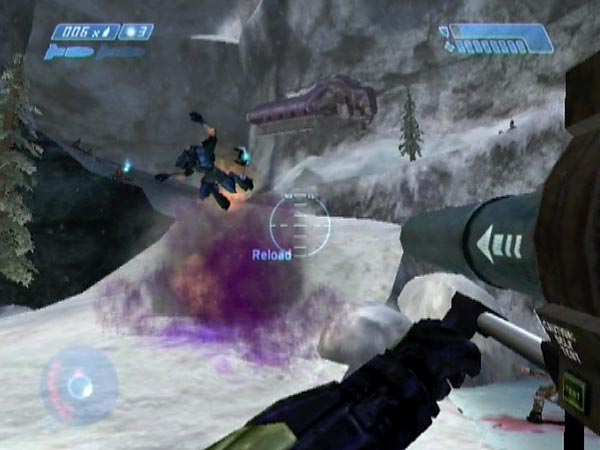
This plan should be a sheer delight for rocket enthusiasts. I've never had as much fun with the rocket launcher as in the spiral path megabattle, and this battle plan gives perhaps the most enjoyable opportunities. You can have some great fun sending in rockets to blast the enemy to pieces as they descend. They're practically queuing up for decimation on the spiral path. "Next!". You could even have a spare launcher on hand for extra rockety goodness, as mentioned in Spare weapons. It can be tough to survive though, with the enemy streaming down so fast. Staying alive is much harder than with a defence back along the ice path. For improved efficiency look for good concentrations of enemies to rocket, or a couple of Elites you can take out together in one shot.
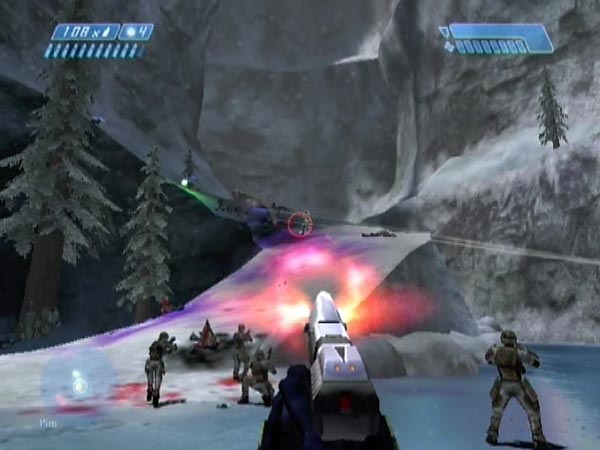
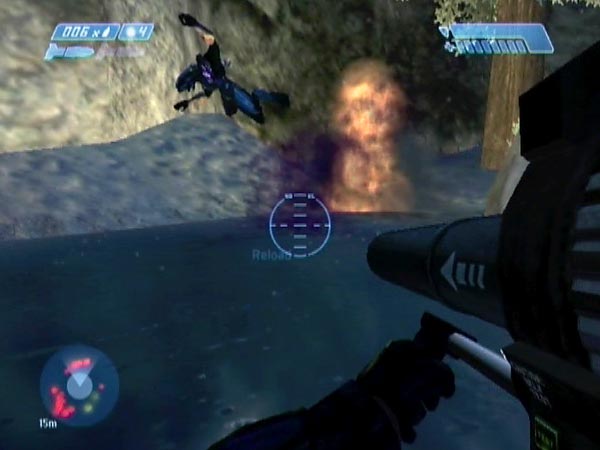
It's not just enemies on the path you can have fun rocketing. They stream along the cliff edge above and sometimes stand around shooting down at the Marines. If you slam a rocket up into the edge, you can send them flying. I find that so satisfying, especially with the Jackals! Getting hits on the top of the cliff does takes a bit of practice though, as you have to fight a little against the game's slight auto-aim help. I find that a light touch on the right joystick works best. It's also a challenge to take out moving targets, especially galloping Elites, bearing in mind that you have to allow for the rocket's flight time.
You can also go for direct hits on enemies, but obviously it'll help if they're not moving. Hunters are a good bet there. They sometimes stand on the edge and fire long-range shots which can rock you in your boots, so watch out! If possible, blast them before they blast you. Other times, enemies can be so densely packed as they move along that you stand a fair chance of scoring a direct hit on someone if you just fire at the crowd.
Pistol work
The pistol is my favourite backup for the launcher. It's handy for finishing off Elites and is great for taking out scattered minor enemies, especially Grunts about to throw a grenade. It's also good for peppering Elites to make them pause for a while about halfway up the path. By doing that you can end up with a nice cluster of Elites and other enemies, ideal for rocketing. I find that a very valuable tactic! On the minus side, a pistol isn't ideal for fighting back if you start to get overrun. For that situation I'd ideally like a plasma rifle, and I'd be throwing grenades left right and centre! Mind you, once you start getting overrun, it can be very hard to recover whatever you're using.
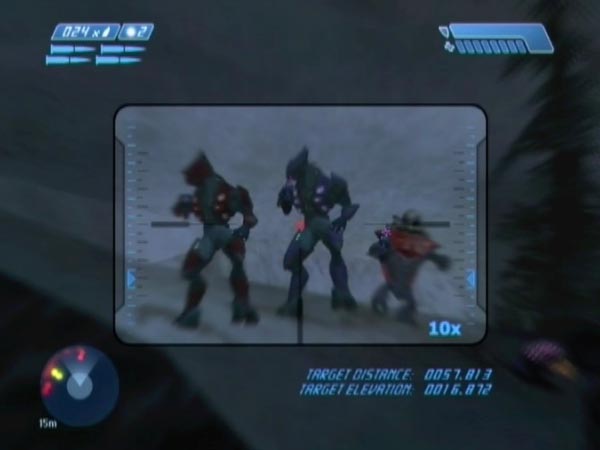
Sniping
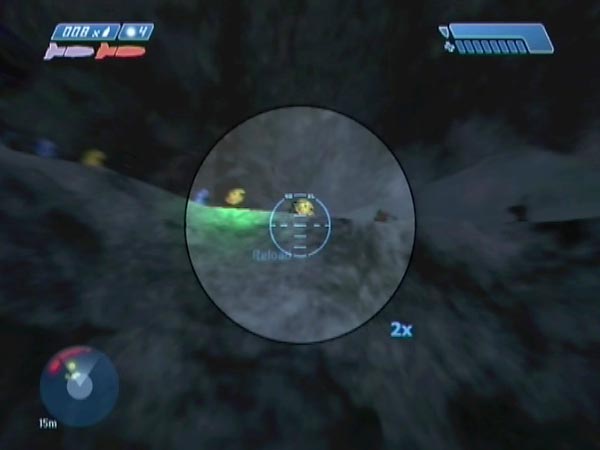
This plan is also pretty special for sniper rifle use. You can have some great fun trying to bring down Elites as they bound along the cliff edge or come down the path. Other enemies too of course. If you fancy yourself as a fast-working sniper, now's the time to prove yourself! You can frequently get two or more enemies at once, when they line up nicely. With such a small clip and slow reloading, such opportunities are well worth looking out for. The pistol is the natural backup weapon here. Enemies will tend to stream down faster than you can get them all with a sniper rifle, but you can switch to a pistol to try and headshoot minor enemies or finish off Elites.
There are some rocks at the back of the defence area, and you may like to hop up on a tallish one to use as a sniping platform, or use one as cover. When you're well to the rear like this, most of the enemy fire is likely to be directed at the Marines, letting you do your sniping work without too much interference. That is, until all the Marines are dead. At that point you'll notice a nasty sudden influx of plasma and needles!
Grenading
With grenades I have two particular tactics. Firstly, I use pistol fire to try to make enemies pause around halfway down the path, and when I've got a nice cluster I lob a grenade up there for a nice bang, as an alternative to sending in a rocket. There's often a chain reaction as I've probably killed a few Grunts there. It's pretty effective, and by making good use of this tactic it's actually possible to survive the attack on Heroic using just a pistol and grenades.
I tend to use plasma grenades for that tactic. Frags are more valuable for when the enemy get further down the path - which is when you start to be in danger of getting overrun. So my second tactic is to try to reserve frags for enemies lower down, particularly if they look like they're not going to stop. Often I use them to take out minor enemies, while taking care of Elites with rockets.
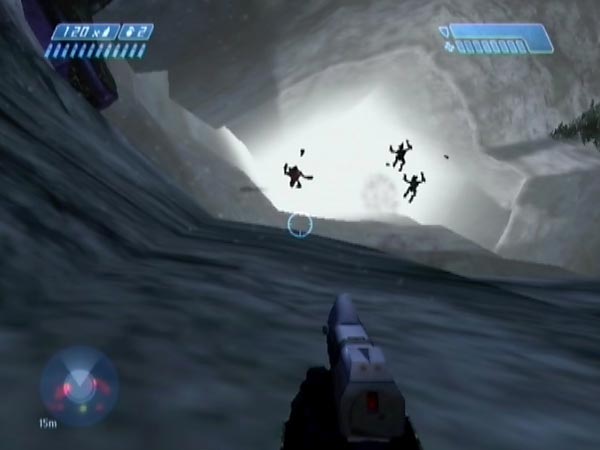
You can also throw grenades up to land on the cliff above. Not easy, but it's certainly possible to blow enemies off or even tag them.
Here's some mischief along those lines - not a serious tactic. If you get right up against the base of the cliff and throw a grenade almost directly up, it should eventually come down pretty close to the edge, and it can blast enemies off or make them dive off. When you're looking straight up like this, it's quite a novel sight to see them come flying out over the edge, silhouetted against the bright patch of sky. If you like, you can enjoy trying to shoot them in mid-air; especially the live ones. When a live enemy is coming more or less straight down (perhaps an Elite with flickering shield), you could even intercept him with a rocket. While you're busy with this mischief the enemy tends to focus on the Marines until they're all dead, so you hopefully won't come under much fire. To get an extra big bang, throw a plasma first, immediately followed by a frag. They should end up going off at about the same time.
Drop-in visitors
Elites often end up taking an unintended shortcut down into the inner area below the path, where there are a few trees and rocks. It's usually because they stumble off the path as they're coming down or dodging around, but it can also occur when they leap clear of a grenade or get blown down. Other enemies can end up there too (I've seen Jackals fall off the path when simply trying to skirt around a fizzing plasma grenade), but it's Elites you should be more worried about of course. They can quickly become a nasty thorn in your side, so try to watch out for these drop-in visitors to avoid being taken by surprise. Deal with them as quickly as you can, so you can get back to focusing on the path. They often take a few seconds to recover after a fall, which gives you a chance to lob a grenade their way or send in a decisive rocket, or whatever.
Elites can even survive a fall from way up on the cliff. One cause of them occasionally dropping in from there is when they get a plasma ball in the back from an over-anxious Jackal, heh heh!
Quieter times
When things quieten down a bit, there are a couple of unusual ways of taking care of enemies up on the cliff edge above, while you're still down below. For one thing, it's actually possible to get them with the needler. Indeed, if a Hunter is edging slowly along, try sending stream after stream of needles up into him. I saw something quite striking doing this. His orange blood suddenly streaked the entire way down the cliff, leaving an almost solid strip maybe a metre wide. For another thing, bear in mind that a plasma ball from a plasma pistol can just about home in okay, which makes it good for removing a Jackal's shield.
Something else I like to do is to lob a plasma grenade up, trying to get the Jackals by the rock at the far left. It's not an easy throw, but with practice you can land a grenade nicely so it sends one or more of them flying down to the ice. Pretty satisfying. You can do it from down on the ice or from the lower half of the spiral path. It's especially nice when the grenade plops down behind them and they continue just crouching there, watching you. Beaky fools! Alternatively, slam a rocket into the rock behind them, to send them flying off almost horizontally. Hilarious!
Using a blockade
A blockade somewhere across the lower section of the spiral path is good for allowing you to pick the enemy off. Or if you let a crowd build up, it's superb for sending in a rocket. The further back you place the blockade, the less fire you'll have to suffer while doing your work. One problem you tend to get with a Ghost line here is that Elites occasionally come over it. That looks more to do with slope-induced clumsiness than intent, but it's not too much of a problem.
You could also make use of a blockade much higher up, maybe on the cliff, such as the 6-Ghost blockade mentioned in the path top defence plan. Let enemies collect, then release them and prepare for an intense onslaught at the path base. Note: With that cliff blockade, you can potentially blast it from down on the ice by rocketing the end, which should just be visible over the cliff. Or you could try your luck with a high-lobbed grenade. That's if you want a change from using a Banshee blast.
Chain-gun fun
If you brought in a Warthog or two, you can have fun mowing down covies with a chain-gun or getting supported by a chain-gunner, or both. This battle plan is perhaps the best for chain-gunning, as the enemies make such appealing targets on the path. Here are some tips.
If you want the support of a chain-gunner, remember that you'll need a Marine-retaining hog so the gunner won't jump out after you dismount. At the start of the battle you'll need to get a gunner mounted up, which can sometimes be a frustration due to how slow the Marines are to run over and man the gun. It can help if you've got a blockade up on the cliff to keep the enemy back. In that case you'll have all the time you need to get ready down on the ice before releasing the blocked horde (with a rocket or grenade or Banshee blast). While a chain-gunner rattles away, you could of course be on a chain-gun of your own. This can be a whole lot of fun, and the sound of dual chain-guns blazing away is great.
When chain-gunning you're likely to build up a large mass of bodies and grenades in a small area, so you may eventually like to jump out to set off a spectacular chain reaction, sending bodies flying in all directions. Have a rocket launcher ready, backed up by something for tackling enemies close up, in case you you need it.
On Legendary it can be hard to withstand the enemy fire, and even on Heroic your shield is likely to be bleeping like crazy half the time. That's the trouble with chain-gunning; you can't dodge. Also, Hunters are bad news for stationary hogs, so you might want them all killed beforehand. Invited guests only!