Valley Banshee spawning and fun
Posted September 6th 2018
Associated movies
- Introduction
- Set-up method 1
- Set-up method 2
- Spawning and behaviour
- Set-up character
- Watching and other fun
Introduction
In the second half of the level, the two 'valley Banshees' spawn over a valley cliff, a few seconds after a first survivor area has been handled, whichever one that may be. What constitutes 'handling' an area? One trigger for that is when the last covie for the area dies, and another is when the last survivor dies. There are a few other possibilities too, less likely to happen in normal play.
What we're especially interested in here is getting a good view of the Banshees spawning, and of their subsequent behaviour, which is an interesting business. The best view of the spawning is obtained on top of the hill bordering the cliffside survivor area. Fortunately it's possible to set things up with a checkpoint there, from which you can repeatedly cause spawning by killing a cliffside survivor you brought up with you (the last remaining survivor). My movies BCM302 and BCM307 show two methods of doing that, and I'll detail those methods now, before talking about Banshee behaviour and more.
Set-up method 1
This method is demoed in BCM302. I used Easy to show the easiest working (there's no serious enemy threat), but you can use any difficulty. It's quite easy even on Heroic.
On arrival in the valley, get the sniper rifle at the lifeboat, as you'll want it for viewing the Banshees later (I'd suggest having a pistol too). Then go to the rockslide survivor area and do enough to trigger the first dropship. You can do that by killing most or all of the initial covies and entering the trigger zone. Another three dropships will follow over the next five minutes or so. While in the area, you can also take advantage of the lifeboat supplies.
Drive to the cliffside survivor area. I recommend saving the entry checkpoint so that if things don't work out, you can try again from there.
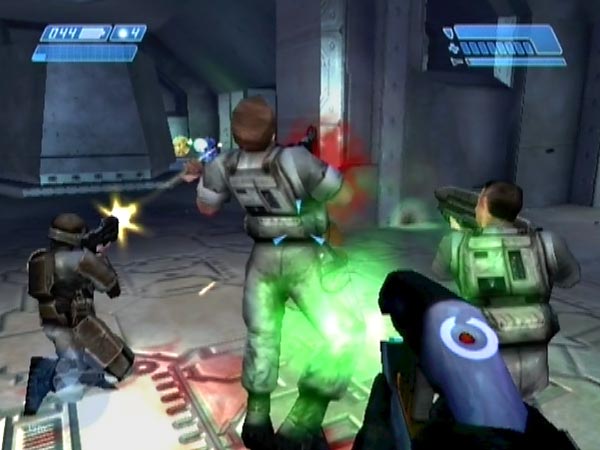
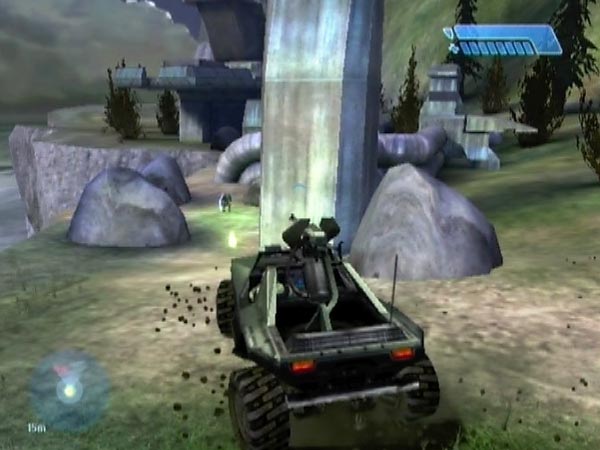
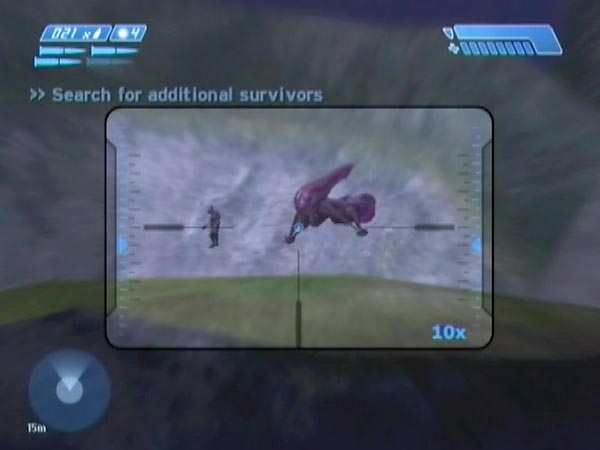
Get a Marine aboard and have the other survivors die. On Easy you'll probably need to kill some yourself (that's what I routinely do anyway; see pic), which is best done mostly during combat when allies are more tolerant. Incidentally, survivors won't head up top until Cortana gives an evac call, and there's sometimes quite a delay until she does.
In regard to covies, kill most or all the covies in the pick-up vicinity prior to heading down. It's okay to kill some of the more distant covies too (before or after), but leave at least seven covies alive so the game doesn't initiate a countdown timer to considering the area handled, which would trigger the Banshees.
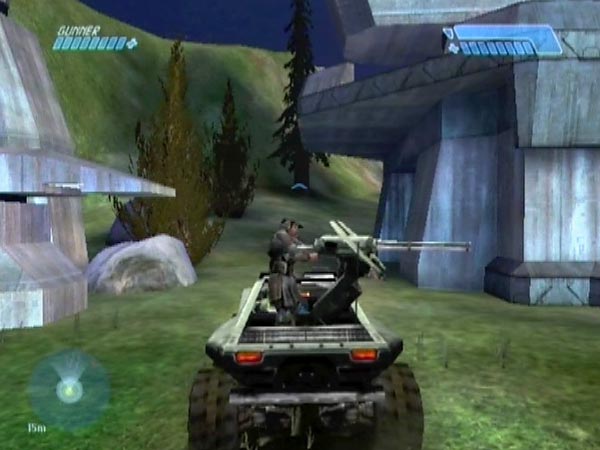
When you've got your Marine, drive up the hill (there's a particular place where the slope is negotiable). If you didn't dawdle in getting him, you may well be up in time to see dropship 2 leaving. The arrival of dropship 3 is easily recognized (it comes in from the left of the rockslide area), and there's an associated checkpoint.
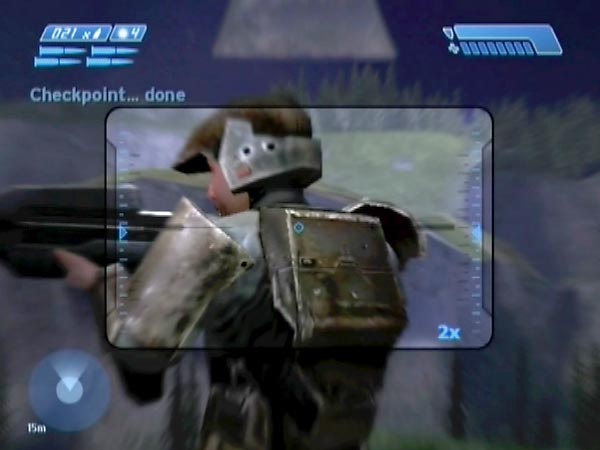
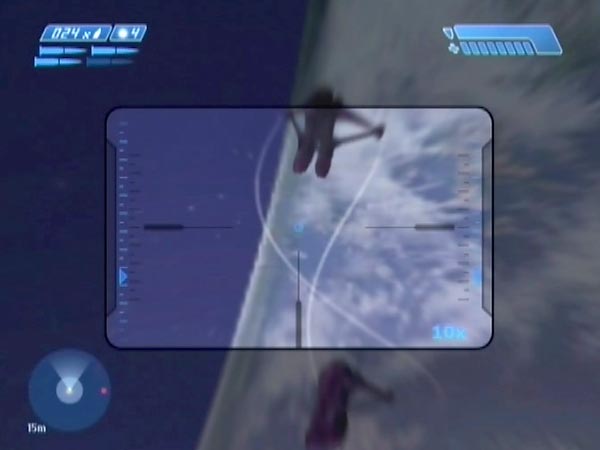
The next checkpoint will be for dropship 4, which will complete your set-up. In preparation for that, arrange things how you like, ready to kill the Marine (the final cliffside survivor) and thus trigger the Banshees. You can be anywhere on the hill, but if you want to avoid being immediately spotted, be near the right-hand end. For maximum convenience I suggest having the Marine dismounted and your sniper rifle zoomed in on him in the direction of the spawning zone, like in the demo.
Spawn failure possibility
Your set-up may turn out to have an anomaly, whereby killing the Marine doesn't spawn the Banshees. I'm mystified about that, but at least it seems unlikely, based on my experience. I advise checking for this anomaly after getting a first checkpoint on the hill (probably for dropship 3). If the Banshees don't spawn when you kill the Marine, I think there's no point continuing and you should start over. If they do spawn, revert and continue the set-up, and I think it'll turn out ok.
Countering potential jerkiness
A potential drawback to this set-up method is that the game will be under extra processing strain due to your having triggered the rockslide dropships. This can lead to dropped frames and jerky viewing, when viewing the Banshees with non-zoomed view. Moreover, you might have jerky viewing even after the last dropship has gone (so I guess the situation in the rockslide is causing the game a fair bit of strain).
However, you can combat this and hopefully eliminate it, with two measures performed earlier on. (1) Kill any Jackal guards to the cliffside area. There are three on Easy and Normal, one on Heroic, none on Legendary. (2) When you're in the cliffside area, kill some of the covies that aren't nearby (but still leave at least seven alive).
Actually there's one other thing you might consider. You could delay the dropship 4 checkpoint by jumping, until the dropship vanishes (something you can see from the hilltop). I've never bothered with this myself though, as the above two measures already seem enough.
More options and discussion
In my demo I originally entered the valley without any passengers, but if you want some company you could potentially have one with you and keep him all the way to the hillside clifftop. Or you could pick up a guy at the rockslide if you want.
Instead of getting the sniper rifle at the valley lifeboat, you could instead get the one at the rockslide lifeboat, and maybe top it up later at the valley lifeboat.
In the cliffside survivor area, which of the two openings to the underground area is it best to use? In my demo I used the one inside a cramped enclosure, but perhaps the other one is just as good or even better. I never actually checked. With the enclosure, an issue to contend with is that a Marine may hang around inside. This is the main reason I settled on the strategy of initially bringing two Marines up; so that hopefully at least one of them would home in on the hog.
Instead of only picking up one cliffside survivor, you could pick up two, and kill one before getting your final checkpoint.
Why not use the dropship 3 checkpoint to finish off? Well, you could, but the dropship 4 checkpoint will still be due, and when it comes you'll no longer be able to revert, to respawn the Banshees. That's inconvenient.
If you're in a certain area on the hill when you kill the Marine to spawn the Banshees, Cortana will say "We… didn't save any of the Marines. 100% casualties"; and also, a dropship spawns at the rockslide entrance, along with covies on the ground. But in other places you don't get this.
From the hilltop, you actually have the option of driving off the hill with your Marine (give the hog some spin to stabilize), down into the valley. Then, killing him will trigger the Banshees just like it does on the hilltop. You won't have such a good view, but maybe you have some other reason for wanting to spawn the Banshees from within the valley.
Set-up method 2
This second method is demoed in BCM307. Unlike before, it doesn't involve triggering the rockslide dropships. Consequently the game doesn't get so strained and there doesn't seem to be any danger of dropped frames (jerky viewing) later on. To me that's the main advantage, but it's also a quicker method if you care about that. On the minus side there's some careful checkpoint delaying needed, which isn't all that hard but which may feel awkward if you're inexperienced (you're having to multi-task).
On arrival in the valley, get the sniper rifle at the lifeboat. You'll want it for viewing the Banshees later (I'd suggest having a pistol too).
Drive into the cliffside survivor area via the left entrance, killing any Jackal guards on the way if you want. Save the entry checkpoint so that if things don't work out (e.g. if you mess up the later checkpoint delaying), you can try again from there.
Approach the cliffside opening to the underground section and kill nearby ground-level covies to make the area safe, then position the hog ready for picking up a Marine survivor.
As with method 1, get a Marine aboard and have the other survivors die. On Easy you'll probably need to kill some yourself, which is best done mostly during combat when allies are more tolerant. There's another task to perform too. As you cross either of the two short bridges underground, you'll trigger the 'meet-up' checkpoint. Keep it delayed. Initially you can use enemy threat and jumping.
When you eventually get a Marine outside, you can use a grenade throw to keep the checkpoint delay going during the boarding and getaway. There'll probably be a dropped plasma nearby, which you can pick up to replace one you threw.
Drive up the hill. During this time, enemy threat will very likely be enough to continue the checkpoint delay until you're up. But then quickly dismount. From here, use jumping and grenade throws to finish off how you want. Each grenade throw will give you a little time to do some driving and possibly more. Throw high to get the most time. You can potentially get an arrangement like the one I suggested for method 1; or if you prefer, you can do something simpler.
Optional precursor, affecting Banshee behaviour
With the set-up as described so far, you seem get different and less varied flight behaviour from the Banshees (across set-ups), compared to when using method 1. Quite surprising! But it turns out that if you precede the main work by getting an entry checkpoint to one of the other survivor areas, that affects things, and as far as I can see, you get outcomes akin to those of method 1. Why should it affect things? Getting the checkpoint is enough to've caused the spawning of covies in the relevant survivor area, and I suspect there's something about their presence which affects the Banshees. That's all I can say though.
Spawn failure possibility
As with method 1, there's a chance your set-up will have an anomaly whereby killing the Marine doesn't spawn the Banshees. In that case you'll just have to start over (from the cliffside entry checkpoint I said to save). The chance seems small though. I don't know how it compares to the chance when using the method 1.
Using the other opening
For the pick-up you can doubtless use the other opening instead of the cliffside one, but I thought the latter would be the better choice. If you do try using the other one, bear in mind that when you head down to the survivors, the meet-up checkpoint will be triggered just after the last ramp.
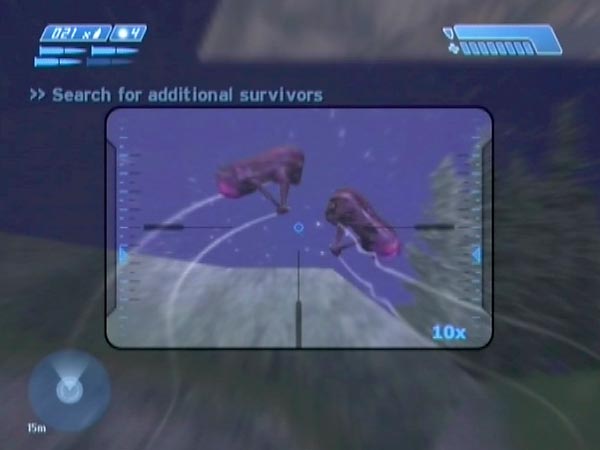
Spawning and behaviour
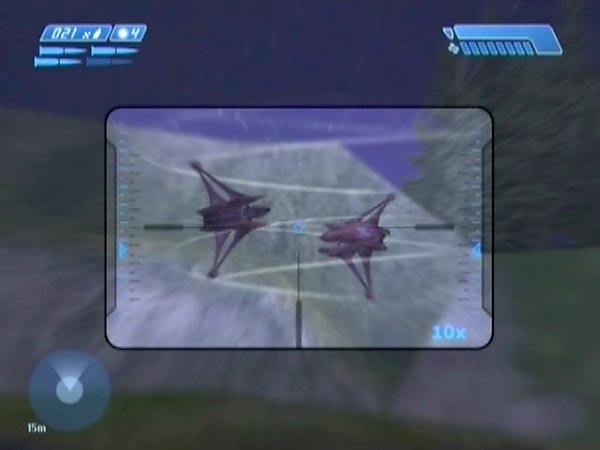
The Banshees spawn a few metres off the ground, and simultaneously the pilots spawn outside. The game quickly moves them to their vehicles, where they board and get flying. Incidentally, I've tried hard to snipe a pilot while he was still exposed, but I never saw any any indication of a hit, which makes me wonder if the pilots are actually impervious during that time. However, I won't say for sure that they can't be sniped. If you want to put some work into trying, be my guest!
Sinking
After spawning, the Banshees almost always come together - possibly making contact. From there, the most common behaviour you get is sinking circling, the subject of BCM303. It could be right-circling (banking right) or left-circling, and the orbital period always seems to be about 3.44 seconds on PAL Xbox. It's a small and fast orbit, and the sinking is pretty fast too. The Banshees are soon skimming around on the clifftop.
In the case of right-circling they seem to always then drift towards the cliffside survivor area. When they reach the edge the circling is briefly impeded, but they typically then continue on down to the ground and end up skimming around at a particular bit of stream below. They'll circle indefinitely - now with a slightly faster period of about 3.2 seconds on PAL Xbox. You may well have encountered the Banshees there in standard play a few times. Well, now you know how they got there!
In the case of left-circling however, they seem to always drift in the other direction. Seen from the cliffside hilltop, you can expect them to gradually go out of sight, but they're likely to reappear to the right and circle down a long slope, then fall off and reach the ground near the first entrance to the rockslide survivor area. There they'll drift a while and probably end up hitting trees, causing the break-up of the circling. After that, you might see the Banshees do some random playing, a highly watchable behaviour focused on in BCM294 and BCM298 in a different context. But they're liable to soon be separately patrolling around the valley.
Rising
The other common behaviour for the Banshees is rising circling. The orbit is larger and slower than when sinking, with a period of about 5.68 seconds on PAL Xbox. The speed of rising is variable but much slower than sinking. Sometimes it's so slow that you can't notice any rise across a single orbit. One other difference from sinking is that the Banshees can be quite close together along the orbit, rather than being pretty much opposite one another.
Sometimes (as seen in BCM305), rising can take a significant time to get established. The Banshees can initially seem to be doing sinking circling, but things aren't quite settled and you can see them making small adjustments as if uncomfortable. And eventually - which I've seen take as long as around 30 seconds - they switch to a larger orbit and settle into rising circling.
The obvious question with rising is, do they just keep rising forever or what? I don't have the full answer, but you can see what happened when I let things continue in BCM304. The rising continued for the better part of six hours, by which time the Banshees were enormously high. And then I got a surprise! One of them broke off and they ended up diving all the way back down, taking about 80 seconds. I don't know if they hit a ceiling or what, but I was able to replay things from a recent checkpoint to repeatedly see the circling break up. The break-up was fairly predictable, time-wise. They didn't always end up diving back to the ground though. There were two other outcome possibilities, both of which seemed more common. Sometimes they started diving but the descent was arrested and they resumed slow circling; rising again I assume. But other times they got into sinking circling, and sank back to the ground over the course of about ten minutes. All pretty remarkable!
I'll say one other thing about rising. If you use method 2 without the 'optional precursor' (getting an entry checkpoint for one of the other survivor areas), rising Banshees don't seem to share the same orbit. Their orbits appear somewhat offset from one another, in contrast to what you otherwise get. Strange.
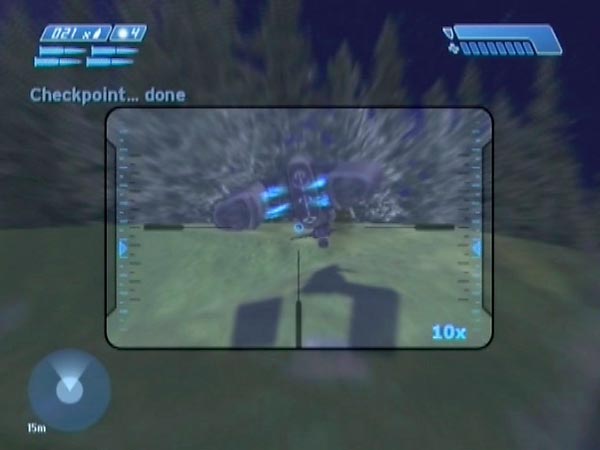
Unusual early behaviour
There are some unusual early behaviours you can get, four of which I showed in BCM305 (which was before I was using my second set-up method, with which I saw at least one new unusual bit of behaviour, seen in BCM307; namely a brief break-off).
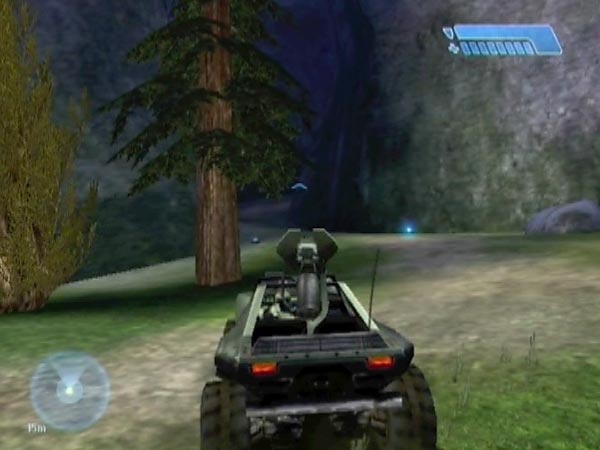
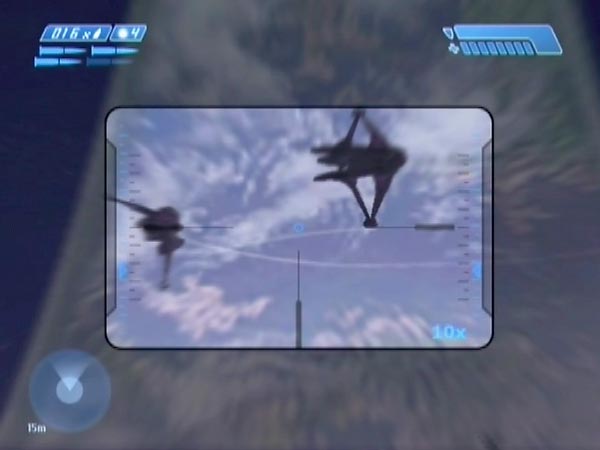
One unusual thing is when the Banshees do an initial spiral climb (see pic) - after which you might get some sinking or rising circling for example.
Another is when they start circling but one of them quickly breaks off. It always seems to be the right Banshee which breaks off, and the break-off direction tends to be quite consistent for a given set-up. I did have one set-up where the direction had quite a bit of angular variation though (obtained only after releasing BCM305, which had featured the caption "The direction is predictable").
Another is when apparent sinking becomes rising, something I already mentioned in talking about rising. And one more - which makes a remarkable sight - is when the Banshees come together and do a sequence of amusing jinks, after which you might get some circling up or down, or some random playing.
Set-up character
By the 'character' of a set-up, I loosely mean the range of Banshee behaviours it gives you, and the relative frequencies thereof. The thing is, different set-ups can have quite different character. For example, with one set-up you might find that the Banshees almost always do right-circling sinking but sometimes do right-circling rising. With another set-up you might find that you always get left-circling rising. Also, some set-ups give you instances of unusual early behaviour, while others don't.
In view of this, bear in mind that if you only ever use one set-up, you won't get to see the full range of Banshee behaviour. Indeed, it's fairly typical for a set-up to only feature one or two behaviours. To see a wide range of behaviour you'll need to create multiple set-ups.
Using a base save
If using method 1 for setting things up, you could save the dropship 2 or dropship 3 checkpoint to obtain a base save from which to produce set-ups; and you can expect those set-ups to vary in character. This is an efficient way of getting multiple set-ups, to see lots of different behaviour. With method 2 you can't produce such a convenient base save. The best you can do is to use the cliffside entry checkpoint for a base save. From there, you'll still have to do quite a bit of work for each set-up.
Watching and other fun
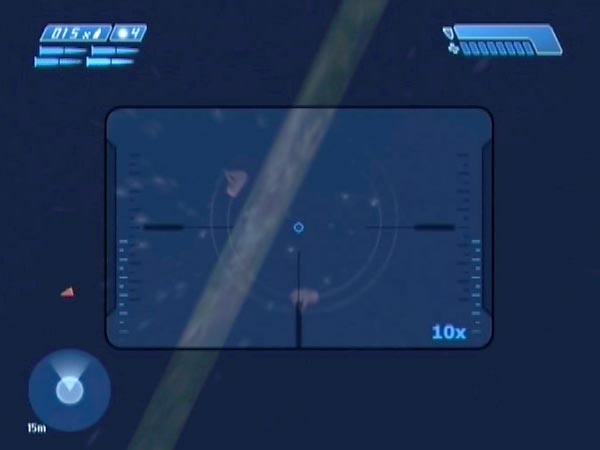
After the Banshees spawn, there are various activities to enjoy, but the most obvious one is to simply watch what they do, from a sufficiently distant place that you don't get spotted. You'll definitely want a sniper rifle for this, especially in the case of rising Banshees. If the Banshees end up patrolling around in the valley, they're liable to get close to you at times, but you can potentially remain unseen by backing off down a bit of slope on the right-hand end of the hill.
Of course, you don't have to stay on the hilltop. If you want to go out into the valley for other views or whatever, I suggest that you first drive off back into the survivor area (you can spin down off the hill as seen in BCM303), so you can then get an exit checkpoint. Then you can always revert and replay.
Combat fun
If the Banshees circle down, you can have fun trying to get some close views like I did in BCM303. You can even be waiting in position before they're down. Another thing you can do is ambush them in various ways. Check out BCM306 for a load of Warthog stunting and hog-assisted tagging. Incidentally, for combat fun you obviously want to be well stocked with grenades, and especially plasmas. Keep that in mind in your set-up work.
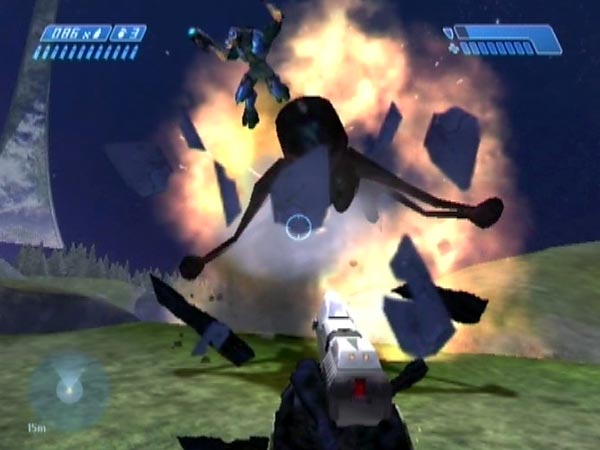
Some obvious fun to have on the hilltop is to deliberately get spotted, then defend against the inevitable attack. In that situation you can enjoy not only tagging (this makes a great practice scenario actually) but also fragging, because the Banshees potentially fly low across the hilltop. Talking of which, want to see both Banshees getting fragged at once? See the end of BCM307 - and try it yourself!