Setting up
Basics
Here's all you need to get started, if you just want to jump straight in.
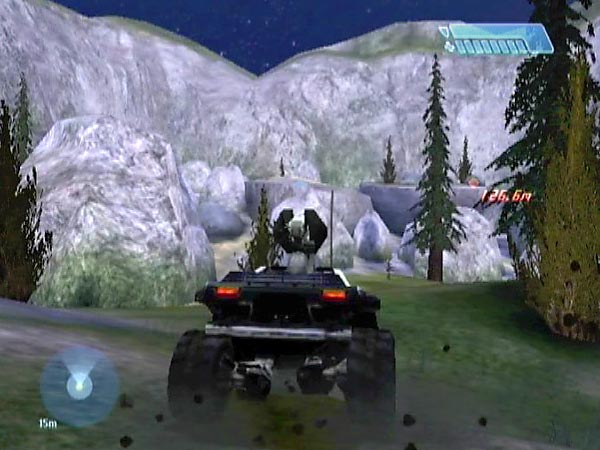
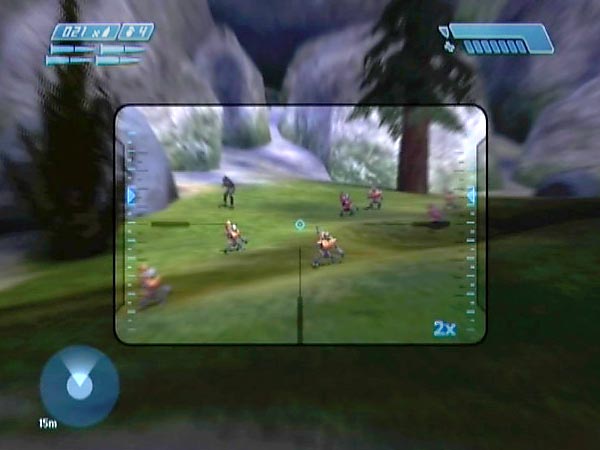
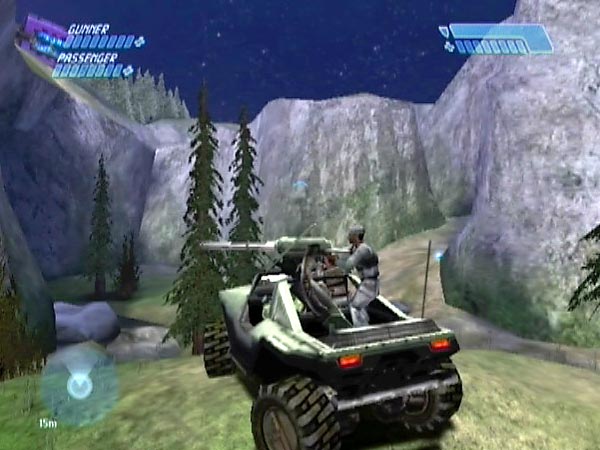
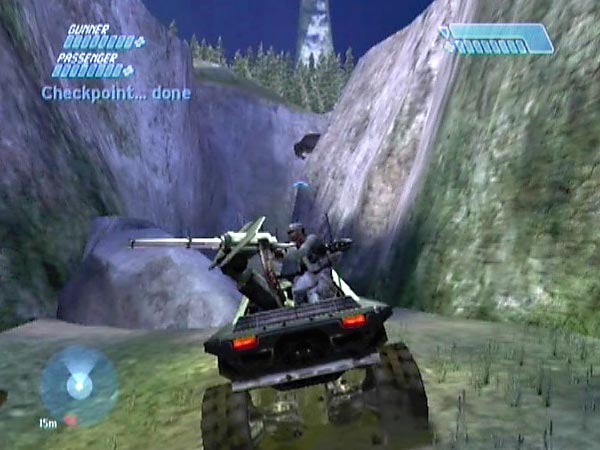
The rockslide megabattle takes place in the rockslide area of level 2 ('Halo'), where a group of Marine survivors is hiding in a maze of huge rocks. When you arrive there, do enough to trigger the arrival of the first Covenant dropship - e.g. kill the covies and go near the Marines - then leave. Wait out in the valley or whatever. When you get the arrival checkpoint for the fourth and final dropship about five minutes later, head back in, getting an entry checkpoint on the way. You now have dozens of covies milling around looking for trouble. Give it to them!
Typical battles last around two to five minutes. Once you've defeated the alien horde, you'll have plenty of time to revert to your entry checkpoint to start the battle all over again.
Difficulty levels
On Heroic, my usual difficulty level for the battle, you can potentially face 34 covies including the initial group. On Legendary you get 5 extra Elites, whilst on Normal or Easy you get 5 extra non-Elites. Whatever difficulty level you choose, the intensity means that things will feel a lot tougher than what you'd normally expect at that level, so watch out! Legendary tends to be too severe, especially for the Marines, though it can be viable with certain tactics such as allowing yourself good chain-gun support or the use of a sniper rifle. So even if you normally play levels on Legendary, I'd recommend using Heroic or lower, at least to begin with.
Avoiding framerate slowdown
If distant Banshees are flying around during your megabattle, they'll tend to cause some framerate slowdown (apparently they're adding heavily to the game's workload), degrading your battle experience. To prevent this possibility you should first deal with one of the other survivor areas so the Banshees get triggered, and then destroy them. If the rockslide is the first area you tackle, the Banshees won't exist to begin with but they could get triggered part way through your megabattle - namely when all rockslide survivors get killed - and you might then start getting framerate slowdown.
Fighting to music
If you want the megabattle to be accompanied by rousing music, deal with both of the other survivor areas first. Just as the final dropship is heading in, the game should start its climactic music as this will be the final conflict of the level. It's great music, but personally I prefer to do without, mostly to increase the realism but also so I can hear everything better. Besides, I'll often be playing for an hour or more, which is a long time to be hearing the same music over and over!
Elaboration
In chronological order, here's some elaboration of aspects of the set-up procedure (after dealing with another area and destroying the Banshees). The most important thing here is the question of whether you want to try and save the Marine survivors to fight alongside later, or whether you prefer to help out the initial covies to maximize the enemy count for the megabattle. Actually it's possible to preserve most of the Marines and all of the covies, but that takes a lot more care so I've covered that separately elsewhere. Best to keep things simple to start with.
Save a checkpoint before heading in
It's a good idea to save a checkpoint somewhere before entering either of the passages leading into the rockslide area; e.g. the one you can get at the waterfall entrance to the hillside survivor area. If the set-up work doesn't go well enough, you'll be able to return to this checkpoint for another try by ejecting the disc and reloading. On each retry the enemies will spawn afresh with some degree of randomization. Spawning occurs as you head along your chosen entry passage.
Saving the Marines
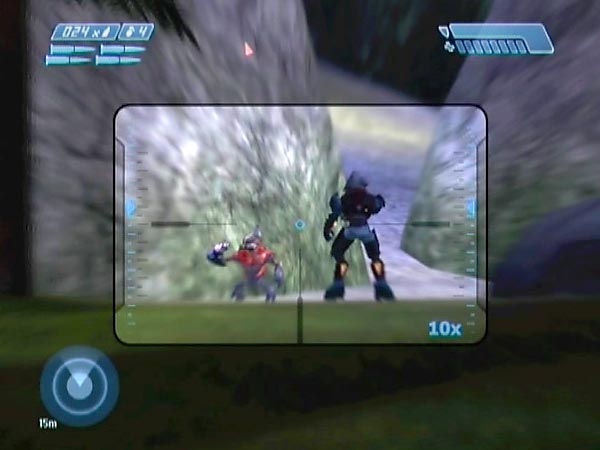
There are 7 Marines in the rockslide and you may want to save them so you can enjoy fighting alongside them on the plateau later, which can be a lot of fun. The easiest way to help them out against the initial covies is to drive in via the right entrance with a sniper rifle, quickly dismount and start sniping the covies, with the aim of stopping them getting into the rocks (so, target the ones nearest the rocks first). Sometimes they're initially just standing around, not having spotted the Marines yet, which is ideal.
If anyone does make it in, you can still snipe them as you catch glimpses or when they retreat back out, but it may be better to switch tactics and drive in for some close-up work with a pistol. If you're finding that too many covies are into the rockslide too fast for you however, it's probably best to just start over from your saved checkpoint and hope for a more convenient initial covie arrangement.
Even if you want a lot of Marines however, I strongly recommend killing the sniper before you leave - I'd normally get him with my sniper rifle. Otherwise he'll tend to thin out the later dropship troops from afar or kill Elites up close in the megabattle, reducing the amount of fun and challenge left for you.
Killing him will also give you the opportunity of using his dropped rifle on the plateau later, as long it doesn't go over the edge. If you're lucky he'll also leave you a spare frag or two. A further benefit is that he won't be around to accidentally shoot friendlies, such as yourself. Shooting colleagues in the back is a favourite pastime of Marines up on the plateau!
Saving the covies
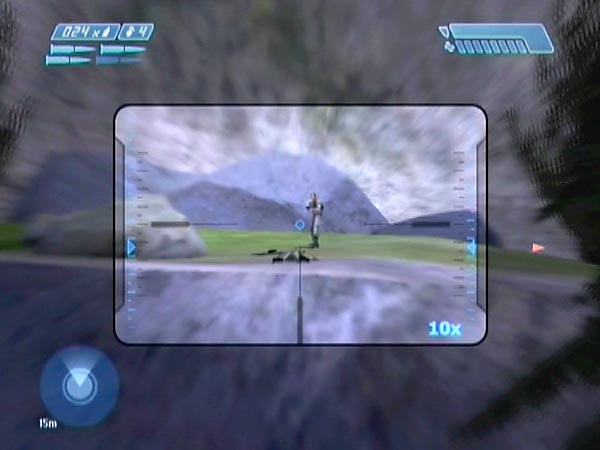
Alternatively you may want to save the initial 9 or 10 covies so they'll add to the megabattle horde, making the fighting even more intense. I'd certainly recommend this for any battle plans in which the presence of rockslide survivors is irrelevant. In this case snipe Marines instead! Drive in alone, take out the lethal sniper first, then start sniping the Marines below the plateau as you catch glimpses of them through a gap in the rocks. There's no need to kill non-sniper Marines on the plateau; they seem to be no threat to the enemy as they don't go near the edge, and in any case there are benefits to maintaining a survivor.
Bear in mind that if you kill multiple Marines you may become a traitor, though you can always wait to be forgiven. If you want to minimize that risk, I suggest killing only one or two and just winging others, letting the covies finish off the job. On Heroic that shouldn't take long and the covies are unlikely to take many casualties; quite possibly none at all. Then again, the Marines are quite forgiving about friendly fire in a battle situation, so you may be able to kill several without consequence. If you overcook things and become a traitor, which you can check by seeing if your reticle goes red over a Marine, you could either revert to try again, or just wait to be forgiven.
If you want to make sure to keep all the covies alive and in perfect health, here's how to do it. When you enter, it's essential that the covies haven't noticed the Marines yet. Kill the sniper, then briefly advance to get the enemy's attention and (hopefully) draw them your way. Back off just far enough to be safe. You can now snipe most or all of the Marines below the plateau at leisure though a gap in the rocks, though you may have to move along the right towards the lifeboat a bit to get a view of one or two others. In using this method you'll surely become a traitor, so you'll have to wait a while to be forgiven. Go have a cup of tea or something.
Triggering the dropships
To trigger the flood of dropships you'll need to enter a certain area. This dropship trigger area includes the Marine plateau and extends a fair way out from that. Once you've entered it, the first dropship seems to appear after a few seconds if the enemy count is below 3 or if it subsequently falls below 3. Otherwise it's liable to take 1 minute, or nearly 2 if you don't wait inside the area. If you've left covies alive to try and maximize enemy numbers, obviously you shouldn't take any Warthog buddies in with you when doing the triggering, as they could damage or kill some of your intended battle fodder.
If you want to get a more exact picture of the trigger area, set up a situation where you've sniped the initial covies from afar, then advanced to get a checkpoint. To now check whether a certain spot is in the trigger area, go to it and see if the first dropship turns up within a few seconds. Revert to try further spots.
Hush up, honeybunch
When you leave the area and Marine survivors remain (and you've triggered the dropships), Cortana will protest, saying "What are you doing? We have to save the Marines". You can ignore her of course, but this scripting suggests that Bungie didn't really anticipate the forthcoming megabattle scenario. That's what I suspect, at any rate. I think we were simply very fortunate that someone decided to put time limits on successive dropship arrivals, rather than holding each new dropship back until the enemy count has fallen sufficiently low (which is pretty much the dynamic in the first Marine encounter of the level, except that the final two dropships come in together). Even if the megabattle wasn't anticipated though, the game copes with the relatively high number of Covenant extremely well; there's usually no framerate slowdown in battle, as long as there aren't any Banshees flying about outside in the valley.
Waiting for the remaining dropships
Once the first dropship shows up, it takes about five minutes for the remaining three to arrive in a succession of checkpoints, with increasingly short gaps between them (about 140 seconds, then about 110, then about 50). During that time it doesn't much matter what you do, but you may have some final preparations to make, such as finalizing your weapon combo and picking up Marines. Once you're sorted, you might like to park on the big mound in the valley (the mound you can do a huge jump off), get out and wait. From there you'll get glimpses of the remaining dropships as they come in, each preceded by a checkpoint. Things are nice and peaceful - the calm before the storm! Dropship 3 comes in from the left, and dropship 4 arcs in dramatically from the right.
…but maybe including a brief return
There's something you may like to do during the wait however, to fix a potential problem. Sometimes the dropship 3 troops stand around near where they land in the far area, rather than moving off - and a few other troops may join them. There are two drawbacks to that. Firstly, if you're going to fight at the plateau there's probably a greater chance that these distant guys won't get drawn into the battle. Secondly, if you're going to fight in the far area, you'll be be under pressure right away with no time to prepare. So, is there any way to make sure they'll move off, rather than just leaving it to chance? Try this. When you get the dropship 3 checkpoint, briefly return to the rockslide area to get spotted by the nearest covies, then leave. This seems to put the dropship 3 troops into a state of battle alertness, which causes them to get moving once they're down. Obviously you shouldn't take any passengers in with you when making your brief return, as you don't want any covies damaged yet. As long as you get back out promptly, you'll still have time to pick up Marines before getting the final dropship checkpoint.
Re-entry
It's up to you which entrance to use for re-entry, but for a general purpose save I recommend the right. Either way, you'll get an entry checkpoint part way along the passage, and you'll be able to keep reverting to that to replay the battle.
For maximum flexibility I suggest heading into your chosen entry passage within several seconds of getting the dropship 4 checkpoint. Inside the battlefield, dropship 4 will initially still be swooping in or hovering, adding to the atmosphere if you head straight into battle. But you'll also have the option of pausing for a while if you like, perhaps to give the final troops time to disembark and start trekking across the plain. The changing layout of enemy troops will inevitably affect how the battling turns out at any given defence location, as it will affect the enemy's arrival dynamics.
How's it looking?
If you're not entirely happy with how the battling turns out, you have the option of ejecting the disc and reloading to get back to your last save point (whenever that was), to try the remaining set-up work again. If you're happy with things however, you may like to save the game for long-term replaying.
Enemy numbers
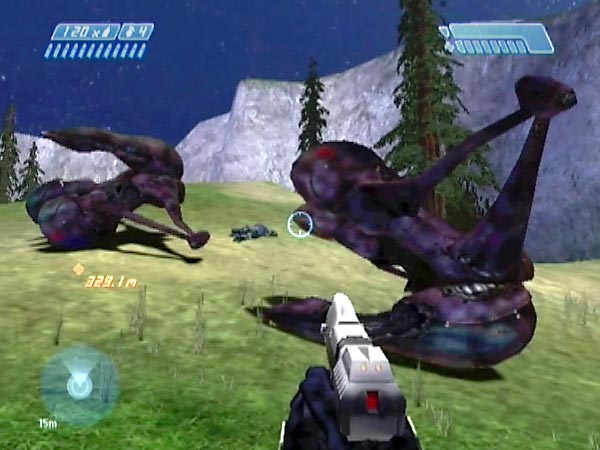
The rockslide enemies come in five groups: the initial group and the four dropship groups. Each group comprises one or more Elites with either some Grunts or some Jackals. On Heroic the numbers are as follows:
- Initial group = 1 Elite + 8 Grunts = 9
- Dropship 1 group = 1 Elite + 4 Jackals = 5
- Dropship 2 group = 2 Elites + 5 Grunts = 7
- Dropship 3 group = 2 Elites + 5 Grunts = 7
- Dropship 4 group = 1 Elite + 5 Jackals = 6
- Total = 7 Elites + 9 Jackals + 18 Grunts = 34
On Legendary each of the five groups has an extra Elite, whilst on Normal and Easy each group has an extra minor. It seems odd that Heroic actually has fewer enemies than Normal, and I can't help wondering if that was just a mistake Bungie failed to notice.
Reds and blues
The split between red and blue Elites is randomized. On Heroic there's no obvious bias either way and you'll typically get 4 of one type and 3 of the other, but I've also had 5 reds and 2 blues for example. Normal shows some bias towards blues, whilst Easy has a strong bias towards blues. If you're brave enough or fool enough to tackle Legendary, you'll notice a strong bias towards those nasty reds. Yikes! As for weaponry, reds always have plasma rifles but blues sometimes have needlers. Needlers are bad news for your Marines because they're not much good at dodging the needles, and consequently tend to go up with a bang pretty quick if you don't help out.