Passage horde battle
Posted August 13th 2026 using material originally elsewhere; updated later
Associated movies
- BCM668 - Heroic; Passage horde battle x3 with 63 covies (6:51)
- BCM669 - Heroic; Passage horde battle x3, including a sniping play (7:11)
- BCM670 - Heroic; Passage horde battle x4, rear attacks (6:50)
- BCM671 - Heroic; Passage horde battle x2, no grenades (6:39)
- BCM672 - Heroic; Passage horde battle x3, no grenades, single weapon (7:11)
- BCM673 - Heroic; Passage horde battle x6, speed plays (7:25)
- BCM674 - Heroic; Passage horde battle x3, speed plays, no grenades (6:58)
- BCM675 - Heroic; Passage horde battle x4, rear attacks and more (6:31)
- BCM676 - Heroic; Jackal-heavy passage horde battle x3 (6:55)
- BCM677 - Heroic; Jackal-heavy horde again, further plays (6:31)
- BCM678 - Heroic; Jackal-heavy horde, cloaked special (7:38)
- BCM679 - Heroic; Passage horde battle x3 with added Hunters (6:48)
- BCM680 - Heroic; Added Hunters again, further plays (6:31)
- BCM681 - Heroic; Added Hunters, another three plays (7:43)
- BCM682 - Heroic; Added Hunters, AR speed play special (7:38)
- BCM683 - Heroic; Passage horde battle, now with added Elites! (6:38)
- BCM684 - Heroic; Passage horde battle, adding two sword Elites (7:36)
- BCM685 - Heroic; Added Elites again, three plays of the new set-up (6:56)
- BCM686 - Heroic; Added Elites, another four plays (7:30)
- BCM687 - Heroic; Jackal-heavy horde, hang-back special (7:46)
But see also BCM145
- Introduction
- Standard set-up
- Ways of playing it
- Rear attacks and camo fun
- Weapon provision
- Adding two Hunters (or Jackals)
- Adding main-phase covies
- Having a static horde instead
- Horde shaping; favouring Grunts or Jackals
Introduction
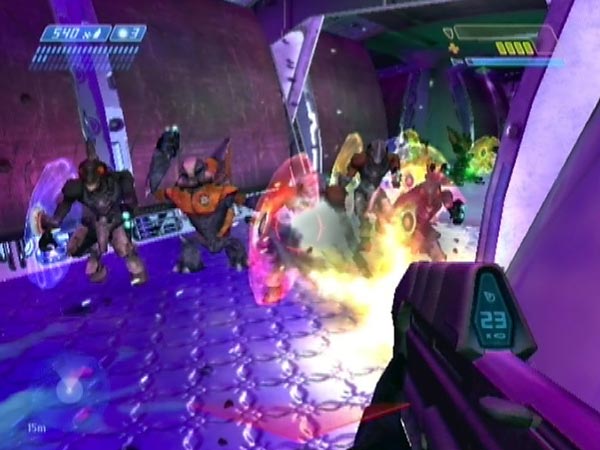
As detailed in my article on the Grunt-Jackal spawning trick, you can build up a big horde of Grunts and Jackals in the passage network running alongside the boarding room. For me, absolutely the best payoff to this is that you can then enjoy some serious combat, trying to kill them all in that network. In other words, you can enjoy what I call a 'passage horde battle'. It's a major combat scenario which you can have a lot of fun with. Moreover, it turns out that you can even get some other covies into your battles. In particular, on Heroic you can add two Hunters and two cloaked sword Elites, providing considerable extra danger and spice! But I'll get to the issue of additional covies later.
You should of course make sure to be fully stocked with grenades, particularly in regard to those fast-acting frags, which are going to be a big help! My policy in the boarding battle is to generally not use my frags at all. There might be the chance of being able to pick some up from dead Marines, but I wouldn't want to rely on that. You'll also want full health of course. Fortunately there's a medkit you can use after the boarding battle, if you need it.
Note: originally I covered this topic on the trick page itself, but when I began movie-making on the topic, I formed this separate article instead, partly to give the topic greater prominence, and partly in anticipation of much more extensive coverage. Definitely a good decision. But in any case, the passage horde battle was never part of the trick, it's a use of it.
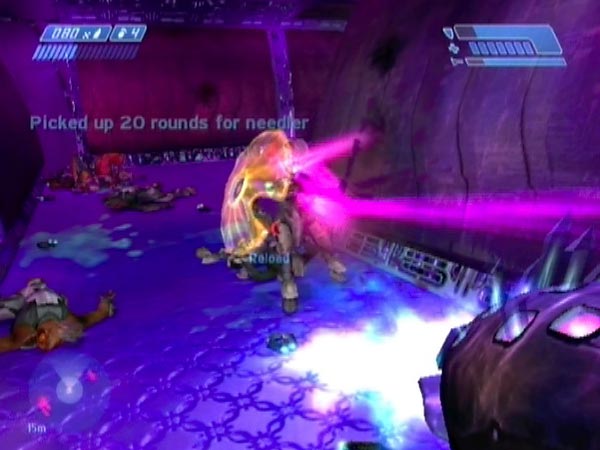
Difficulty level and horde size
In regard to what difficulty level to use, I'd suggest using Normal if you fancy some relatively gung-ho battling to start with, wading into the horde with merry abandon. For a more serious challenge however, I suggest Heroic, as featured in my movies on the topic. You'll need to be a lot more careful about exposing yourself though. As for Legendary, I've yet to give that a go but I definitely plan to.
As for horde size, keep in mind that with high covie count the game can suffer framerate slowdown, which could be bad enough to make combat too unenjoyable. The exact feel depends on weapon choice and how you're fighting, but with around 80 covies I certainly find the slowdown too bad, and in particular the plasma pistol is sluggish. For reasonably fluid combat I'd suggest not exceeding 70 covies, and if you want to use a plasma pistol a lot, perhaps make that 60.
Standard set-up
By a 'standard' set-up I mean one where, after building a horde, you've checkpointed with the muster bay checkpoint, triggered at the top of the rise. This is what the article is mainly concerned with. As mentioned on the trick page, this not only terminates the spawning but also causes a behavioural change, giving the covies an instinct to head for the upper level of the muster bay. As such, you now face an advancing horde, putting you under pressure. And obviously, the idea is to intercept them, slaying them as they come.
To make it a bit more formal you can require that no covie must reach the muster bay. That's how I routinely play it, but you can adopt whatever approach you like.
However, the advance isn't a wholesale movement of the entire mob. It's a more gradual affair, with only some covies on the move at any given time. Also, there's an issue with needing to prompt covies to advance. If you merely stand on the upper half of the rise for example, you may find that either there are no covies coming around the corner, or that the supply soon dries up. At that point you'll need to get nearer the corner to get some covies moving again. More specifically you'll need to get into the lower half of the rise (a little bit lower than the halfway mark in fact). Watch for red dots springing to life on your tracker.
That said, I've noticed that as long as at least one covie can see you, that can prompt further covies to advance around the corner. It's as if they're in touch with him, and the knowledge that there's a cyborg around the corner prompts them into action. Because of this phenomenon, it's actually possible to get a long stream of covies coming around the corner, while remaining well back up the rise, picking them off in a standoffish manner. Check out BCM687 for some examples. However, it's still likely to fizzle out at some point, even if you try to keep the flow going.
Ways of playing it
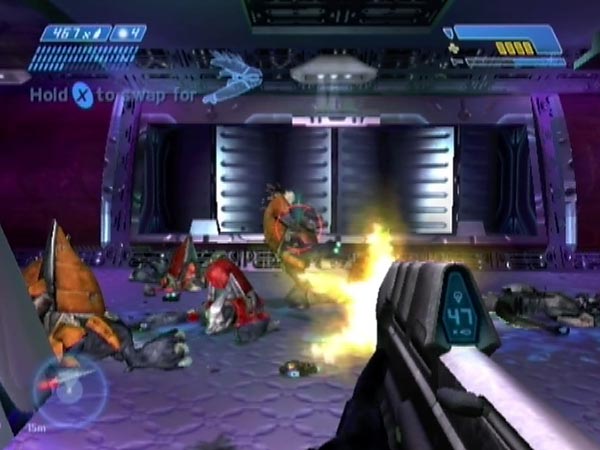
As the covies advance, you can tackle them frontally, or potentially from the side if you pop into one of the three side-passages (one up the rise, two along the main passage). Attacking from the side gives you some cover from enemy fire, as well as the opportunity of taking covies by surprise.
Corner hold-out
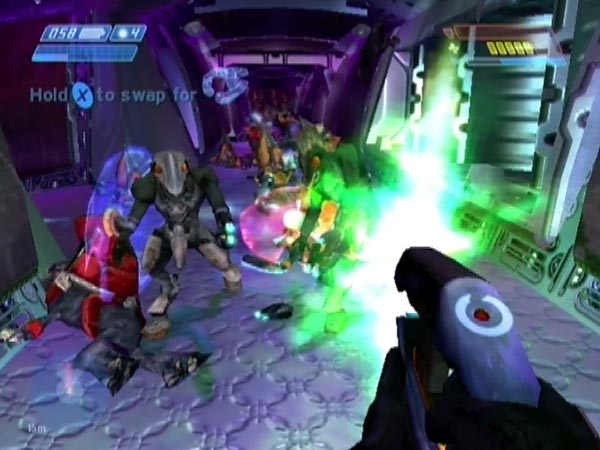
One way of battling is to do what I call a 'corner hold-out', an example of which can be seen at the start of BCM668. This is where you try to keep to the lower part of the rise so the covies keep advancing, giving you a steady stream to tackle as they come around the corner (and meanwhile the corner will give you cover from the many covies further back). Obviously though, you may need to back off occasionally, either due to enemy pressure or because you're in danger from some imminent explosion. You especially need to be wary of chain reactions, given how many loose plasmas can accumulate!
Special challenges
There are restrictions you could apply to yourself to make things harder, or just to make for a different style of battling. One enjoyable challenge is to disallow grenades, a major loss of offensive capability. You'll have to work harder with your gunplay, and battles will tend to be longer. Check out BCM671 for example, for two such fights.
If you find it too difficult, or just can't bear to do without some booms, you could just apply some limit to your grenade use. E.g. 3 frags plus 3 plasmas. Or frags only. Whatever you find a nice balance.
Another idea is to fight with a single weapon, such as seen in BCM672. In the case of an AR you can take that to mean no top-ups allowed, if you like. That might oblige you to be a bit careful with your firing. Or allow top-ups if you prefer. In the case of using a needler I'd suggest allowing top-ups, as the ammo in a single needler isn't enough to kill a large number of covies.
Speed plays
Another idea is speed plays. I've had a load of fun with this, pushing against the clock. Check out BCM673 for example, but other movies too, especially my 'AR speed play special' BCM682. What I do is record my play, and measure the time from (a) when I start moving or doing something, to (b) when the covies are all dead (as closely as I can be sure).
Rear attacks and camo fun
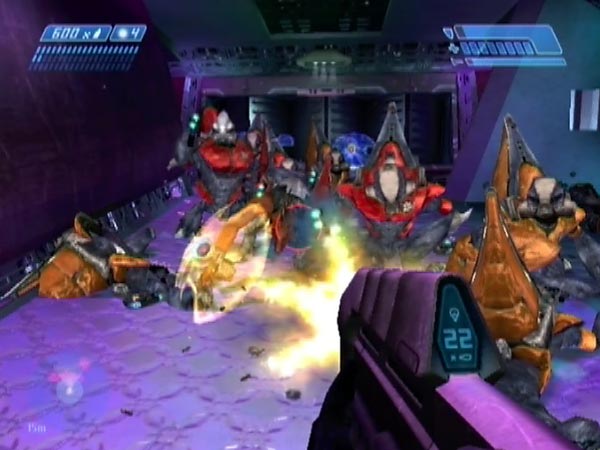
As featured in one of my introductory movies BCM670, there's also the option of circling around to get behind the horde, giving quite a different attack dynamic. Just enter the muster bay, drop down, open the door and head on through.
You can now surprise the covies from behind, including a large collection you'll find in the first of the two side-passages off the main passage (see pic). It's the side-passage in which covies originally started collecting when you began building your horde. Usually they'll be facing the other way, which is ideal.
As you'll appreciate however, some covies are likely to reach the muster bay (not that you'd be able to easily tell), so you can't really play by the rule that no covies must reach it. But you can still have fun wiping out the rest of course!
Fun with the camo
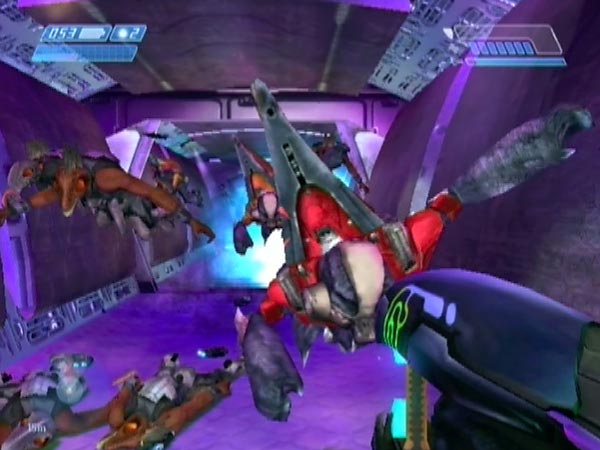
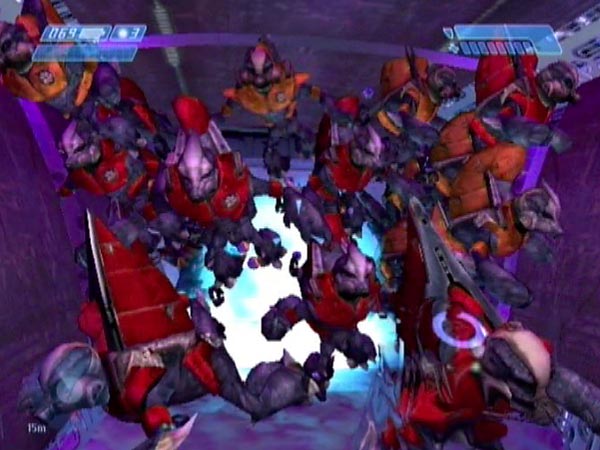
There's also the possibility of using the active camouflage that was in the boarding room (assuming you sensibly didn't use it during the boarding battle). This could let you get right up close to the covie stack where all the spawning occurred, and perhaps lob a grenade or two into it! Check out the final play in BCM675 for a particularly nice stack explosion (see pic), after some cloaked melee work.
Cloaked or not, if you make stack destruction your first point of business, you could then enjoy heading up the passage to kill as many covies as still remain. There's often quite a traffic jam up the rise, so that's an area to look forward to.
Note: if you're especially interested in rear attacks, bear in mind that it's possible to delay the muster bay checkpoint until you're nearing the horde from behind. That can give you a set-up specially geared for rear attacks. You won't have to make a long trip for each battle.
Weapon provision
To make things most flexible, it would be nice to have an array of weapons to choose from at the start of your save. You might also like to have spares at certain locations, e.g. extra needlers so you can top up your ammo (bear in mind, none of the Grunts you'll be fighting has a needler). Here's my advice on arranging that.
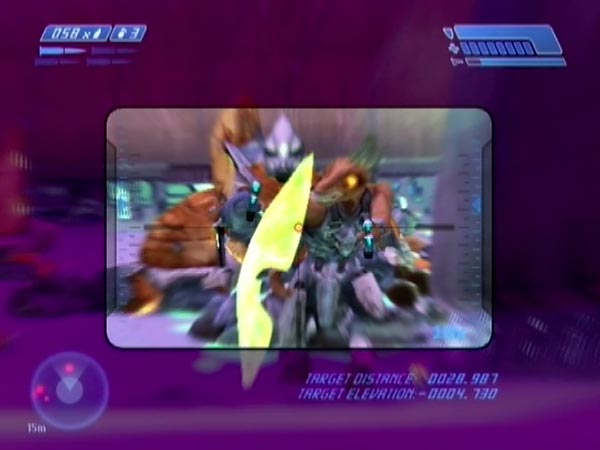
For starters, make sure you brought the sniper rifle aboard, still unused. You'll have a whopping 68 rounds, and with so many enemies you can sure put them to good use!
During the boarding battle, briefly handle any weapons you might want, to stop the game removing them. Once the fight is over though, don't bother with weapon assembly work yet. Having got the usual checkpoint, proceed with the trick until you've managed to get standoff mode. Then do your weapon assembly work, killing any newly spawned covies so you can work unhindered (remember, spawning is suspended while you're outside the spawn trigger zone). Additional weapon sources are the few covies you kill up the rise. Once you're satisfied with your weapon arrangement, do the usual spawning work.
NB: on Heroic and Legendary, none of the boarding battle Elites has a plasma rifle. So if you want one, which you surely do, you'll need to either bring one aboard with you or get one from the Elite you kill in the passage network later. Actually you might want to do both, because a single plasma rifle won't last all that long in battle.
Adding two Hunters (or Jackals)
On Heroic and Legendary you get two Hunters after the main phase of the boarding battle. If you leave them alive, they can actually take part in passage horde battles, making an interesting and dangerous new element. When you later trigger the muster bay checkpoint, giving the spawned Grunts and Jackals an instinct to head for the muster bay, that same instinct is imbued to the Hunters, and as long as they're not too far from the passage network, they'll join in with the advance, except that they'll also have a strong tendency to come after you if they see you, rather than passively moving past.
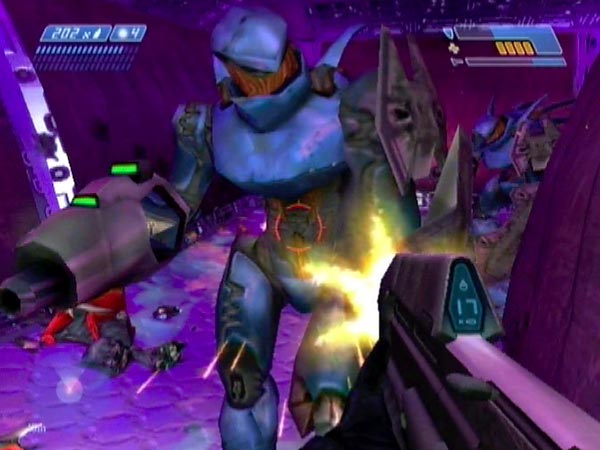
Check out my movies from BCM679 onwards for examples of Hunter-enhanced battling. I have to say, the addition of Hunters really adds a great deal to the battling, so I thoroughly recommend it.
Doing the work
How do you actually do things in terms of the set-up work? Here's my advice, assuming you also want to provision yourself with plenty of spare weapons (which I routinely do, particularly in regard to needlers).
When the Hunters are triggered, go past them and down onto the slope. The progression checkpoint gets triggered but is delayed due to enemy threat. Draw the Hunters down the slope, then dodge their swipes and get clear, back around the corner. The game should then grant you the checkpoint. You can now make tries at initiating standoff mode as usual.
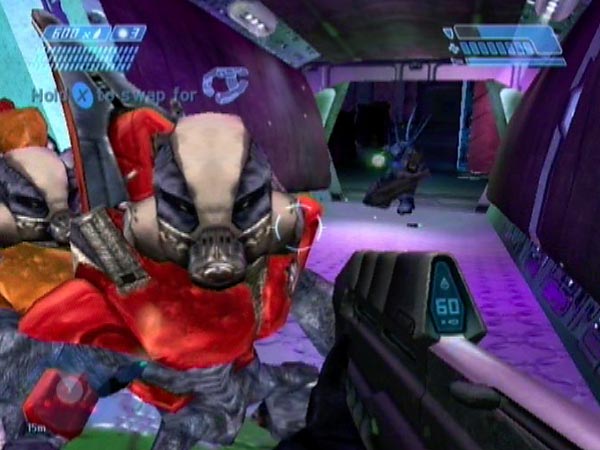
When you've got it, kill the new troops and do your usual weapon provision work. Except, the Hunters are a significant hindrance due to their tendency to come back up the slope and into the room. As such, you have to work carefully and may sometimes have to lead them back down the slope (I'd suggest all the way down). It can be frustrating, but be patient and you can gradually get things done. On Heroic I've always found it manageable (haven't yet tried it on Legendary).
When you're ready to head back over the spawn trigger zone for the final time, first of all lead the Hunters to the vicinity of the passage network; e.g. so they're near the side-passage where covies will initially collect. Dodge a few swipes then run off, leaving them in the vicinity.
Incidentally, it seems to me that you don't have much control over their exact positioning. If drawn into the passage complex, they'll have a tendency to move back out into the boarding room. Because of that, I've been unable to get them to hang around in positions I would've liked to try them at.
Jackals on Normal and Easy
On Normal and Easy you don't get two Hunters, you only get two Jackals. They can add to your passage horde in the same sort of way Hunters can, but obviously they won't alter the character of your battles much, as you'll have a load of Jackals anyway. So it may not be worth the bother trying to get them.
Adding main-phase covies
Right after I released my AR speed play special BCM682, I started investigating whether it was possible to get any main-phase covies into a passage horde battle. That is, covies from the main phase of the boarding battle, prior to the final twosome (Hunters or Jackals). And surprisingly, the answer turned out to be yes! Except, I think you're limited to at most two.
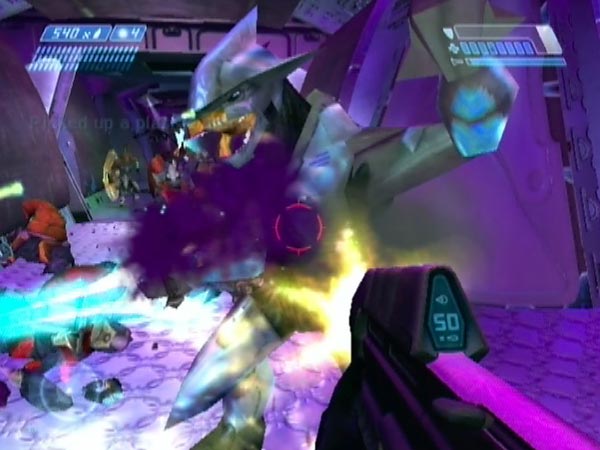
I'd previously assumed that the final twosome only got triggered after all the main-phase covies were dead. But based on my testing, it looks to me like all that's actually needed is that there are no more than two covies left, and none in the room itself. I suspect this was done because of concern over the occasional covie getting isolated or trapped outside the room, potentially causing a hold-up in the flow of the game. If you thus just have either 1 or 2 covies up a side-passage or deeper, they'll be able to join your eventual horde, just like I described for Hunters.
You also get a useful associated checkpoint for the official end of the main phase, though it could get delayed by enemy threat for a while.
Getting two sword Elites
On Heroic the Elites are cloaked and viciously chase after you with their swords, which on the one hand is a massive danger and an aggravating pain, but which on the other hand is eventually very useful because you can use it to draw your two Elites out of the room. I featured two Elites in action in BCM683 (in which I mistakenly suggested that you could get more than two, something I was expecting at the time), then released a tutorial BCM684 showing how you can do the work.
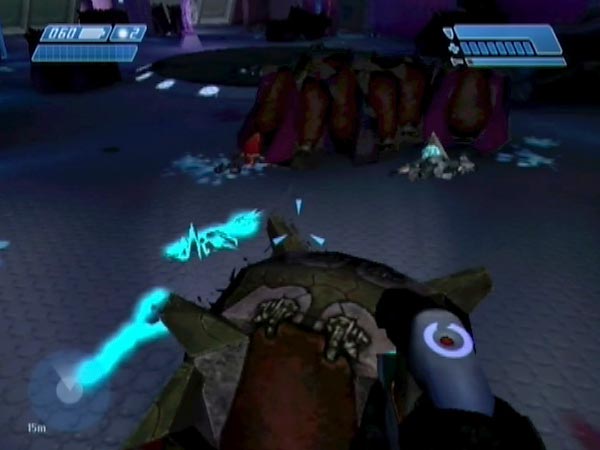
It can be quite a stressful task I have to say, but I'm speaking there as someone keen to end up with a decent number of needlers. You can always take some of the pressure off yourself by skimping on weapon provision work, allowing you more time to keep things under control, and not having to do so much frenetic running around in hostile conditions.
The key part of the plan is to eventually be perched on the containers in the medkit corner, safe from Elites, who'll just stand there like chumps (see pic). From up there you can take care of the other covies, a task for which I recommend a sniper rifle and plasma pistol.
Actually that can be quite a job sometimes. The important thing is to eliminate threats as promptly as you can, so enemy fire doesn't get a chance to build up. As part of that, be sure to anticipate new arrivals (keep an eye on your tracker), and don't let yourself be taken by surprise. If you want to conserve sniper ammo, the plasma pistol can potentially take care of most of the killing if you're sharp with it.
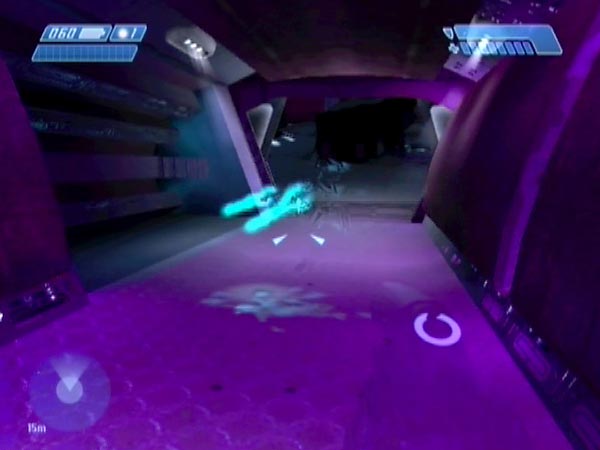
To draw your two Elites up the nearby side-passage and be able to then get clear of them, you'll want the nearby camo. But a danger here is that in the process of getting it, an Elite will swing his sword and kill his buddy. These guys are complete idiots like that. What I do is throw a plasma grenade as I make my move off the containers, in the hope that they'll either dive away or at least keep some distance, giving me time to become invisible. That seems to help significantly.
Incidentally, another viable perch is the Wraith, and as I recall, that's more favourable in regard to getting the camo without an Elite killing his buddy. However, you're in a considerably more vulnerable position up there in regard to enemy fire, which is why I had a tactical rethink and switched to using the medkit corner containers. For any other details or tips on the plan, see my written commentary for the tutorial.
The same work can probably also be used on Legendary, where you'll instead be dealing with gold Elites with swords, but the enemy fire might be very hard to deal with. I haven't tried it out yet though, so I'm not sure whether it's going to be a problem.
Getting a blue Elite on Normal
If you're using Normal, here's an easy recipe for getting a blue Elite. In the boarding battle, wipe out the covies (and make sure the Marines die too), except leave an Elite alive near the door which is near the medkit. Go up the side-passage there, and he'll soon go up the rise a short way to get nearer to you. That should trigger the twosome, and you can take things from there.
You could moreover get two covies like that. They just need to be in the side-passage at the same time. That can take some patience to achieve, but I was able to get an Elite plus a needler Grunt, for example. Needler Grunts will be a complete novelty in the horde of course.
Having a static horde instead
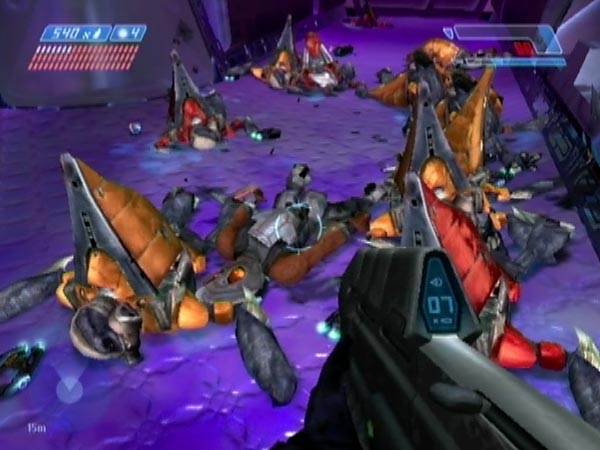
Thus far I've focused on having a horde which is trying to advance to the muster bay. That's the standard dynamic. But as mentioned on the trick page, it's possible to instead keep the progression checkpoint delayed, to finally get it when you're happy with how many covies you've got. With such a set-up, you still haven't triggered the muster bay, and the covies therefore won't try to advance to it. This gives you the possibility of attacking a largely static horde. Naturally it doesn't have the same feel as you get when covies are on the move, but it's still combat and you can have fun with it.
A further aspect of such a set-up is that because the muster bay hasn't been triggered yet, it's possible for further spawning to occur (subject to you visiting the spawn trigger zone of course). As such, further covies could actually spawn in the course of your battle, prolonging the affair. You'll presumably be killing them much faster than they spawn though.
Horde shaping; favouring Grunts or Jackals
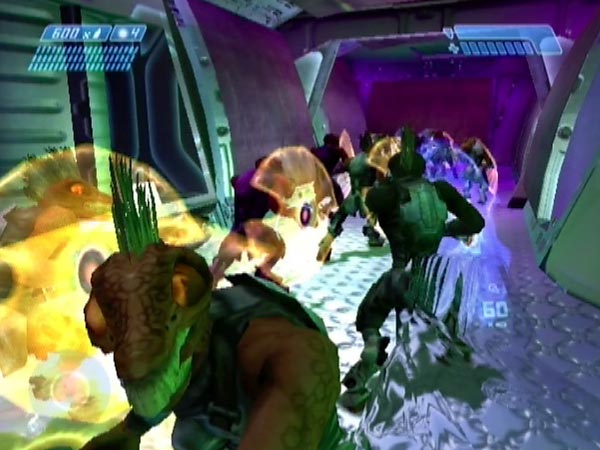
Instead of letting your horde of Grunts and Jackals form randomly and naturally, there's scope for exerting some control over the relative proportions of Grunts and Jackals.
If you want the Jackal share to be boosted, you can do your best to kill off Grunts during the spawning process. I showed my first such result in BCM676, featuring a 'Jackal-heavy' horde in which the Jackals were about half of the horde (see pic), and totally dominant up front. I say 'Jackal-heavy' because their share is significantly greater than it normally would be. Typically they'd be more like a third of the horde (because Jackals only spawn individually, whereas Grunts spawn two at a time).
Likewise, if you want the Grunts to be boosted, you can do your best to cull Jackals. The killing can by done by sniping, and if you use drop reloading, you effectively have unlimited ammo for the job, and no ammo gets lost (so you'll still be well stocked for battle).
Trouble is, such killing is a lot easier said than done! There are various issue, but the biggest is that once there are a fair number of covies around, enemy fire can make it hard to target your quarry. Your zoomed view will be repeatedly disrupted, and bear in mind, the shot may also be a tricky one because the target is mixed in with guys you don't want to kill. Getting covies right at the back can be especially difficult, and I've sometimes been obliged to kill an obstacle-covie to manage it. Things can become harder and harder, to the point where it can feel too risky to even stick your head out any more.
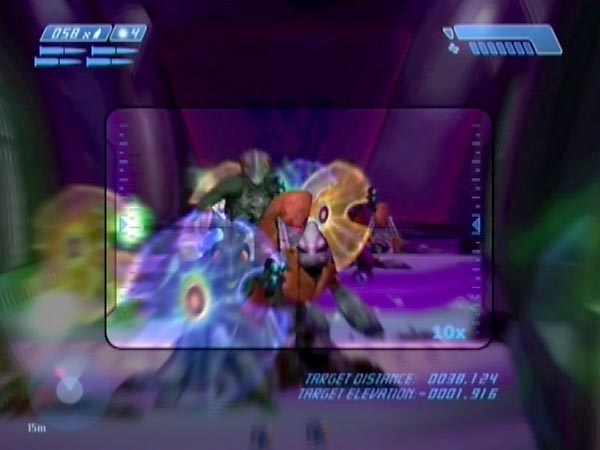
Enemy fire is also a hazard to your health of course. You need to be especially wary of getting hit by a plasma ball, since incoming pips of plasma could then easily reduce your health before you get back under cover. If this happens a few times, you could be starting your eventual battles in a rather dodgy state!
Another issue is that covies will hurt and kill themselves with friendly fire, so there's a gradual attrition effect there, in addition to which, a lot of covies that do make it into the eventual battle may be in a weakened state, which isn't ideal. At some point you might even feel that covies are killing themselves off almost as fast as they're spawning. Actually I'm not sure things actually get that bad, but it's hard to monitor the situation.
Tip: if a crouched Jackal is in the way of your shot, you can potentially make him roll to one side by bouncing a shot off his shield.