Shortcut fun
Posted March 19th 2011
- Rock jump shortcut
- Surprise attack from above or behind
- Seeing covies materialize
- Altered start
- Enemy numbers and spawning
- Hillside shortcut
Rock jump shortcut
When you emerge from the Pelican at the start, there's a crashed Pelican a short way off. The way the game seems to expect you to play is to head over that way and off to the right (past its tail), gradually curving around leftwards. Before long there's an explosion sending a few covies flying through the air. You subsequently fight your way past a scattering of covies. Past the crashed covie dropship are some Jackals, the furthest of which is perched up near the start of what seems to be a fallen tree. Perhaps he was placed there to help draw you in the right direction, because you can get up onto that trunk and negotiate it to get into the next area beyond an unmanned Shade, where a final group of covies is seemingly under attack near a doorway.
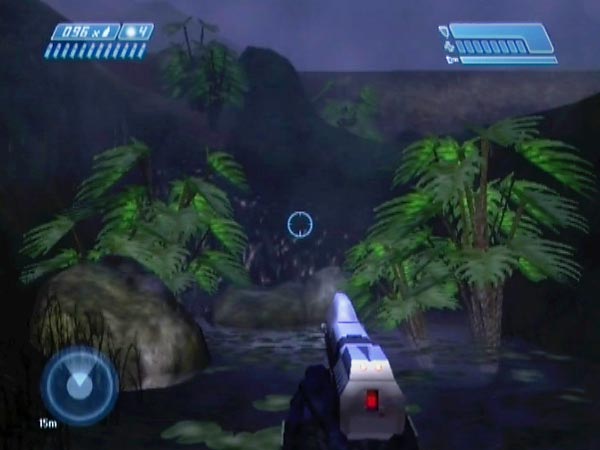
So that's the expected way. However, you can get sneaky! There's a shortcut I learned about recently from fellow cyborg RedAce, which I suspect has been used by speedrunners since day one or not long after. Go left of the crashed Pelican, following the hillside against which it rests, and you quickly reach a small area which looks like a dead end. It features water lilies, some large plants sticking out of the water, and some rocks. At the end there are two conjoined rocks. Get onto either of those and with a little forward momentum you can jump up onto the high ground. Crouch as you get up, to get enough clearance. It's a little awkward and may take a few tries, but once you get a foothold the traction is surprisingly good.
Advance a little and you'll be in the depression under the fallen tree. Go left and you'll soon be at the end of the trunk, ready to move on towards the structure, having completely bypassed the covies around the crashed enemy dropship. Actually they may not even have been triggered!
Speed run video links
There are a number of speed run videos on YouTube which feature this shortcut, plenty of which are available on HighSpeedHaloDotNet's channel. The footage in LotsofLuck's Easy run is nice and bright with flashlight quickly turned on to help cut through the murk (that video is also on his own channel), while goatrope's Legendary run is available in higher video quality but is rather dark, with flashlight switched on late.
Surprise attack from above or behind
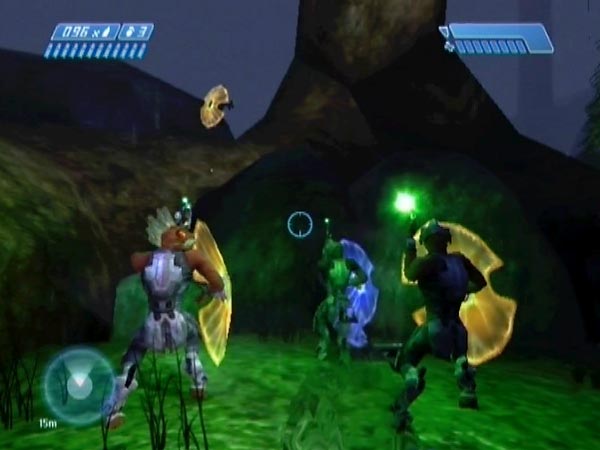
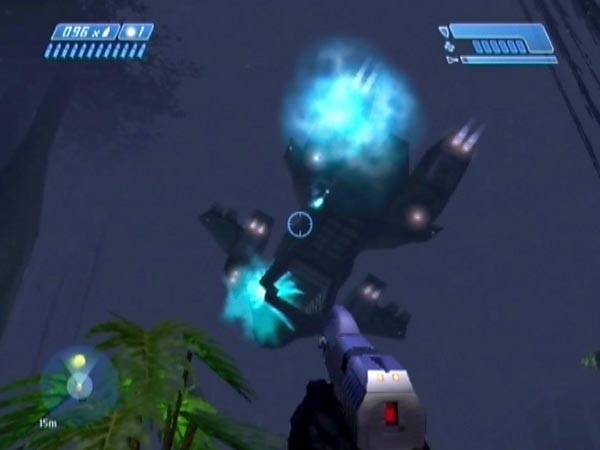
But wait, the best is yet to come. RedAce mentioned the following way of exploiting the shortcut for some novel fun. First get the covies around the dropship triggered. They actually trigger in two groups and I'll give some details later, but if you head for the covie dropship as soon as you're down, the necessary triggering will be done by the time you hear an explosion. Retreat and take the shortcut to get up onto the high ground. You can now tackle the covies from various novel high places. There's also scope for giving covies a nasty surprise from behind - especially the Jackal I mentioned earlier, perched up near the end of the trunk (see pic). Optionally you could get cloaked beforehand, as the hidden camouflage is just across the depression after the shortcut.
Getting a handy checkpoint
To get the most out of this idea, I'd suggest you get a checkpoint just before your attack begins. You can do it by delaying the checkpoint you'd be due from the covie triggering. Just keep jumping to delay it, until you've taken the shortcut and you're ready to attack. The jumping makes things a bit awkward in places, but the only other practical option is to throw grenades, which you probably want to keep for offensive use. Once you stop jumping, you should get the checkpoint as long as you're still undetected and not too close to any enemies. You might like to switch your flashlight on just before, or get cloaked along the way. Happily you won't get a subsequent checkpoint by wiping out the covies, so you'll be able to revert to the start of your attack with no trouble, to enjoy things again and again.
Attack possibilities
Explore and try different avenues of approach. Among the possibilities, I found that I was able to get up onto the very tip of the highest 'leg' of the fallen tree with some grenade boost (the slope was just a bit too much to manage unaided). From the tip you're way above the Jackals, albeit in a rather vulnerable position which I wouldn't recommend on Legendary! You can even kill the earliest enemies from there. They stay distant near the dropship but intermittently show enough of themselves for you to get them with pistol fire or grenades.
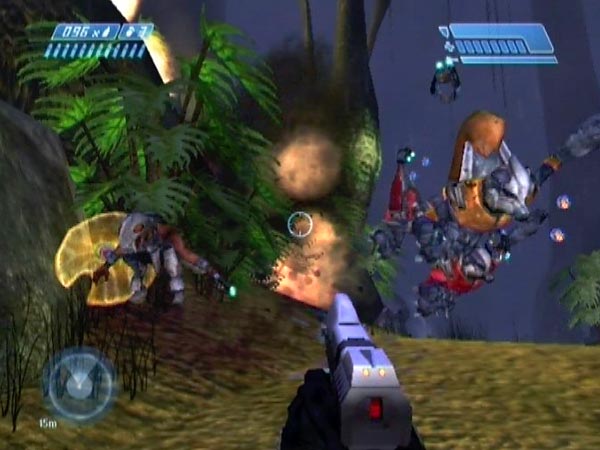
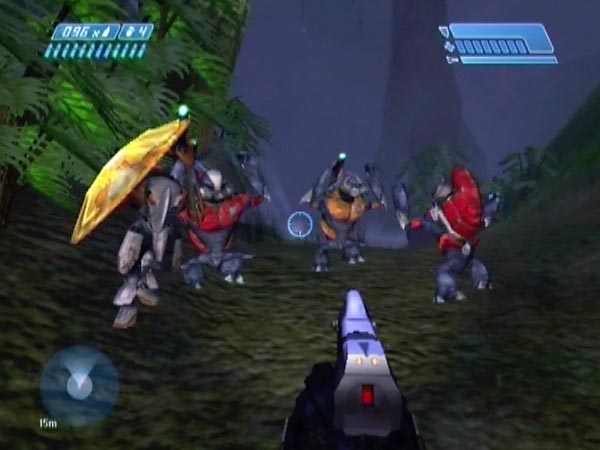
A less exposed option for tackling the Jackal group is to use the large rock to the right of the trunk for cover (see pic). If you fancy being higher up, you could get up on the hillside to the right of that, a fine place for raining grenades down on them. If you instead fancy a ground-level approach, try going to the left of the trunk. One of legs lies along the ground and provides decent cover.
More checkpoint options
Another option for a start checkpoint is to trigger and delay the one associated with enemies just outside the structure. Using this one would actually be a bit more convenient because you won't need to spend so long jumping to delay things; and as a bonus the repetitive creepy music will stop after a few seconds. Note also that you could get some weaponry from those enemies if you like. A plasma pistol plus needler makes a nice combo against Jackals. Take down the shield then pile in the needles for a pink explosion.
If you're going to dawdle here for weaponry though, it would be easiest to use the lift checkpoint as follows, to save you worrying about keeping that earlier one delayed. Wipe out the covies, get equipped as desired, then go to the bottom of the entrance ramp to cause the lift to rise. Just as it's reaching the top, start jumping to delay the checkpoint you were about to get, then head back to the earlier covies.
Seeing covies materialize
Here's another novelty you can use the shortcut for. At the start, head for the shortcut but steer clear of the Pelican so you don't trigger any covies yet (it's possible to get your AR fully loaded however). Get up onto the high ground via the shortcut, then head towards the covie dropship. You can go along the trunk or just move through the depression. Continue on, curving gradually right - the reverse of the way the game expected you to come - and eventually the covies get triggered.
If you're facing backwards you'll see the nearest group appear just a few metres away, scripted to quickly panic. Obviously Bungie wouldn't have expected you to be seeing those guys materialize, especially not so close, but the shortcut made it possible. So I doubt that the shortcut was intended as a possibility. I think we just got lucky with the layout.
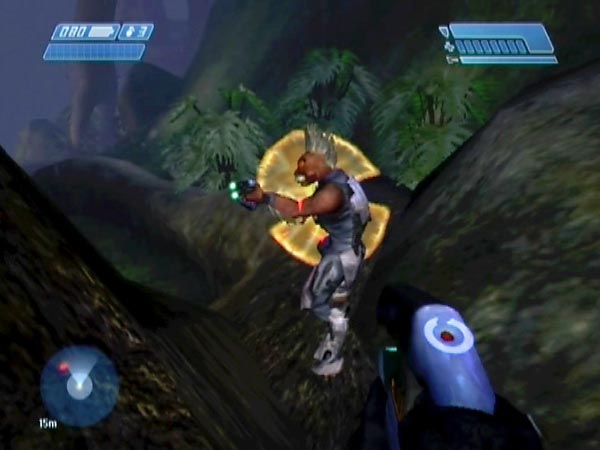
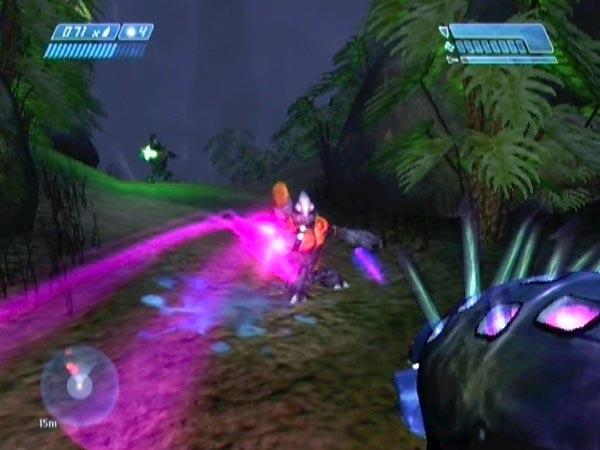
Once you've learnt exactly where and when that group materializes, you can have a bit of fun by dropping a grenade there in advance. Trigger the covies just before the grenade goes off, and BLAM! - they'll be sent flying almost as soon as they appear (see pic), hee hee! Alternatively you might enjoy blitzing them up close with an AR, or whatever. Another option is to be cloaked and watch them as they beat a panicky retreat, having materialized with a nasty case of the heebie-jeebies. And then slaughter them!
Flood trouble
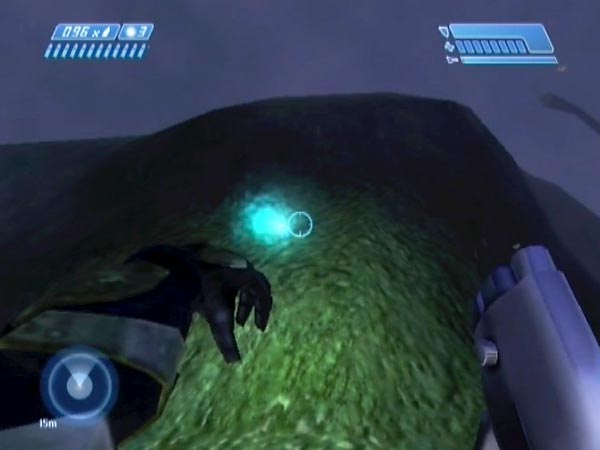
A further use of the cloaking concerns the Jackals near the trunk. Head back there and you may see them spotting an unarmed combat Flood up on the tip of the trunk. When I was playing this on Legendary, he quickly ran off but the Jackals then moved in closer and stared up at where he'd been, with plasma pistols at the ready. While still cloaked I was able to watch them at close range (see pic).
Getting a handy checkpoint
It's possible to get a checkpoint just before you trigger the covies, to enable you to play things over and over. After taking the shortcut, go left and trigger the covies under attack near the structure. There's an associated checkpoint, and all you need to do is keep it delayed until about to trigger the covies you're interested in. As elaborated in the earlier section, there's also the possibility of acquiring enemy weapons before coming back for your fun.
Altered start
One last idea. At the start of the level you've got a pistol and AR for tackling things. But for a spot of novelty, how about playing things with a plasma pistol and needler instead, including a handy starting checkpoint and no creepy music? It's kind of like redesigning the start of the level. Here's a routine for arranging that, using elements already mentioned.
When you hit the ground, go close enough to the Pelican to trigger the first group of covies. You'll hear an explosion, and the repetitive creepy music will start up. It would actually stop of its own accord in about six and a half minutes time, but in this routine it'll get stopped another way. Avoid going further right than the shotgun ammo for now; you don't want to trigger the second group of covies yet - Jackals near the fallen tree.
Take the shortcut then go left to trigger enemies near the structure. This also triggers the music to stop within a few seconds. Good thing too - that was getting on my nerves! Do some killing to get equipped with plasma pistol and needler, then drop back down over the hillside to return to the Pelican (you could divert on the way to get cloaked if you like). Just past the shotgun ammo you'll trigger a new checkpoint, associated with triggering the Jackal group. If enemies are nearby, you may need to back off for a moment so the game actually gives you the checkpoint (actually they seem to run off in panic as soon as the trigger occurs). Once you've got it, you're ready to start your attack.
Or with music if you want it
If you want to arrange basically the same thing but with the music, just omit the bit about triggering enemies at the start. The triggering will instead get done after your return.
Enemy numbers and spawning
In this section I'll try to clarify the situation around the dropship in regard to spawning and enemy numbers. In essence there are two groups and there's a checkpoint associated with each triggering; but it's also possible for the groups to spawn simultaneously.
The first group comprises three Grunts and a Jackal who spawn in a tight cluster near the dropship and are scripted to go into a panic (though individuals sometimes quickly recover), plus a couple of covies who I believe spawn higher up near where the explosion occurs. The explosion goes off a moment later and kills them, except that on Legendary the Jackal often survives, giving you an extra Jackal. If you're on the scene fast enough he can be seen coming down the hillside. The group is triggered when you get sufficiently far along the expected route towards the dropship, or get sufficiently near the crashed Pelican. At the same time you'll trigger a checkpoint (it won't necessarily come immediately) and some creepy music.
The second group comprises Jackals near the start of the horizontal tree trunk beyond the covie dropship. You get two on Easy or Normal, three on Heroic, and four on Legendary. They're triggered when you advance sufficiently far along the expected route towards the dropship; and as before, there's an associated checkpoint.
As far as I can make out, the trigger area for the first group comprises the trigger area for the second plus an area around the crashed Pelican. If you were to head directly for the covie dropship after hitting the ground, the two groups would actually get triggered simultaneously. Likewise if you first go directly to the pile of AR ammo, then head for the covie dropship. But if you get closer to the crashed Pelican first, you could trigger the first group separately.
Hillside shortcut
Shortly before posting this article, I did some searching for speed run videos of the level to check what methods were being used. The rock jump shortcut turned up as expected, but I also saw another method, in which you get up the hillside with the aid of some grenade boost. That method would do just as well for all the fun covered here - though it takes a bit more skill and may leave you with reduced health - so I'll take a few moments to describe it.
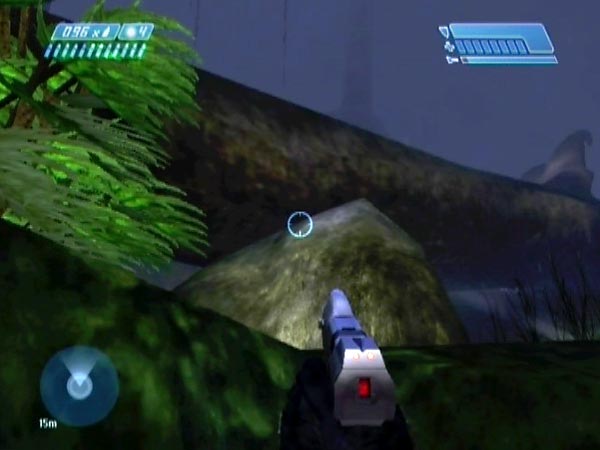
As before, head left of the crashed Pelican. Just past the nose and a large rock, the hillside turns a corner and there's a section on which you can get part way up. Explore and you should find it quite easily. The ground becomes too steep above that, so you have to arrange for some grenade boost. Throw a grenade so it lands somewhere below the top of the climbable section, then head up, timing things so the blast goes off behind you just after you do a jump forwards from near the top. If you get it right, the blast will contribute enough boost to your jump to get you past the steep bit, to where you can get traction the rest of the way up.
It can be done with either type of grenade, but a plasma may cause less damage on average. If the plasma blast is sufficiently far behind you, it's possible to get up without even losing any health. I wasn't able to do that with a frag but I did manage to get up with only one health bar lost. There are various ways of angling yourself and timing things, and it's up to you to see what you find easiest -or fastest if speedrunning. If you want to practice, the thing to do is to get a delayed checkpoint when you're ready to make the throw. You can use the one associated with triggering enemies.
Pelican departure novelty
With this shortcut you can be up quick enough to watch the Pelican appear out of the murk and fly off, disappearing back into the murk again. You can also tag it with as many as three plasma grenades as it goes, though in that case your first throw would need to be made before you even see it. To play about with this it's best if you've triggered a checkpoint quickly after getting up, by advancing along and above the Pelican far enough to trigger enemies. Then you'll be able to make repeated throwing attempts. This assumes that you didn't already trigger enemies of course. You'll need to've stayed sufficiently far from the Pelican earlier.
Speed run video links
Among the YouTube videos in which you can see this shortcut used, there's LotsofLuck's Normal run in which he uses a plasma and takes quite bad damage - not that it matters. If you don't mind some broken audio there's also slYnki's Heroic run - likewise with a plasma - in which he gets up with no health loss. The shortcut is actually due to slYnki by the way. He described it in a High Speed Halo thread in October 2005, mentioning that it was a few seconds faster than using the rock.