Getting an up-flow dynamic
Associated movies
- BCM454 - Normal; Up-flow set-up & plays (6:50)
- BCM455 - Normal; More up-flow action (6:38)
- BCM456 - Normal; Up-flow battling with a base fight set-up (6:51)
- BCM457 - Normal; Better up-flow set-up work (6:48)
- BCM458 - Normal; Modifying an up-flow set-up (6:51)
- BCM459 - Normal; Up-flow sniping & rocketing (6:34)
Introduction
In respect to how a tunnel megabattle is created, namely with the mob being formed in the tower zone then drawn to the tunnel, the most natural form of tunnel megabattling is when the covies are coming after you down the tunnel. This is a 'down-flow' dynamic. But as I briefly mentioned in the basic routine, it's also possible to get a situation in which the covies are coming after you up the tunnel, giving you an 'up-flow' dynamic. The idea for arranging this is simple. Draw the covies a good way down the tunnel, then get back past them so they now have to head uphill to get you!
On this page I'll elaborate on this, because there are certainly some tricky aspects to it, and quite a bit of advice I can give, including refinements to make things easier or better.
Up-flow battling is definitely worth getting into though. Even if you're using the same old rocks for defending at, it makes a difference being on the other side!
Basic method
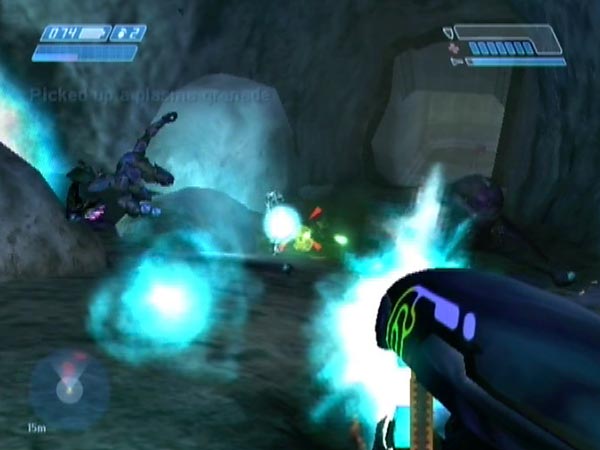
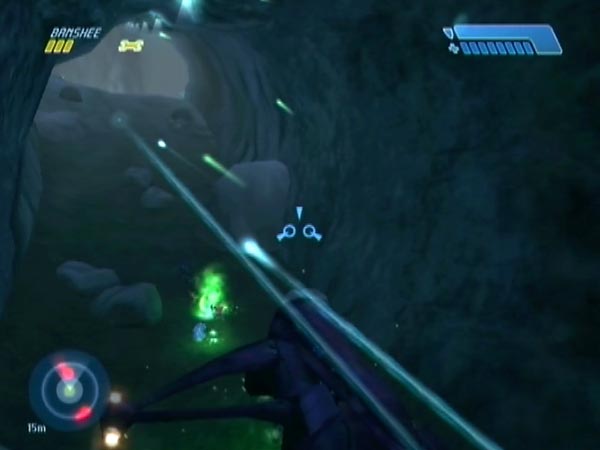
This basic method is demonstrated at the start of BCM454. After forming a mob as usual, and having an ongoing checkpoint delay, draw them to the tunnel exit. In view of the work that follows, it's important to be in either an undamaged Banshee (e.g. a fresh one you switched to after forming the mob), or at least one with very little damage.
Gradually draw them down
Gradually draw the covies down the tunnel while trying to minimize Banshee damage. Ideally you want to get everyone a long way down, but that's easier said than done. The Elites move faster than the Grunts and Jackals, meaning that as you continue to back off to avoid Elite fire, the mob becomes stretched out, with some covies still quite high in the tunnel while the leading guys are getting quite far down. There's a danger that some of the covies at the back could get end up not being far enough down for your liking.
One thing you might try to address that concern, is to briefly backtrack over the mob (as I did in BCM454), to try and get the covies a bit more bunched. It can draw the front guys back a bit, while giving the rear guys a bit of time to make up ground. Or so the theory goes! If you do such backtracking, fly very near the ceiling to try and minimize the amount of plasma rifle fire you take. It's still a bit hazardous though, and all the more so if you've got multiple red Elites, as they're a lot more aggressive than the blues.
If you have any Hunters chasing you, they move fast as well. In fact they may well be in front of the Elites. Needless to say, they'll be firing fuel rod shots and you definitely don't want to get hit by one of those, as the damage would be too much. Fortunately they're lousy shots though, and are likely to keep on missing as long as you don't hover long in one place.
All this time, enemy threat should be taking care of keeping the checkpoint delayed, so you don't need to use Banshee firing.
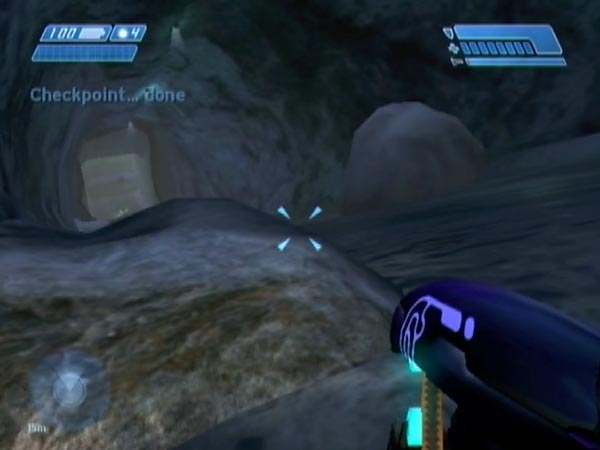
Head off around the corner
When you reckon you've done as much as you can to get everyone a good way down, fly off to the bottom of the tunnel and around the corner, settling the Banshee just over the hump, facing the way you came. Some Banshee firing will be in order to keep the checkpoint delay going. Incidentally, try to avoid having a Hunter chase you over the hump, or that'll be a problem. You don't want them to get too advanced.
As you're later going to be flying back over the mob, taking a fair bit of fire, it's important that your Banshee has enough health left to be able to do that fairly reliably. On Normal, four yellow health bars seems adequate. Perhaps even just three will do.
Allow further advancing
It's probably a good idea to let further time elapse, to let the covies advance still further. In particular, you'd probably like the rear guys to advance a good way. Don't stay in the Banshee once covies come into view, else they'll target it. Once on foot, you can keep the checkpoint delayed by a combination of jumping and enemy threat. It may actually help to provoke a bit of enemy fire, in case that helps encourage covies further back to advance; but I can't swear that this is what actually happens, as I can't see them. Keep in mind also, you don't want covies to get killed by friendly fire; so try not to provoke heavy fire.
You might like to wait until you can see at least a few Jackals, since those guys are the slowest. There could be others quite a way back though, and unfortunately you can't see.
Checkpoint
When you think you've done enough waiting, end the checkpoint delay to complete the set-up. One way to do that is simply to go and stand behind your Banshee, ready to board. It hides you sufficiently well that the game no longer considers you under enemy threat, and thus grants the checkpoint after a few seconds. In the set-up work seen in BCM454, I did this about a minute after flying around the corner.
Was it successful?
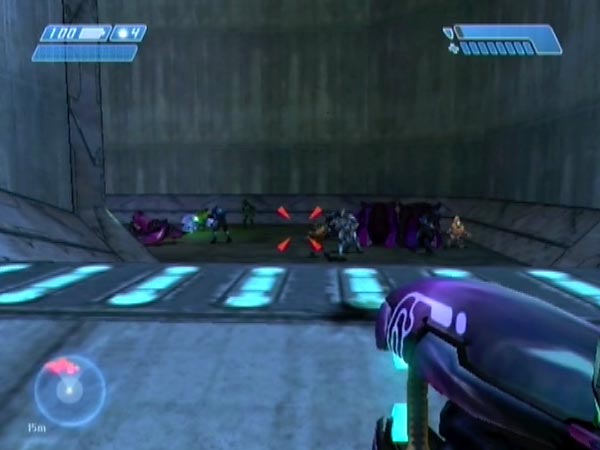
The question is, has your set-up turned out well? Once you fly back around the corner you'll be able to see the enemy layout up the rising part of the tunnel, which is the key thing. Hopefully the covies are all a good way down, enabling you to be able to defend at the locations you want (I'm thinking especially of the middle rock pair, featured in the first play in the aforementioned movie). If not, all you can do is try again. There's an element of chance involved, as your control over the covies wasn't total.
Another thing that could be unsatisfactory is if one or more covies have got trapped on the scenery. There's quite a bit of scope for that, especially in regard to the angled siding down at the base, and also some troublesome areas near where the paving ends. Another issue could be that certain covies fail to find their way around a rock, and thus likewise fail to reach the battle scene.
Some improvements
In this section I'll describe various improvements you can make to the set-up work.
Fresh Banshee for battle
In drawing the mob down the tunnel as best you can, your Banshee inevitably takes damage. If its health drops below a certain level - perhaps three bars on Normal - there probably wouldn't be any point continuing, because of the later difficulty you'd have in flying back past the mob. But here's an improvement you can make. Have a fresh Banshee in position over the hump, to switch to after flying around the corner.
This has two advantages. Firstly, the Banshee you use for drawing the mob down the tunnel can afford to take more damage. This not only reduces the chance of a failed set-up attempt, it could also allow you to get the covies further down than otherwise. Secondly, when flying back past the mob in battle, you'll be able to take more damage without being blown up. Moreover, you can potentially remain in the Banshee to do some battling with it - something that wouldn't be viable with one in poor health.
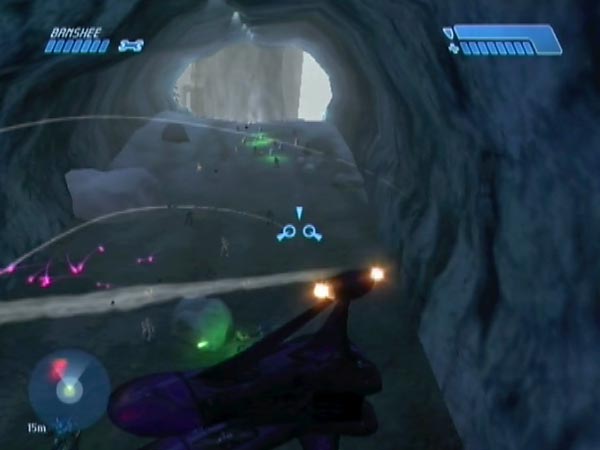
The easy way to get a Banshee in position is to do it as part of some early rearranging, as seen in BCM457 (see pic). Very straightforward.
However, with a bit of ingenuity you can also do it when playing through later if you wish. Here's how. After dealing with the dropship at the tunnel exit, blast the tower Banshee down, then safely blast it into the tunnel a good way (note: avoid triggering tower troops yet). Now draw the tunnel troops far away, ideally into the pass (the narrow path leading to the spiral path area). Then fly off and blast and ram the Banshee somewhat further if you like (this can pay off if you're good at it), then switch to it and fly it into position. Get back to your original Banshee and exit the tunnel, to resume the usual work. As you head up the tunnel, you may see some covies who've chased you all the way from the pass, but you should be able to get past without damage.
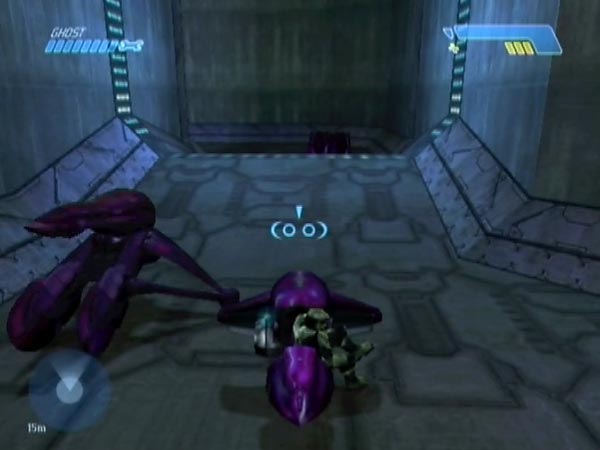
Ghost for battle too
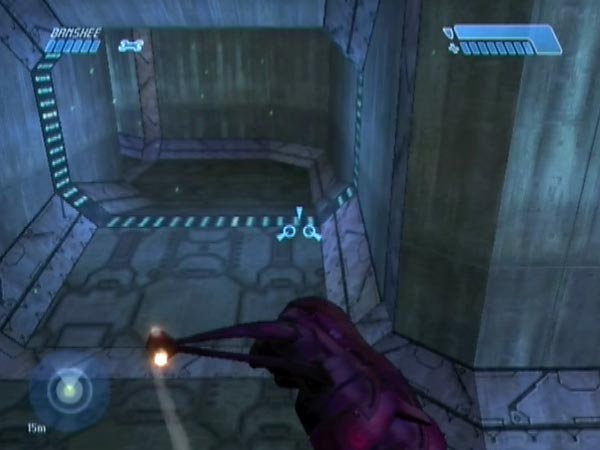
You could likewise get a Ghost in position over the hump. It can provide alternative transport into battle when you fancy it (see pic), and you could moreover use it to battle in of course. Mind you, if you're interested in battling in a Ghost, you'd do better to have one up in the rising part of the tunnel, to switch to after getting back past the mob. That way you'll have a healthy machine to start off with, rather than one which has taken a beating driving through the mob.
Checkpoint strategy for minimal try time
Plenty can go wrong with your set-up work, and it might therefore take multiple tries before things work out to your satisfaction. Accordingly, it could be worth minimizing the amount of time and effort it takes for each try. You can do that by instead eventually checkpointing with a tunnel checkpoint rather than the usual pass approach checkpoint. Here's what I'd suggest.
Still delaying the pass approach checkpoint, gather the mob in the vicinity of the Shade slope. Keeping the checkpoint delayed, fly off back past the loading point and through the cavern, then end the checkpoint delay just before the trigger zone for the tunnel checkpoint, and save it. You've now got a base save for creating up-flow set-ups. To make a try, trigger a tunnel checkpoint, keep it delayed, and fly back to the mob, some of whom may've entered the tunnel. Get the mob back together and make your try at finishing off.
Note: on your return, you may find that your Hunters (if any) have stopped raging. If so, just administer light plasma fire to get them raging again, so they'll chase.
Another note: crossing the loading point means that the rock geometry in the tunnel will get freshly randomized. That may or may not be of interest to you.
Checkpointing back up the tunnel instead
Instead of checkpointing over the hump, you could instead get back past the mob and get the checkpoint in the rising part of the tunnel, at a defence spot you want to focus on, or at least somewhere nearby. That will save you having to make a journey back past the mob each time you want to battle (although, the initial pattern of enemy attack will be tend to be more predictable). However, in order to get such a checkpoint you'll need to be out of enemy threat, as judged by the game. Typically this will mean sheltering behind a rock and hoping you're granted the checkpoint before the covies get too close.
As long as they're a good way down the tunnel, you should have no problem checkpointing at the upper rocks, a great defence location. Checkpointing further down at the middle rock pair is likely to be problematic, though still potentially viable if the covies are a good way further down.
Another idea is to checkpoint behind the huge boulder up the left hand side as you head up. You shouldn't have much trouble checkpointing there and it provides excellent flexibility for battling. From there you could advance to the middle rocks, back off to the upper rocks, or clamber up on top if that's viable (depends on the randomized rock geometry).
Modifying from an over-the-hump set-up
Once you have a set-up in which you've checkpointed over the hump, you can use it to create set-ups where you've checkpointed back past the mob. The modification process is simple. Fly off to trigger a tunnel checkpoint, but keep it delayed, then get back past the mob and try to get the checkpoint where you want it. The whole process takes only a minute or so. You can see it demonstrated in BCM458, with a weapon switch along the way.
This is a great way of doing things, as it can give you a variety of such set-ups from just the one initial over-the-hump set-up. The method is especially recommended if you want a checkpoint at the middle rocks, as that can take perseverance (i.e. multiple tries). Bear in mind also, you could potentially get some new weapons when you head off to trigger the new checkpoint.
Reminder: crossing the loading point means that the rock geometry in the tunnel will get freshly randomized. You could potentially keep making tries until you get rocks you like, at some particular location.