Further set-up advice
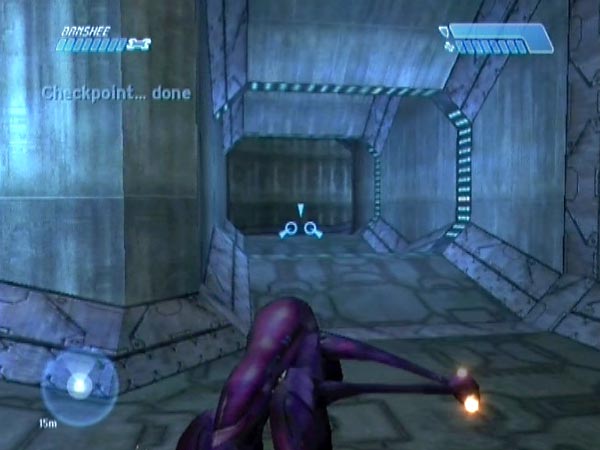
This page gives further advice on setting up at that location in the tower area, going into more detail on a few matters and covering some variations.
- Skipping things for faster play-through
- Clip tolerance
- Needler provision
- Plasma grenade provision
- Further tips
- Variations
Skipping things for faster play-through
When you get back to the first bridge after doing your rearranging, there's scope for skipping some things to speed up your play-through back to the Ghosts. In this section I'll describe the main options and comment on whether they might have any adverse consequences for your eventual set-up.
Skipping the second and third rooms
For starters, when you get back to the bridge you can skip the indoor section as mentioned in my article on rearranging. Namely, you'd go just far enough inside to trigger enemies in the second room, then come back out and fly down to trigger the outdoor battle by going through the door - at which point the game actually removes the room enemies. One thing you may notice when using this shortcut is that the Wraith you destroyed at the launch site is still there when you return. But the wreckage always seems to get removed before you get your final checkpoint, so that's ok. Strangely, it also seems that you won't be able to trigger a checkpoint at the underground bridge, nor at the second corner of the subsequent section of tunnel, but that may not matter to you. As this shortcut doesn't appear to reduce clip tolerance, I normally use it.
Skipping the two-Wraith area trigger
You can avoid triggering enemies in the two-Wraith area by flying over the preceding short natural bridge and staying that high up until you've rounded the corner. As with skipping the second and third rooms, you may find that the Wraith you destroyed at the launch site is still there when you return, but you can expect it to get removed before you get your final checkpoint. The skipping also doesn't appear to reduce clip tolerance (you'd hardly expect it to), so I'm happy to use it.
Skipping some personnel elimination
In my basic routine I recommended eliminating all triggered personnel. If any remain alive it can reduce the clip tolerance of your set-up. It might also reduce the number of plasma grenades lying around for use because the game is keener to remove stuff. It might even reduce the number of enemies that spawn, potentially giving you fewer needlers to steal. If you're not too fussy about optimizing your set-up however, feel free to skip some elimination work.
Once the first ground battle is triggered, you could fly straight over to grab the rocket launcher and sniper rifle then head off back to your Ghosts without dawdling anywhere to kill folk, though you might want to at least kill the Elites at the underground bridge so you can return for a delayed tunnel checkpoint later with little risk of Banshee damage. Even on Heroic, you can make a non-stop flight without much Banshee damage if you fly intelligently. However, do remember to trigger personnel in the crashed Pelican area (you need to be sufficiently low down), else you won't get your two Ghost pilots.
Warning: When skipping all elimination work (along with my usual skipping as mentioned above), I was sometimes unable to get checkpoints in the tower area until going back for a delayed tunnel checkpoint. That's a potential inconvenience, especially if you're needing to blast the Ghosts over to get frozen pilots. I'm not sure exactly what causes this problem but I have a suspicion it's to do with the crashed Pelican area. For this reason it may be advisable to at least kill all enemies triggered there. Alternatively, and perhaps a better plan because the trouble seems infrequent, if you find that you're about half way across the two-Wraith area and still haven't had the usual checkpoint from triggering enemies earlier, just go back and try to get one, doing some killing if needed.
Clip tolerance
If you have enough needlers and you keep firing clips into a frozen Elite, you'll find that you can only reliably fire a certain number - your set-up's clip tolerance as I call it - before he suddenly vanishes. The build-up of needles is adding to the game's processing workload, and I imagine it becomes keener and keener to remove bodies to reduce the load. Eventually, enough is enough and POOF! - he's removed, even though he's got active needles in him.
Even before you reach that stage, you may well find that you're starting to fire invisible needles due to the game becoming graphically overloaded, and there's also a slowdown in your rate of fire. But they still have an effect, so it's fine to keep needling.
Clip tolerance varies among set-ups and is of obvious importance when you're interested in using a large number of clips to make the subsequent pink explosions continue for longer. Originally my set-up work involved triggering enemies all the way into the twin bridges area (partly because I didn't know about checkpoint delaying), and I was getting clip tolerances between about 9 and 14. My revised technique seems to give tolerances of around 50 however, and has been as high as 55. More than adequate, bearing in mind that just 14 clips are enough to keep an Elite exploding over most long flights.
Maximizing clip tolerance
To help maximize clip tolerance you should normally ensure that all triggered personnel get killed - even ones that are going to be left way behind. This should give the game maximum capacity for handling things at your launch site. An exception is that it seems okay to skip the indoor section after triggering enemies in the second room, as the game removes those enemies once you've triggered the ground battle.
I'd also advise against going further into the level than you need to, once you've played through to the site. If you do enter new areas, part of the game's handling capacity may continue to be taken up by them even after you've eliminated all personnel and left. For this reason you might want to avoid going through the pass to get extra needlers; see Needler provision for alternatives.
Beyond those basics, I have a few suggestions for things that might help push things a bit further.
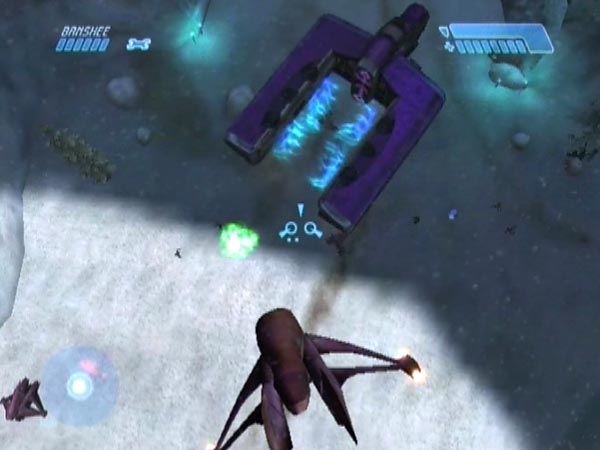
It probably helps if the Wraith on the ice patch has been destroyed and removed. It might likewise help if you let enemies man Ghosts and Banshees as much as possible, so you can then destroy them in the hope that the game will remove the wreckage. That would make for less stuff in the level; hence more capacity for handling needles?
It might help if you set things up with only one Elite, so the game has one less body nearby to deal with. You could snipe one of the pilots when in the crashed Pelican area, so he never even teleports.
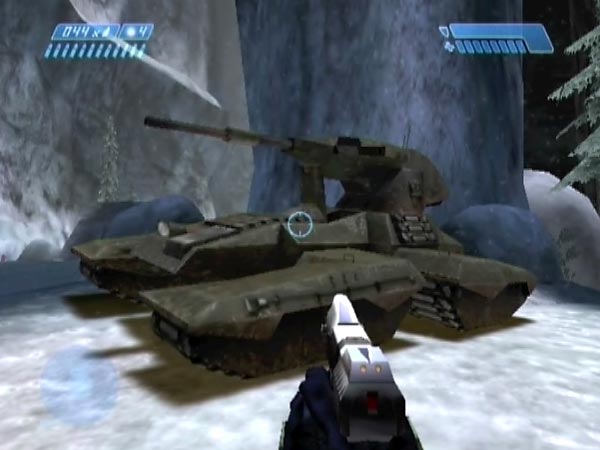
It may help if you avoid bringing the Scorpion to the launch site (it can be used as an alternative to rockets for blasting your Elites), but I haven't actually checked.
Needler provision
In my set-up advice I already mentioned that you can get extra needlers from enemies beyond the pass if you want more. However, even if you subsequently kill all new personnel triggered, you might up reducing the clip tolerance, as if the game has had some of its processing capacity absorbed by those later areas. So it may not be ideal. Here are some other ways of boosting your needle count.
Maximizing needle yield in the tower area
It's down to luck as to how many needler-wielding enemies you get in the tower area, and likewise how many needles each of them is carrying. The resulting needle yield can vary considerably. Doing a bit of testing on Normal, I got as many as 653 but as low as 371. On Heroic I got as few as 267, and in fact I suspect that Heroic gives lower average yield.
If you want to get near the top end of the scale, save a checkpoint before crossing the loading point in the tunnel after the underground bridge. You can get one at the second tunnel corner as long as you previously triggered the one in the bridge area (fly low across the bridge after you've killed everyone; you should get it as long as you didn't skip the second and third rooms). If you can't get that checkpoint though, there's always the option of using a delayed tunnel checkpoint instead. If you're subsequently unsatisfied with the needle yield in the tower area, eject and reload to try again. Enemies will be freshly randomized. Repeat until satisfied.
Late collection from earlier areas
If you don't end up with enough, you can fly back to get needlers from earlier in the level. Specifically, areas prior to the two-Wraith area (there are never any needlers there or at the underground bridge). As long as they're still there for you to fetch (you'll want to've handled them at some point so the game won't remove them), you can fly back with a redundant weapon and swap it for a full needler, then return to add it to your collection. Repeat until happy. This is rather laborious though.
Early collection from the first room and bridge
You can do some needler collection in advance as part of your early rearranging work, harvesting them from the first room and bridge, having handled them to prevent their possible removal by the game. Once you've got a Banshee, fly back and throw them off the bridge, then move them to the launch area. I suggest blasting them along in a Banshee most of the way as a herd, but read my advice on that to avoid trouble. It's a fair bit of work but could especially be worth it if you're creating a base save with which to create multiple finished saves. With a good stock of needlers already waiting, you wouldn't need to spend as long gathering ones from later troops each time you use a copy of the base save.
I've got such a base save featuring 8 full needlers plus one with 80 needles, and it lets me form set-ups with eleven or more full needlers - enough to exploit the clip tolerance to the max when I want to. If you're interested in such a set-up, this is definitely the method to use. It's best if you get no Jackals in the first room, so you'll get more Grunts and probably more needlers. The relevant spawning seems to occur near the end of the long middle section of passage to the room, so allow yourself to get a checkpoint beforehand, after killing the early enemies. If you get Jackals, just revert to get the minor enemies randomized again.
Update: Relying on drop reloading
Here's an update I'm adding after posting about drop reloading. Instead of collecting multiple needlers, you can potentially make do with just one, by relying on drop reloading to generate ammo. Mind you, drop reloading is a bit fiddly, so you may prefer to mostly rely on having spare needlers. I'd recommend having at least one spare; and you could leave drop reloading for when you want to get really extreme.
Plasma grenade provision
It's nice to have loose plasma grenades close to your launch site for doing extra tagging, especially when doing tag launching, so it's good to try to kill most Elites and Grunts when they're near the site. It's even better to have grenades actually within the launch zone, so you'll be able to fetch them even after the firework you're working on has been killed. You wouldn't be able to fetch ones outside, as that would unfreeze him.
In regard to tactics for getting grenades dropped in the launch zone, many enemies can be drawn across it towards the trees, and you can kill them as they come. The Wraith pilot runs out of the pass and you can kill him as he emerges. The same goes for two Elite guards triggered in the pass later. Some Elites - such as a few who gather at the nearby tower corner - can't naturally be drawn into the zone (not without triggering the pass checkpoint at least, which I prefer to avoid) but there's always the possibility of putting them into rage mode to get them running into it. You can let any cloaked Elites from the tower chase you into the zone before killing them. One other thing: avoid having grenades so close to your fireworks that they could get set off by your blasting.
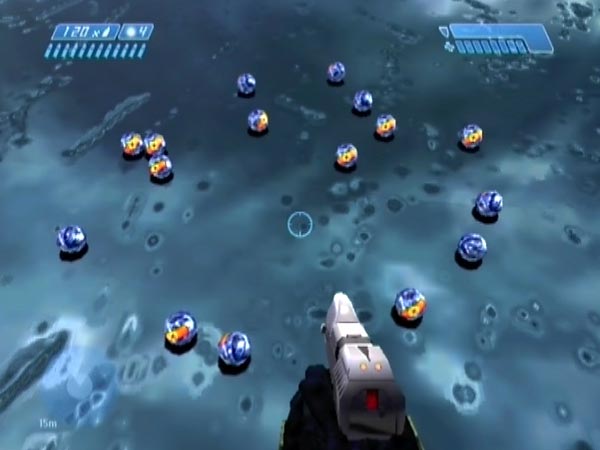
Unfortunately the game may remove most of the grenades before you get your final checkpoint, making things rather frustrating, but I'd say you've got a decent chance of ending up with several loose plasmas fairly handy, especially if you're willing to repeat bits of work until you get lucky with the game not doing too much grenade removal. You may be able to help things by trying to keep grenades in sight, hoping that the game lightens its load by removing bodies instead. In one set-up on Heroic I managed to end up with 16 grenades dropped in the zone, which I subsequently neatened up into a pile (see below). In another I ended up with 22 scattered around, though that was without trying to get them to fall near or within the launch zone. It shows how many loose grenades the game can tolerate though.
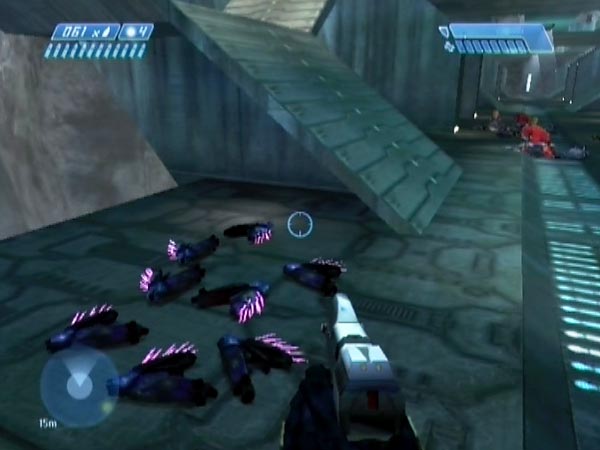
Moving grenades
There's also the possibility of moving dropped grenades. A well-placed Banshee blast can move them a little without setting them off. By carefully repeating this you could move plasmas to a handy spot within the launch zone, or neaten things up within the zone like I did for the set-up used in BCM24 (see picture). Movement requires quite a bit of patience but it could be worth it for a save you'll be using a lot. Once you've done it, you can get another delayed checkpoint to finish off.
In regard to technique, I find it best to rest on flat ground if possible, and fire at right angles to the desired direction of movement, more or less. It makes the aiming easier and safer. You can incrementally swivel your aim to shift grenades along, before moving the Banshee to a new spot after a while. On ice it's relatively easy, as it's flat and each blast leaves a mark which usefully shows where your last 'safe' shot was. On uneven ground you can get a problem however. It seems that a grenade can be shielded from a blast by even the slightest bend in the ground, which can make it hard to move a grenade along. In one case I became unable to shift a pair of grenades out of a trouble spot, and had to give up on them. So try to pick out a flat route for the grenades if possible. There's also a weird problem you can get with grenades sinking into the ice, but I plan to say more about that later.
One other tip. Bearing in mind that it's quite easy to make a mistake and set off a grenade, it's a good idea to get a delayed tunnel checkpoint occasionally, to consolidate progress.
More grenades on higher difficulties?
When setting things up on Heroic, I felt I was getting more grenades than on Normal. So if you want a lot of grenades, maybe you should use Heroic? And perhaps Legendary would be even better? I haven't yet checked how things go on Legendary.
Further tips
Here are a few extra tips or elaborations on setting up, in roughly chronological order.
Dealing with enemies
First some talk about dealing with enemies. When you're heading up the rising tunnel towards the landing dropship, I recommend trying to kill the Jackals as you go, to save time and reduce pressure later. But make sure you can still get into position quickly enough to overturn the dropship Ghosts. Immediately after doing the latter, there's just enough time to blast the Jackals from the dropship and then fly off with it, which will automatically keep the checkpoint delayed. That's what I like to do.
After checking your frozen Elites (pre-frozen or otherwise), the only enemies potentially heading your way will be the ones from the tunnel, though they may lose track of you and end up in a huddle near the exit. If they do turn up, they're often running backwards, making it pretty easy to amusingly bash them on the head if you want. This early phase of the killing work is a good time to swap your rocket launcher for a plasma weapon as a backup to the sniper rifle. Later you might want to get a pistol instead. The dropship troops will stay put until you trigger tower enemies at the front or back, at which point they can come after you.
When it comes to triggering the pass guards (Hunters and Elites), I suggest approaching from behind the entrance rock. From there you can snipe the first Hunter in the back as he heads for the trees. The second should fall back and you'll be spared any troublesome bombardment. The Elites may or may not be alerted, but either way, I like to head over to those trees quickish. That's a good place from which to kill closing enemies, and it's ideal for ending up with loose grenades in the launch zone (see Plasma grenade provision).
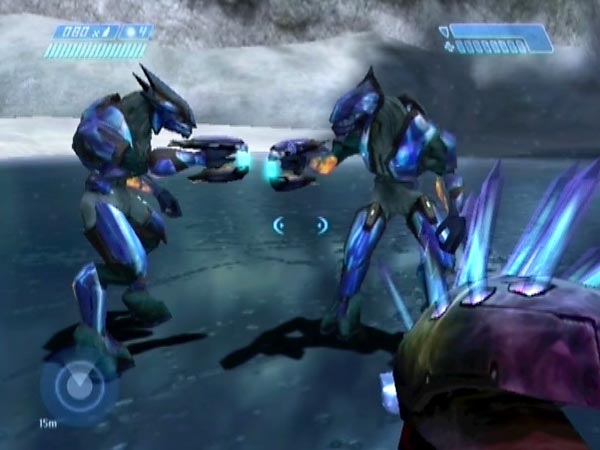
Weakening Elites
It's good if an Elite is weak enough that he'd be killed by a first rocket, even a relatively distant one. That way you'll get less hassle from the anti-aim effect when doing your rocketing first. For times when you'll be doing needling first, it's also good if he'll die from the first needle bang, otherwise that bang would probably start or accentuate the anti-aim effect, making life more awkward for a while, and also he may die from needles before you get a second needle bang, in which case there wouldn't be any chance of getting a scream when he unfreezes, because he hasn't died explosively.
When you've finished your set-up, you could check to see if each Elite is sufficiently weak. If not, you can modify things by weakening him suitably with a bit of melee to his front. The easiest way is to just check how many whacks would kill each Elite, then revert and deliver one whack fewer in each case. After doing this weakening, you can re-finish the set-up by getting another delayed checkpoint. Actually, you could even do this weakening work during the main set-up work, after a sufficiently handy checkpoint for deciding how many whacks to use.
Another benefit of weakening Elites to within one front-whack of death is that if you ever want to kill one to try and get grenades from him, you'll know it only takes one whack from any direction. Quick and easy.
Ditching frag grenades
Although frag grenades could be used to provide some launch boost, you probably won't be interested in that, so I suggest ditching any frags you've got, prior to finishing your set-up. This way, when you're tagging an Elite and you pick up more plasmas to use after running out, you won't have to remember to toggle back to plasmas, and you won't be in danger of accidentally throwing a frag when you meant to be using a plasma - something I did rather too often before adopting this frag ditching policy!
Weapon layout
In regard to my spare weapons, I like to keep the full needlers separate (typically equidistant from the two Elites), so that when I head over to get a new one, I'm not in danger of accidentally picking up some other weapon or picking up some rocket ammo (which can be annoying if you're keeping track of how many rockets you've fired by checking how many of the original ten you've got left). Most other weapons - less frequently used - will be off to the side somewhere. However, I leave the sniper rifle in front of the full needlers (i.e. in the direction of the Elites). When I want a new needler, I can quickly swap my empty for the rifle, then swap that for a new needler in such a way that the rifle ends up near where I picked it up, ready for next time. The rifle will also be handy for when I'm just about to release a firework. It's useful for keeping track of high-flyers, and good for doing some shooting! I find things easier this way, but you can arrange things however you like.
Modifying
If there's ever anything you want to modify about your set-up once you've produced it (e.g. improving the positions of spare weapons or dropped grenades, or bringing a Scorpion along), you can always go back for a fresh delayed tunnel checkpoint after making modifications.
Variations
Finally, here are a few variations on the basic routine.
Scorpion too?
Although it's a bit clumsy, Elites can always be blasted with Scorpion shells instead of rockets, so you may like to bring the Scorpion along to the site during your early rearranging work. However, you'd always be able to bring it along later instead if you wanted - and then get a delayed tunnel checkpoint. If you're going to be using Scorpion blasts though, you might want to give your weapon collection extra distance from your fireworks, due to the larger blast radius. Either that, or remember to move them each time they're going to be in danger.
Leaving the Wraith intact
I said to destroy the Wraith, but you don't have to. Maybe you'd prefer to leave it there looking pretty. One reason for destroying it was to save yourself any danger of it getting manned and then bumping into your frozen Elites, killing them. However, you could always prevent this by being ready to snipe the pilot before he boards it. He runs out from the pass when tower enemies get triggered. Another reason for destroying it was simply to make the area nice and clear for doing your later launch work (assuming the game does remove it some time before your final checkpoint), but maybe you don't mind about that. The Wraith can always be moved if you want; just push it with a Banshee.
Only one firework
You can set things up with just one firework if you prefer, saving yourself a bit of time having to move a second Ghost to the launch area. If you're going to leave your one Ghost upright, you can impede it in a similar way to how I described for a pair, hemming it on on both sides. It's conceivable that having only one firework could slightly increase the clip tolerance of your set-up, but I haven't tested that.
Alternative arrangements
The positioning I described for the Elites gives a convenient launch arrangement bearing in mind where the release line is, but you can actually have them anywhere in the launch zone, and facing any direction. If using upright Ghosts, note that you can impede and blast each Ghost separately if you like, which could enable you to get the Elites very close together (presumably for simultaneous launch). If it's closeness you want however, it's easier to use pre-frozen Elites as their positions are more predictable, though you might still need repeat attempts to get a configuration just how you want it.
One idea for an interesting alternative arrangement would be to have one or both Elites very close to the release line. This way, you could be very close to an Elite as he launches, which could be good fun, especially in regard to hearing the scream. That's definitely something I want to explore.
There's actually also the option of putting everything on the other side of the release line instead! Just as before, you can launch your fireworks by crossing the line; it still works, you're just in a different launch zone. I'm jumping the gun mentioning that however; I cover the wider situation on a separate page later.
There's also the option of putting your spare weapons on the opposite side of the release line to the Elites. You'd kill from that side, then launch by heading across the line. This could be used as another way of being able to get close to an Elite as he launches.
As for impeding upright Ghosts in your set-up work, you may need to use more than two Ghosts. The thing to bear in mind is that when you return later, the pilots have an instinct to head for the tunnel exit. In my basic routine, the two-Ghost impedance was enough to block them from moving off in the direction they would've liked. They're slow to think about backing out, and thus you get a good chance of blasting them. With Ghosts in other configurations you may need to impede them more robustly. I expect four Ghosts would do, but if you want to be completely safe use a ring of six (my original method).
Curtailed work in the tower area
In the basic routine you trigger and kill everyone in the tower area, and also kill pursuing enemies from the tunnel. But if you just want to be into your firework fun as soon as possible, you could skip a lot of that. You could make the launch zone sufficiently safe just by killing the tunnel enemies, never even triggering any tower enemies. You wouldn't get many needlers out of that, but that might not matter to you, especially if you're using a base save in which you've already brought a load of needlers into the area (see Needler provision). Actually, if you don't need any needlers from them, it would be simpler to kill the tunnel enemies while in the tunnel itself. You could finish your set-up with a delayed dropship checkpoint, or fly back for the usual delayed tunnel checkpoint.
An extra rocket launcher from earlier?
As well as the first rocket launcher, there's one in the crashed Pelican area. So how about getting them both to your launch site, to have yet another on hand? Unfortunately there's a problem. Something I mentioned in my section on spare weapons for the twin bridges megabattle is that I've never managed to get both of those launchers past the checkpoint in the tunnel after the two-Wraith area. When you take one across, the other seems to blink out of existence, even if it's in plain sight. So perhaps it's impossible. If you can find some sneaky way to do it, I want to know!