More set-up tips
- Advance killing in the second area
- Shaping the start of your save
- Using a base save
- Cloaking issues
- Spare weapons
- Marine reinforcements?
Advance killing in the second area
Here's a variation on the set-up plan which can ease part of the work.
The hectic run through the second area is one of the toughest parts of setting things up. But if there are enemies there that you're happy to kill, it's possible to've done so in advance, which can ease your run. So here's the idea. After running through the first area to reach the rock trigger point, keep on going and do your advance killing in the second area. Recharge your shield if possible, then backtrack to the first area to empty it and continue the plan as normal.
I said "keep on going", but if you took a nasty beating when running through the first area you may feel the need to pause somewhere on the path to try and recharge your shield. Enemies behind you tend to be coming after you too quickly however, and if you wait around you risk making your situation worse. Whether to pause is just a judgement call you'll have to make.
Probably the best plan is to continue on without stopping and use the 'cave' on the right for cover. Kill the Elite that emerges from it (he's easily taken by surprise), then take cover behind a rock at the back of the cave while lesser enemies panic. Don't pause too long, else Grunts on the raised ground above will stop panicking and return to the edge to fire at you. As soon as you're recharged, come back out, maybe killing another Elite to panic enemies again to aid your escape or to help keep you healthy while doing some more killing (perhaps around the back of the raised land). The sniper rifle is good for killing an Elite as you emerge.
Don't go too far ahead
Note that in doing this advance killing you should be careful not to go as far as the cliff corner trigger point. If you do that, enemies too far back are liable to become stationary, which would include any still back in the first area (most of whom probably didn't chase you up the path). Besides which, you don't want to trigger the cliff corner checkpoint yet.
Shaping the start of your save
By keeping your battle start checkpoint delayed by jumping (at least when nobody's shooting at you), you can end up getting it when you're at a desired starting spot, or at least approaching it. In this way your save will be tailor-made for defending from that spot. You'll be quickly into the action each time you revert. Moreover, you could also have spent a bit of time getting the enemy gathered in a particular area (possibly while you were cloaked), so they'll mostly end up approaching from a certain direction or suchlike, which you may want.
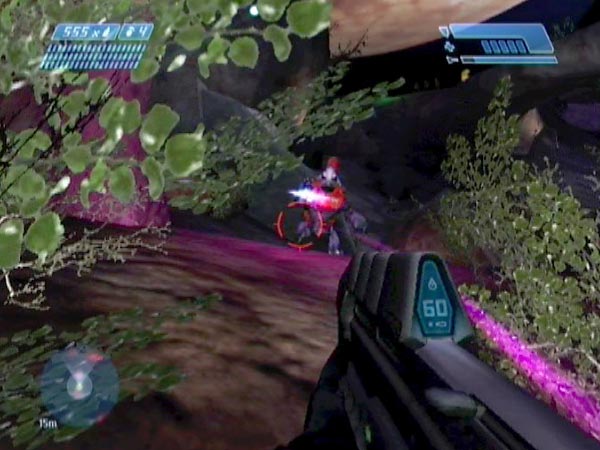
As described on my page of general battle advice, there are safe ways of gathering enemies at the passage or in the first corner of the dustbowl (there's nothing to stop you using those gathering techniques before you get your battle start checkpoint rather than after); so those are two easy ways of doing some gathering. Doing so in the first corner makes a good start for getting a save dedicated to a cliff path defence (as in the picture) or an enclosure defence, two excellent battle plans.
Problems and suggestions
It can be troublesome to actually get the delayed checkpoint however. When you stop jumping, the game may nevertheless continue the delay because it considers you under enemy threat, even if you're still cloaked. Maybe the delay will continue so long that you still haven't had the checkpoint when the enemy is practically upon you. That wouldn't be any good and you'd have to try again. To help get your checkpoint, try to be a decent distance away from any enemies. If they're relatively close it may also help to be out of their line of sight, but I'm not sure about that.
Another potential problem is that when you make a dash to the place you want to get your checkpoint at, some enemies die from friendly fire, or maybe you take health damage yourself. If you're currently unseen (cloaked or hidden), a possible bit of help there is to lob a grenade somewhere away from enemies so that when it goes off they'll turn to look, giving you a brief chance to get away without being spotted, or at least get further away before being spotted. I tried this tactic with a crowd gathered in the first corner (I was down below in the safe strip), and I'm pretty sure it helped lower my chances of being spotted as I made a dash past the ramp entrance to get a checkpoint further along the cliff path. This distraction tactic does cost you a grenade however, which isn't ideal. To be honest I'd prefer to just keep making repeat attempts.
Finally, even if you get the desired checkpoint okay, there's still the possibility that the enemy arrival dynamic turns out to be unsatisfactory in some way.
To guard against attempts that don't turn out well for whatever reason, I strongly recommend working as follows so you can potentially make multiple attempts until things turn out ok. First get and save the outer passage checkpoint. You'll probably be granted that checkpoint right away if arriving at the passage via the top path after getting cloaked (but it may help to pause before getting a line of sight to the emerging Elites). Now make an attempt at finishing off. If it doesn't go well enough you'll be able to get back to the saved checkpoint for another go, though if the game did give you the delayed checkpoint, you'll need to eject the disc and reload.
Flashlight on
If you like to fight with your flashlight on, you might like to switch it on just before trying to get your battle start checkpoint, to save you having to switch it on each time you begin your battle.
Using a base save
As with the other megabattles, you can use a base save as a starting point for creating different megabattle saves with a minimum of additional effort. I'll talk about a few base saves I've used, as examples you may like to try and emulate.
Final phase base save
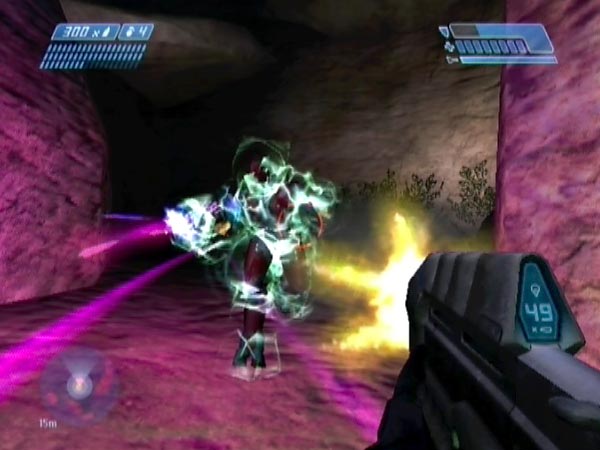
I have a save on Normal in which I've just got a final phase checkpoint at the cliff path corner (it's a delayed cliff corner checkpoint, to be precise). Only one enemy has died so far, namely when I sniped the cliff corner Elite to counter the cliff corner Grunts problem as usual. As such, I can potentially get megabattles with 49 enemies. Getting this save took quite a lot of perseverance due to the difficulty of bypassing enemies and also having to repeat things anytime a covie died from friendly fire - which is something that happens all too easily. Still, it was a good investment of time. As a bonus, the killed Elite has dropped his plasma rifle on the path, making it easy for me to instantly swap my sniper rifle for it if I want to produce a megabattle save in which I start off with two good short-range weapons (my other current weapon being an AR of course). Crucially this base save has another good aspect, namely that I stand a decent chance of being able to make it to the active camouflage with full health using the rock-hop shortcut. It may take me twenty attempts or more, but it doesn't take long for each one so it's no great hardship. One negative aspect of this save is that the Elite didn't drop any plasma grenades, so I'm going in without any. Not that it matters much, as you can start picking them up soon in most battles.
Tip: If you're forming a final phase base save and there are any spare covie weapons from enemies that died earlier, take the time to move a selection to the cliff corner before getting your delayed checkpoint, so you'll always be able to do some weapon swapping if desired.
Outer passage base save
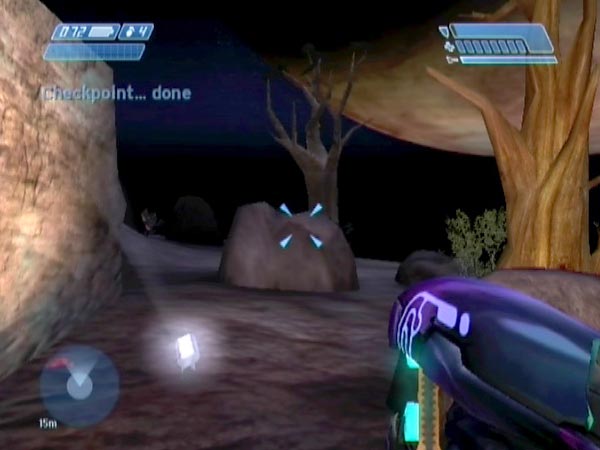
I also have a base save produced from a copy of the above, in which I've gone in with AR and plasma rifle, got past the enemies with full health and without any covies dying, got cloaked and got the outer passage checkpoint (the Elites are emerging below me). Also I've killed the three Shade gunners because I generally don't want Shades in the battle (and I didn't want to sacrifice any frags trying to eject anyone). I got them with the plasma rifle while down in the dustbowl. With this save all the hard and painful work has been done, but there are still plenty of different things I can do to form final saves with a delayed inner passage checkpoint, as described in my section on shaping the start of your save. I produced the situations in BCM9 and BCM10 like that.
Prior to getting a battle start checkpoint, I also have the option of swapping weapons for one or both of the ones dropped by the Shade gunners manning the turrets at the passage. The one nearest me dropped a needler with 80 needles, the other one a full plasma pistol. To get either weapon I just need to do a quick bit of melee work on the Shade to move it aside. A needler was also dropped by the Shade gunner on the hill near the far end, enabling me to top up the one from nearby if I want. He dropped a plasma grenade too, so I can pick that up while I'm there.
Actually, a copy of this save is ideal for using any time I fancy a session of dustbowl megabattling. I'll fire it up, trigger the inner passage checkpoint (keeping it delayed for a while), do something to influence the enemy's layout, then get the checkpoint somewhere. In any given defence spot the enemy's attack dynamic will be different from anything I've had before, so it makes a nice change from playing a save where I know the attack dynamic in advance. If the battling turns out to be especially good, I'll also have the option of saving for future play, thanks to using a copy rather than the original.
Cloaking issues
In my plan for setting things up, the active camouflage enabled you to get back out of the passage safely after triggering the inner checkpoint. It also lets you safely gather enemies or reach a defence spot, or both. But there are ways of finishing off without using the camouflage like that. This would allow you to get it later, giving you more time to use it in battle, doing cloaked mischief or whatever. Actually, it would also free up the camo to be used earlier in the set-up work when making your first visit to the dustbowl area (the "temporary advance"). You could use it to keep you safe while ejecting some Shade gunners or returning to the second area. So, here's my advice on how you can finish things off without using the camouflage at the passage.
Using the inner checkpoint
If you're arriving along the top path as usual, I suggest taking a running jump down into the passage, perhaps after pausing a few seconds for the Elites to pass. Trigger the inner checkpoint but don't get it yet. Head straight back out and try to get up to the safe spot at the end of the side path without taking health damage. That's quite manageable on Easy (a level which is fine for cloaked mischief) but a fair bit harder on Normal. However, using the shortcut to the safe spot should help (i.e. hopping onto the vertical slab sticking out of the path).
In your uncloaked form the game doesn't seem likely to give you the checkpoint at the safe spot, but you have a couple of options - preferably executed once enemies have gathered below. If you move down the path as far as the rock, it's possible to get it though it may take a few tries (and on each failure you'll need to back off to let the enemies gather again). Alternatively, run to the camouflage or just get distant from the mob, and you should soon be able to get the checkpoint.
Let me say a bit more about those emerging Elites. Should you pause for them to pass? There are three negatives there. You may have bridge Jackals or Shades firing at you, you're giving other enemies extra time to close in on your escape route, and you'll probably have those Elites firing on you outside. On the other hand, if you don't pause they're likely to spot you and attack you in the passage. That's not necessarily a bad thing though. They're quite likely to swipe at you, giving you a chance to dodge and leave them behind. On balance, I'm inclined to just jump straight in without pausing.
Using the outer checkpoint
If you don't mind the repetitive music, you could instead just use the outer passage checkpoint for your battle start checkpoint. Doing this would save you having to perform that tricky uncloaked exit from the passage. You can trigger the outer checkpoint from above. To subsequently get the checkpoint, you could do what I suggested for the inner one; or don't even bother going to the safe spot.
Spare weapons
There are a few things you can do to have spare weapons lying around somewhere in the battlefield if you make the temporary advance into the dustbowl area as recommended in my set-up plan. If you kill a covie there, you can swap one of your weapons for his, or just pick up his weapon and drop it again. Either way, you end up with a weapon on the ground which the game isn't going to remove. Of course, you can also move the weapon somewhere else; perhaps to a particular defence spot, so that when you battle there you'll have options for what combo to start with.
One use I'm thinking of for this method is to leave the sniper rifle behind so it'll be an option for me in the battling. I don't usually do much sniping - I focus on the close and personal stuff - but it would still be nice to have it around as an option. I'd probably leave it in the enclosure or on the cliff path.
Marine reinforcements?
Is it possible to set things up so that as your battle is starting, a Pelican is heading in with reinforcements? Sorry, the answer seems to be no. Experiment suggests that you can only get a Pelican when the number of enemies alive in the dustbowl or earlier areas has fallen to 10 or under (there are some other conditions too). You'll have far more than 10 enemies alive as you near the end of the setting-up work in the dustbowl area, so there's no chance of reinforcements. Besides, I don't think it's possible to get a Pelican here at all once you've triggered the outer passage checkpoint. Looks like it's another solo job for the Chief!