Top of the first tower
Posted December 14th 2018
Associated movies
Introduction
What I talk about here grew out of the 'arc of death' scenario which takes place near the first tower, in which you have fun attacking covies who remain back along an arc. A major element of that fun is setting off chain reactions caused by dropped plasmas from earlier covies, but in particular it's easy to get a big plasma pile near a certain rock, because covies gravitate towards it. I started using such a pile to get covie bodies launched towards the tower to get zapped by the blue beam (see BCM321), then began doing the same with a Warthog (see BCM323). And that's where I got to the tower ascent business.
I figured I might be able to get myself launched to the top via hog impact. After a multi-hour struggle I succeeded with one of my hog zapping set-ups, and quickly covered that adventure in BCM322. However, it was very much a first stab, not least since I was new to getting launched by a hog and thus didn't fully know what I was doing - or what I ought to be doing! Subsequently though, I was able to refine things to make ascent fairly routine as seen in BCM324 and, using an alternative checkpointing strategy, BCM325. This refined method is what I detail in this article, and I suspect it's actually the easiest way to get up.
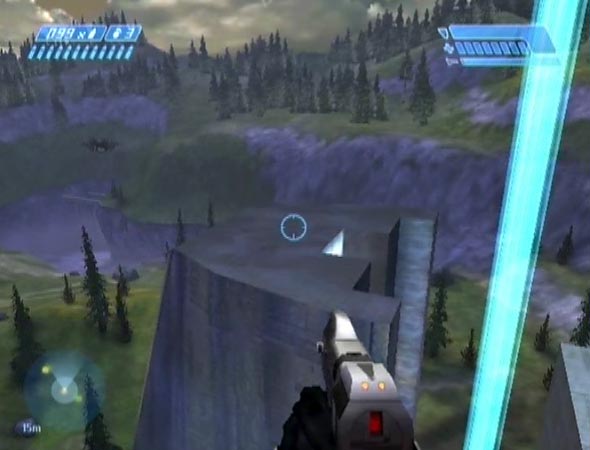
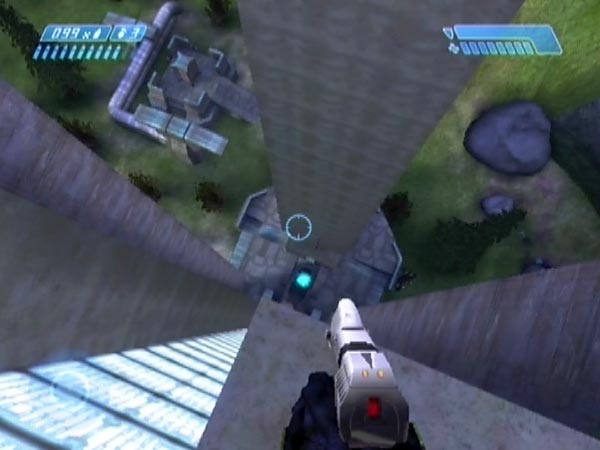
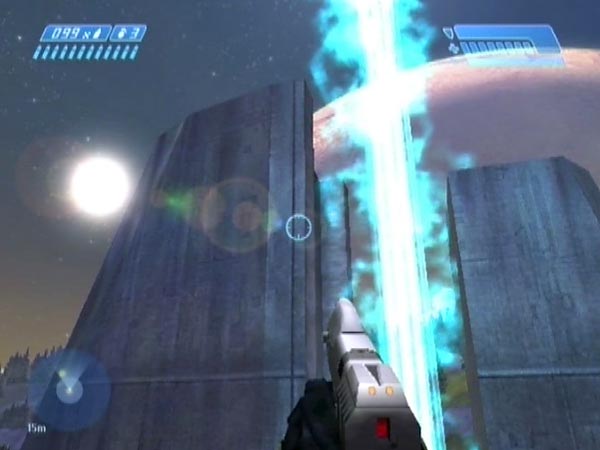
If you've never been up a tower, I'd definitely encourage you to give it a go. The view is great, and you can potentially watch the Pelican fly away and vanish. Better be careful about standing near the edges of the channel though, or you might get zapped! Actually, you can stand near the edge at the corners of the higher half, and be safe.
Setting up
This set-up work is outlined in BCM324, but here I'll get into full detail. Any difficulty level can be used but I suggest using Legendary. You get the most plasmas and there may also be some advantage in terms of resilience against blasts. That said, I was able to set things up fine on Heroic and Normal too. I advise against using Easy though, as I think the plasma count might quite often turn out too low.
Arrival
When you arrive in the area, ideally have a full pistol and a plasma pistol (you can get one on 100% from a dropship Grunt if he hasn't used it). Also be fully loaded with grenades. I think it's also advisable to've eliminated all previous covies to minimize forthcoming strain on the game. Maybe it could result in fewer plasmas if you don't, but I haven't tested it.
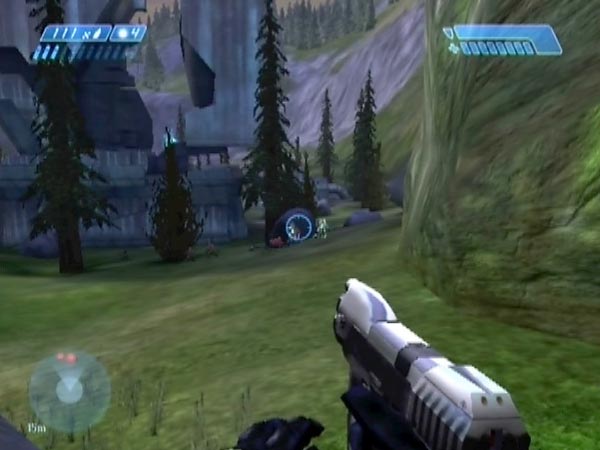
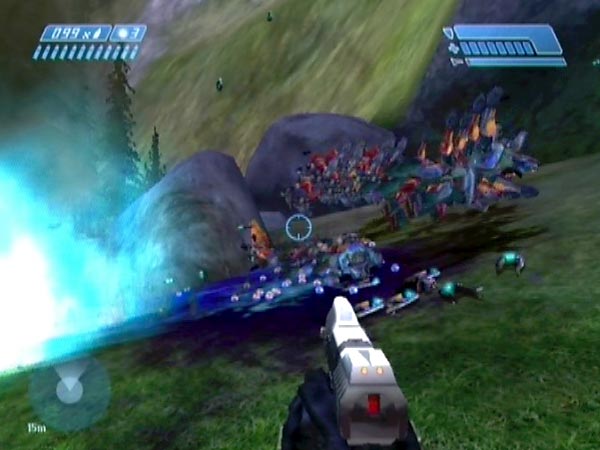
Build the plasma pile
Build up plasmas at the rock like you would for doing blue beam zapping of covie bodies (see BCM321 for a demo of the work), except that here the interest is just in plasmas. After helping the covies kill off your allies, it's essentially a matter of killing Elites and Grunts when they're at the rock on the right - to which they'll readily gravitate (given your position at your own rock). But remember, you have to make sure the game doesn't remove plasmas when it gets strained. To do that, keep facing the right way (see here for more detail on countering removal).
Tip: to minimize plasma spread (for a well concentrated pile), only kill Grunts and Elites when they're in a narrow range of positions, and avoid killing them when they're moving, else their plasmas could go somewhat astray. Be patient and let them move into the positions you want. A random shot will make them adjust.
In regard to weapon management, you'll want a spare full pistol for ammo. The time to get this (and top up your existing pistol) is just after finishing the initial covies. But before you go up to the structure, make sure to secure the early plasma pile by going over to it and keeping it in sight as you circle it to let other things potentially get removed (thus alleviating any strain on the game, hopefully).
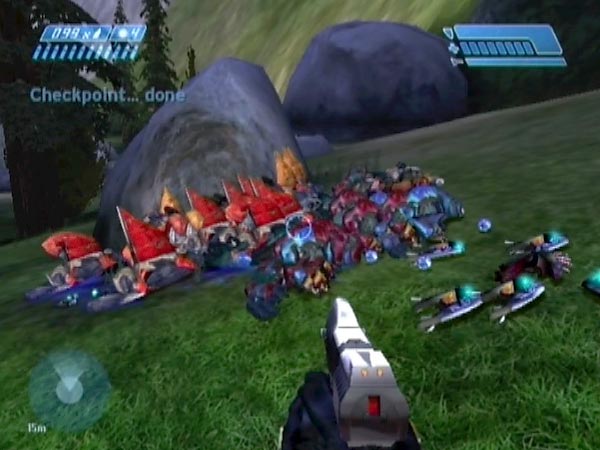
Complete a base save
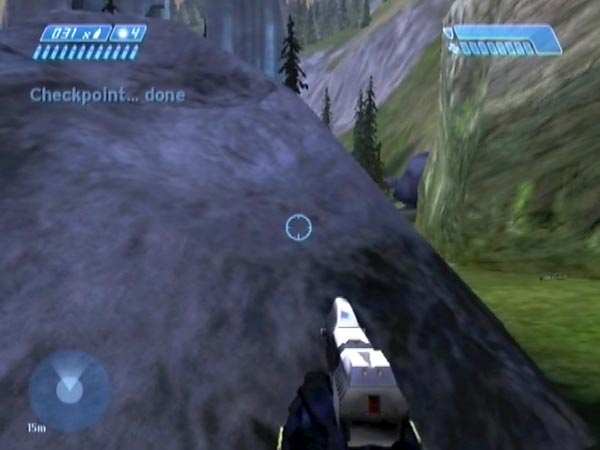
When there's only one covie left (ideally a Grunt or Jackal) and he's at the pile, move in to kill him so you get the Pelican arrival checkpoint close to the pile (ready to work on it), then save. What you've got now is a base save from which you can produce a launching set-up, or multiple set-ups, as follows.
Secure the pile and do tidying
Blow a lot of bodies away (the plasma pile tends not to detonate, which I think is related to how overloaded the game is) and let them be removed behind your back. Hopefully this will get rid of so much stuff that the plasmas will now be secure, i.e. not subject to removal when you look away. You can test that of course. It also lets you see the majority of the plasmas.
Preferably cull any outlying outlying plasmas (pick them up). Ideally you want to end up with a fairly tight grouping. You don't have much time though, so you need to work quite fast. If it goes badly, just revert for another go.
Finish off with the sign-off checkpoint
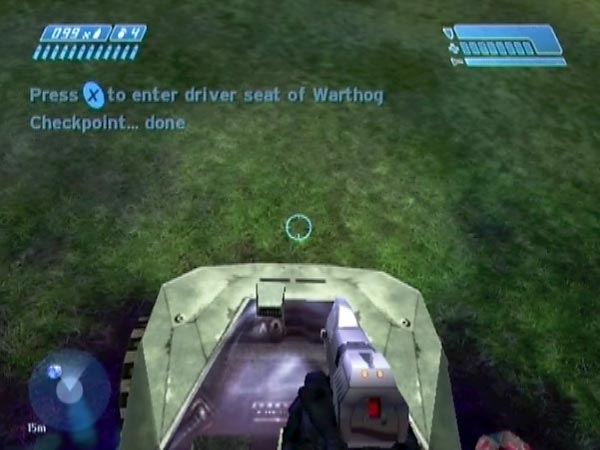
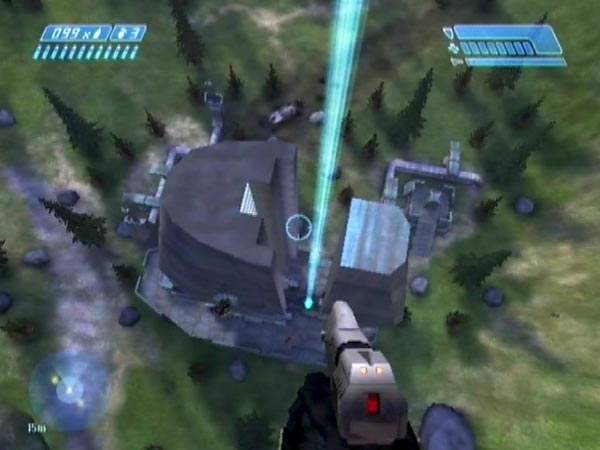
Reach the drop zone in time for the drop. Quickly ditch the gunner (or kill him with pistol fire before the drop), and speed into position over the plasma pile. That's a tricky bit of parking which you have to pull off against the clock. To get the appropriate alignment so the rear will be facing the tower, end up with the hog approximately pointed at the patch of relatively bright green on the cliff wall. That's how I do it at least.
Bail before the sign-off checkpoint (normally due about 2.5 seconds after the click which follows "Foe Hammer out"), and delay it while you get on top of the chain-gun, set for throwing a frag. To effect the delay you can either throw a plasma or just rely on jumping (I prefer the former so I can focus on getting up fast). The checkpoint is only delayable for a few seconds though. Delay too long and it'll get cancelled.
Timing tweak, for ideal checkpoint timing
If a set-up allows you to launch promptly and just miss a freeze (so you get as much free time as possible up top), that's ideal checkpoint timing. If you want to arrange that, or close to it, you can. For PAL Xbox just delay the hog drop (by standing underneath the hog) until a beam fires, and things work out pretty well. For NTSC/PC you may need a different delay though, because the beam's firing period is only about 15 seconds compared to PAL's 18 (and also, the hog drives faster). But it shouldn't be hard.
Launching
The launch technique is basically Dark Helmet's general launching technique from long ago (e.g. see his 2005 video Launching Evolved), except that the main bang is provided by plasmas rather than frags (I'm not sure if he ever used plasmas) and also we're detonating with a frag, whereas I think he generally used a plasma. Here's how it goes.
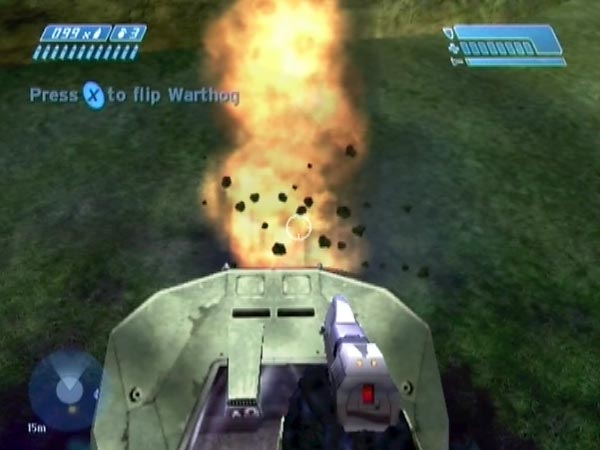
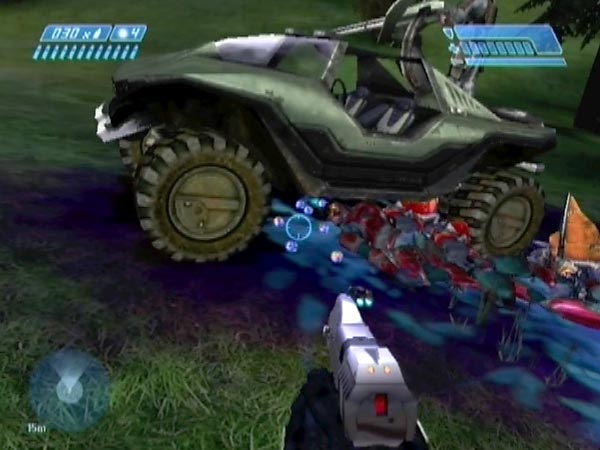
From your position standing on the chain-gun, throw a frag in front of the hog so that when it goes off, it detonates most of the plasmas immediately. A frag has pretty large blast radius, which helps. Just before the frag bang, jump and mash X. The jump needs to be timed just right to evade death. You want to avoid most or all of the frag blast, and also be high enough to avoid the massive plasma blast. It can help to jump slightly backwards (or to already be far back on the gun, or both), to be a bit further from both of those blasts, but it depends on your exact situation.
Mashing X is to protect you from getting splattered by the hog, which is blasted up at you and which will hopefully knock you high. You're potentially flipping it. Sometimes you might inadvertently board it too, which is generally no good. Instead of mashing you could potentially just press X once if correctly timed to do the flip, but mashing seems more reliable.
Once you're airborne you can use drift to help you nail a landing on the tower of course. Or at least, you can as long as you remain unfrozen. If you freeze in mid-air (because of the beam firing when you're past the freeze height), you lose any power of drift - something readily noticed.
If you find that you tend to be getting launched off-target too much, or if you want to end up on the other side of the tower to normal, you could try to jump slightly to one side when you launch. That can help.
Anti-freeze timing
If you want to have as much time as possible on the tower before freezing, you need to launch at the right time, so that as you cross the freezing height, a beam has just fired. It's what I call anti-freeze timing (you don't prevent freezing but you at least delay it fairly maximally). You can soon learn what's required in your particular set-up, and can potentially use the beat of the music to time things. With my first set-up in BCM324 for example, I learnt to throw my frag on beat 8 (after the revert).
Not enough boost?
Even if you avoid getting killed on launch, you might not get enough boost. A critical issue there is whether enough plasmas went off right away. The general picture is that initially some plasmas detonate, then progressively others. But many of those 'others' may contribute little or no boost, because the hog is already distant from them (bear in mind also that those plasmas may have got blown outwards). The pattern of detonation seems rather random from launch to launch, but you have some control from your frag placement. So try different throwing aims to see what works best.
If things remain unsatisfactory though, it's probably time to just try a new set-up. I've certainly had set-ups I've had to give up on for that reason, despite having plenty of plasmas. My impression is, it's a bit random as to whether a set-up will turn out good or not, in terms of providing strong boost. But perhaps there are some subtleties relating to hog positioning that I don't yet appreciate.
Freezing
There's a troublesome phenomenon to keep in mind with this tower ascent. It seems that when you're above a certain altitude in this whole area, you 'freeze' when the beam fires (this was something people found out long ago, and which may be due to a late bug fix by Jaime Griesemer). What that actually means is that all your usual MC controls become dead, except that (a) you can still look around, and (b) if you were holding a pistol you can still zoom and unzoom. Both halves of the tower are above freeze height, alas. So when you're up there moving about or having fun lobbing grenades or whatever, your freedom will come to an end when the beam fires.
It's also possible that you get frozen in mid-air before you reach the tower. In this case you'll notice that your power of drift evaporates, because the movement joystick is now dead (drift is your power of movement when airborne). If you're ever in mid-air and want to know if you're frozen or not, just try firing. No response? You're frozen.
Freezing obviously cramps your style somewhat, which is why I've included advice on timing the final checkpoint so you'll be able to launch fairly promptly and have a relatively long time up top before freezing.
Alternative checkpointing
The trickiest aspect of the earlier set-up work is when you're racing against time to park the hog nicely over the plasma pile. It's a race because the sign-off checkpoint is coming up soon and can only be briefly delayed. But there's an alternative checkpointing strategy whereby you end up getting the pelican arrival checkpoint instead. That involves some slightly fiddly delaying work (no problem for an experienced player), but the main advantage is that you'll have a lot more time to position the hog and get it just right. You'll also be able to take more time tidying the plasma pile, and you can eliminate the music if you want (music triggered by driving the hog). Here's how it goes - which you can see demonstrated in BCM325.
Complete a base save
The first difference comes when dropship 5 is triggered. Keep the associated checkpoint delayed until there's only one covie left - ideally a Grunt or Jackal - and he's at the pile, then back off around your cover rock to get the checkpoint, and save it. This is your base save.
Secure the pile
Kill the last covie and start delaying the Pelican arrival checkpoint. As before, secure a plasma pile. You can potentially leave any plasma culling for later once the hog is actually in place, or you could do it now.
Get the hog positioned
Go to the hog and drive it into position in stages, using high grenade throws to keep the checkpoint delay going. You could use frags, but plasmas give you about 1 second longer and you can potentially replenish your stock with unwanted plasmas at the pile - which is one reason why it may've been a good idea to leave culling for later (although on the minus side, there's a danger of picking up plasmas you didn't want to, when you disembark). There's time to fiddle around with positioning, subject only to having enough grenades to throw. There are three spare frags at the tower if you need them.
Finish off
Ditch the gunner and do any final plasma culling. Also, you may want to wait for Cortana's beacon line to pass if it hasn't already, else you could end up hearing it over and over. However, that depends how long you've taken since getting the hog. If you were speedy a wait wouldn't be needed, but if you were a bit slow and messed around with hog adjusting, the line will likely be due soon (it comes after about two minutes). You could also wait for the music to end, if you wish.
Finally, get into position standing on the chain-gun and get the delayed checkpoint at last. For ideal checkpoint timing (being able to launch promptly and just miss a freeze), my advice for PAL Xbox is to do 6 or 7 auto-jumps (jump button kept down) after hearing the beam fire, then stop. For NTSC/PC I think you'll want to do 4 or 5 to account for the 3-second shorter firing period of the beam.